Advertisement
If you have a new account but are having problems posting or verifying your account, please email us on hello@boards.ie for help. Thanks :)
Hello all! Please ensure that you are posting a new thread or question in the appropriate forum. The Feedback forum is overwhelmed with questions that are having to be moved elsewhere. If you need help to verify your account contact hello@boards.ie
Hi there,
There is an issue with role permissions that is being worked on at the moment.
If you are having trouble with access or permissions on regional forums please post here to get access: https://www.boards.ie/discussion/2058365403/you-do-not-have-permission-for-that#latest

A "before & after" thread?

1246

Comments

  • Registered Users, Registered Users 2 Posts: 3,057 ✭✭✭kjt


    I haven't played with photoshop in a few months now. It feels weird yet homely!

    Original Shot
    Croagh-Patrick-Naked-woman-bath-orig.jpg


    Finished HDR shot
    Croagh-Patrick-Naked-woman-bath.jpg


  • Registered Users, Registered Users 2 Posts: 6,836 ✭✭✭Sir Gallagher


    This is a shot of my two friends who decided to go on a little skip and a run through a field by the cliffs of moher.

    04F2C3D2FE4946A08E8BF3A6FDFE89C3-800.jpg

    I've just gotten into photography and processing over the last few months so i'm still experimenting here and there, this was one of my first tries at using textures and i was pretty happy with it.

    4D7F69615AC54651BF92639747B927BE-800.jpg

    I started off by cloning out my pals' homo-erotic skipping, then layered over the below texture lessening the effect using a mask. I then converted it to b&w and had a little mess around with the levels to achieve that old photograph look, i was happy enough with the result. One thing i will say to anyone just starting out with processing is that there's heaps of useful tutorials on youtube for any effect you wish to achieve in photoshop etc.

    3382300578_b64db2bfa8.jpg


  • Registered Users Posts: 234 ✭✭dryadssaddle


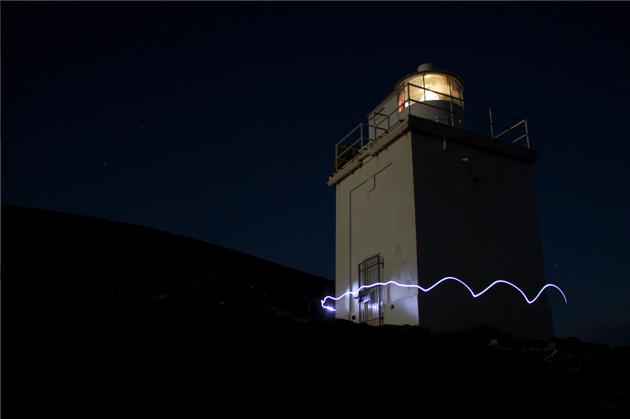
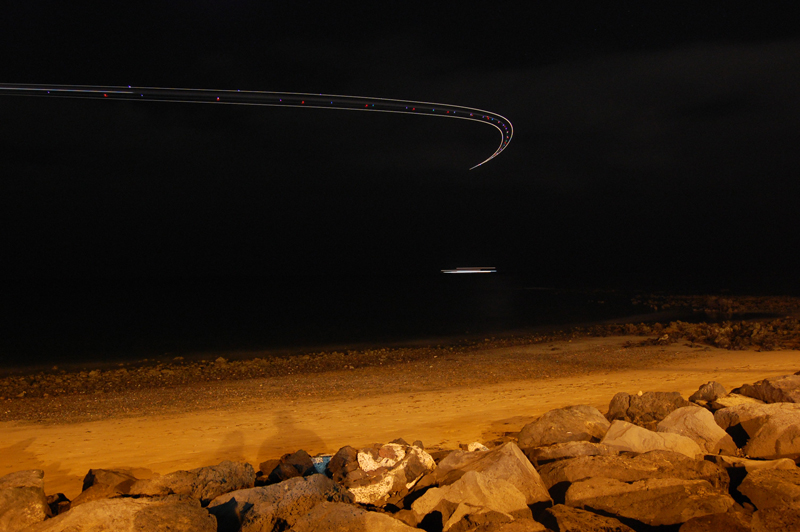
    1: I liked the light stream from this
    Picture_1_21.png

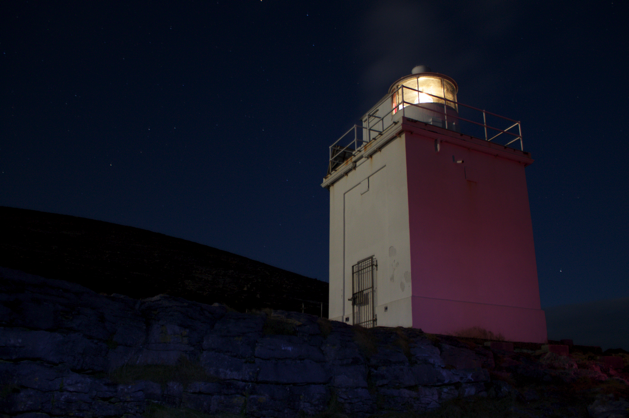
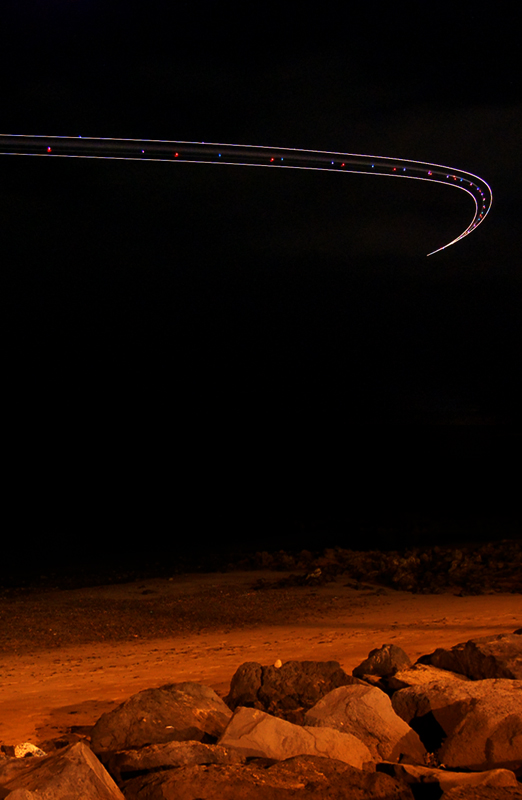
    2: but i liked the exposure and red gel light from this
    Picture_2_4.png

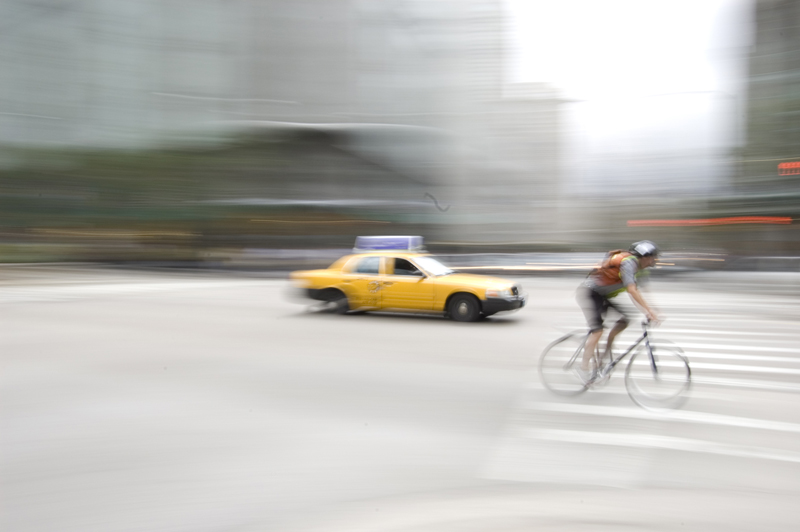
    3: I wanted to add these clouds
    33k3shz.png

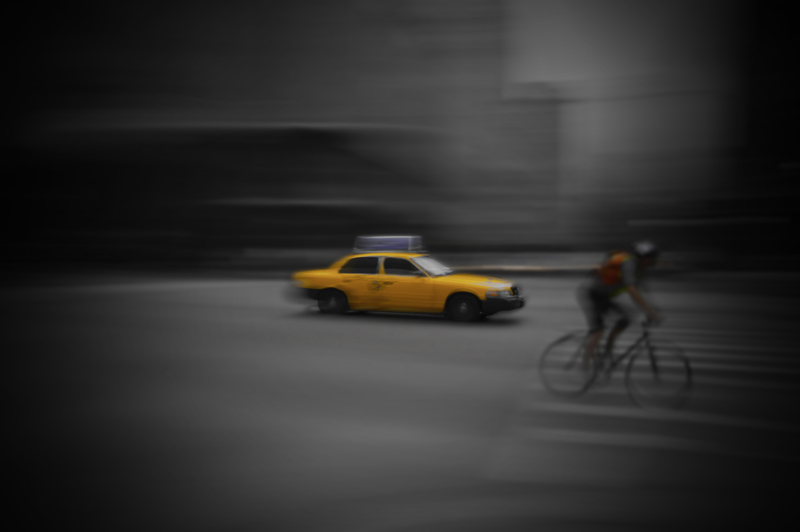
    4: And this is the result
    2jaka4h.png


  • Registered Users, Registered Users 2 Posts: 7,692 ✭✭✭Dublin_Gunner


    120280.jpg


    After some cropping, levels, colours adjustment, curves adjustment, small bit of cloning, some dodging/burning, brightening eyes and bringing the blue eyes out a bit more etc etc

    120354.jpg


  • Registered Users, Registered Users 2 Posts: 4,699 ✭✭✭ThOnda


    Before

    D90C50939B4B43CAB382C7801A39C024.jpg

    and after

    39D56ADBE6984847B188447C79AC1526.jpg


  • Advertisement
  • Registered Users, Registered Users 2 Posts: 716 ✭✭✭squareballoon


    beforeafter-1.jpg


  • Registered Users, Registered Users 2 Posts: 1,229 ✭✭✭gloobag


    124215.jpg


  • Registered Users Posts: 15 tunepimper


    Fantastic shot squareballoon, what changes did you make to the shot? Plus what font are you using for your signature?


  • Closed Accounts Posts: 19 GalwayMarion


    That does look awesome squareballoon!! Have you used NIK efex with a duplex filter? Very dreamy looking photograph now, I love it!


  • Registered Users, Registered Users 2 Posts: 716 ✭✭✭squareballoon


    sorry I should have put my settings and editing details.
    canon 5D
    70-200mm 2.8L

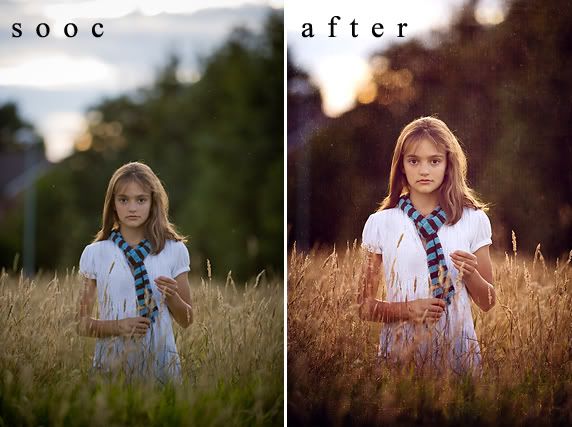
    I edited it with a bought action called Coral by Lily.blue It's in colour set one (actions) and include the Honey which is also a fantastic vintage action and then used a texture by Jessica Drossin. I have the texture pack one and love it. They're the only textures i ever use.

    tunepimper which signature? I usually use times new roman with a wide spacing


  • Advertisement
  • Registered Users Posts: 15 tunepimper


    tunepimper which signature? I usually use times new roman with a wide spacing

    Thanks squareballoon, I was asking about the sig in your earlier shot. Looks good. Thanks for putting up your setting/editing details, excellent shots. TP


  • Registered Users Posts: 191 ✭✭ellieswellies


    013.JPG
    Original above...edit below....just messed around with analogcolor til it looked right!
    4581209025_9a25a70e49.jpg


  • Hosted Moderators Posts: 4,948 ✭✭✭pullandbang


    Before....
    FBC31684259840D4AF92F666AF98D98E-500.jpg


    After...
    BE902F7BEB0344DBA015B66A07CD194A-500.jpg

    :D:D:D:D


  • Registered Users, Registered Users 2 Posts: 1,101 ✭✭✭BrianJD


    hi_im_fil wrote: »
    This
    DSC_1143.jpg

    to this....
    fakerigcopycopy.jpg

    More for fun than anything else

    Sorry

    I know its a year later, but how was this affect done? Looks Brilliant!!


  • Registered Users, Registered Users 2 Posts: 4,256 ✭✭✭LeoB


    sorry I should have put my settings and editing details.
    canon 5D
    70-200mm 2.8L

    I edited it with a bought action called Coral by Lily.blue It's in colour set one (actions) and include the Honey which is also a fantastic vintage action and then used a texture by Jessica Drossin. I have the texture pack one and love it. They're the only textures i ever use.

    tunepimper which signature? I usually use times new roman with a wide spacing

    Really nice photos you have posted. Not over done and yet very effective. Well done.


  • Registered Users, Registered Users 2 Posts: 66 ✭✭site designer


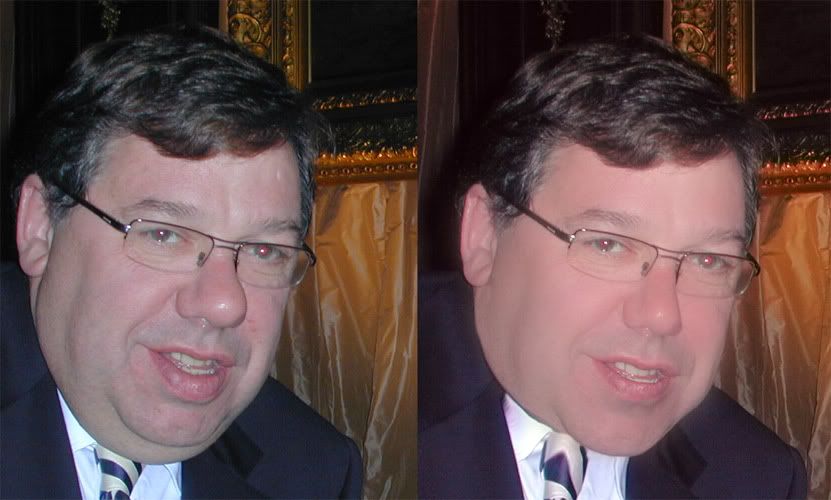
    Workin on making people beautiful, Cowen just really for laughs


    cowencopy.jpg


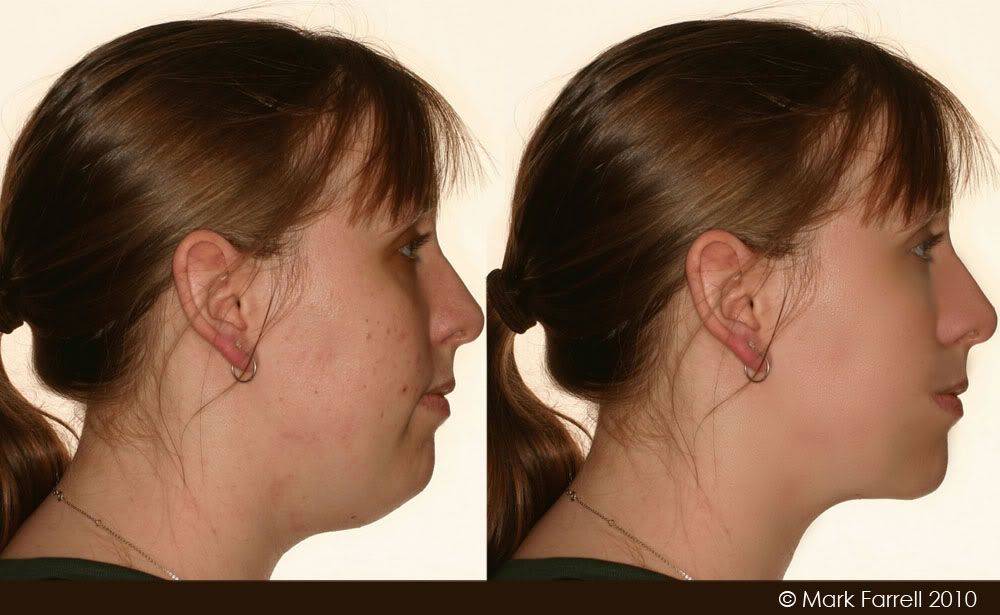
    A more serious attempt, using liquefy tool, Gaussian blur and high pass filter and some layer effects, its all about keeping the texture.

    woman2large.jpg


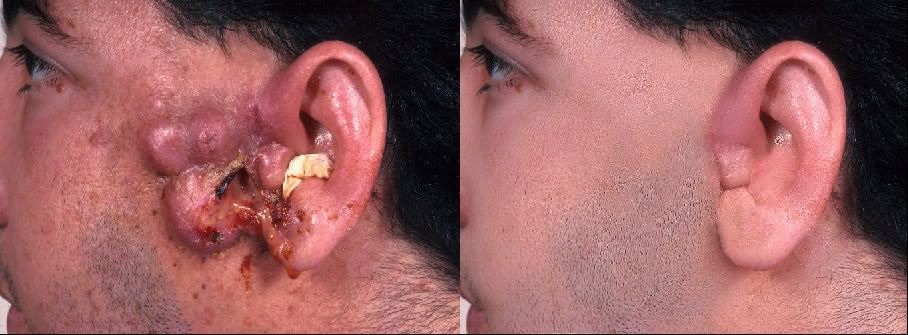
    This was quite a challenge, as I had too pretty much redesign 60% of his face from the skin he had, same tricks as before, except using lots of clone tool beforehand and a few other secret tricks.

    man2large.jpg


  • Registered Users, Registered Users 2 Posts: 716 ✭✭✭squareballoon


    crikey! what happened to yer man's ear??


  • Registered Users, Registered Users 2 Posts: 1,435 ✭✭✭eas


    crikey! what happened to yer man's ear??

    Is that the guy who people kept mistaking for an ashtray?


  • Registered Users, Registered Users 2 Posts: 66 ✭✭site designer


    not sure just a random picture from google images, looks like he got kicked in the head a few times,


  • Closed Accounts Posts: 1 PeterCo


    wow, some really amazing pictures here. Fantastic. Bookmarked


  • Advertisement
  • Registered Users Posts: 262 ✭✭WheresMyCamera?


    Thought I'd have a go at this thread! I'm really not that go at all this pp lark. I try to keep it as simple as possible so as to keep the image from looking altered. I really try to get as much right in camera when I shoot.

    126774.jpg

    Edited in Lightroom.
    Converted to B&W
    Increased the Black point and contrast.
    Smoothed out the skin a little.
    Desaturated the eyes then brightened them a touch.
    Sharpened the hair, eyebrows, eyelashes and irises.
    Transfered into Photoshop to clean up the background using the dodge tool at 10% on highlights.
    Then noticed the small bit of leg sticking up in the bottom left corner on the image and slapped myself on the forhead!:o


  • Registered Users Posts: 1,511 ✭✭✭Old Perry


    Great thread this, got some really useful info from some of the posts, heres two of mine, nothin really special in the PP but it wasn easy getin the shot with the marhsals standin one side of the frame and spectators on the other so decided to add a bit motion to it myself :cool:

    Before DSC_0079.JPG After DSC_0079a.jpg

    Before DSC_0056.JPG After DSC_0056 copy.jpg


  • Closed Accounts Posts: 19 GalwayMarion


    I love this thread! I thought I'd enter a contribution as well. It is the lovely Railway Station in Athenry. This is the before pic

    8DE9152A57884BABBE51403C6BF01080-0000334074-0001922563-00800L-C325781C6A7E490A97D2DD25B48435F1.jpg

    And below is the one after I added some Victorian people and a train. All stock courtesy of AngelusKnight, Rammkitty, Inspyredtash and Auroradreams on Deviantart, and all other stuff like overlay textures and grunge brushes are my own resources. I like how this little station looks a lot, so I thought I'd emphasize the Victorian looks a bit by giving it a grunge look. After all the tweaking I converted to a sepia tint with an adjustment layer, so I could paint back in a bit of the colour. Hope you like it!
    Cheers, Marion

    CD6DE4220DAC41FA82220B15259498DF-0000334074-0001922562-00800L-C9B931FA526A4CD884D583CDA096042F.jpg


  • Registered Users, Registered Users 2 Posts: 3,057 ✭✭✭kjt


    Super work Marion!!!


  • Registered Users, Registered Users 2 Posts: 716 ✭✭✭squareballoon


    wow, that's fantastic Marion!


  • Closed Accounts Posts: 19 GalwayMarion


    Many thanks, I am glad you like it!!


  • Registered Users, Registered Users 2 Posts: 1,435 ✭✭✭eas


    Here's a before / after /after after.


    BAA.jpg


  • Registered Users, Registered Users 2 Posts: 716 ✭✭✭squareballoon


    that's really fantastic, eas. Would you be willing to share how you did the BW?


  • Registered Users, Registered Users 2 Posts: 1,435 ✭✭✭eas


    Hi Lynn,

    Used the custom BnW mixer in lightroom then into PS. Emphasize the wrinkles using a darken multiply adjustment layer. Eyes where done again by copying main layer and setting to screen mode, inverted the layer mask, painted the eyes back in and tweaked opacity until they fit OK.

    Hope that's helpful.


  • Advertisement
  • Registered Users, Registered Users 2 Posts: 8,161 ✭✭✭dinneenp


    eas wrote: »
    Hi Lynn,

    Used the custom BnW mixer in lightroom then into PS. Emphasize the wrinkles using a darken multiply adjustment layer. Eyes where done again by copying main layer and setting to screen mode, inverted the layer mask, painted the eyes back in and tweaked opacity until they fit OK.

    Hope that's helpful.

    Is that all the changes or just to B&W?
    I'm interested to know how you made the first changes?
    great pictures, really stand out (after 1st change)
    Thanks,
    pa.


  • Registered Users, Registered Users 2 Posts: 1,407 ✭✭✭Promac


    I really like the colour one in the middle - care to share on that one? Cheers.


  • Registered Users, Registered Users 2 Posts: 888 ✭✭✭Mjollnir


    The road to South Lake, near Bishop, CA, in between thunderstorms. My g/f is juuuuuust visible, walking on the left side of the first bend in the road in a black hoodie.

    Before, done by me, in Photoscape.
    P1020152.jpg

    After, done by her (a pro) w/Lightroom
    Bishop2LR.jpg


  • Registered Users, Registered Users 2 Posts: 993 ✭✭✭ditpaintball


    Here is one of mine.

    5144434252_a4cc4e59d1.jpg

    Can't remember what I did do it as it was a while ago and I have since changed my processing style. But it would have been.....

    Processing:
    exposure, brightness, contrast and fill light
    Split tones and some saturation boosting

    Retouching:
    Removed the flash
    tighter crop
    some dodge and burn on tatoo


  • Registered Users, Registered Users 2 Posts: 8,161 ✭✭✭dinneenp


    before:
    5165216108_49325028e3_o.jpg

    after:
    5165173470_48998ddd2d_o.jpg


  • Registered Users, Registered Users 2 Posts: 7,498 ✭✭✭BrokenArrows


    Mjollnir wrote: »
    The road to South Lake, near Bishop, CA, in between thunderstorms. My g/f is juuuuuust visible, walking on the left side of the first bend in the road in a black hoodie.

    After, done by her (a pro) w/Lightroom
    Bishop2LR.jpg


    Really like this.
    Love way way my eyes get drawn to the road turning round the mountain.


  • Advertisement
  • Closed Accounts Posts: 2,663 ✭✭✭Cork24


  • Closed Accounts Posts: 2,131 ✭✭✭oshead


    The first is the raw from lightroom with the default import settings. The next two is just messing around with tones, grain, textures and stuff.

    135270.jpg135272.jpg135271.jpg


  • Registered Users, Registered Users 2 Posts: 7,692 ✭✭✭Dublin_Gunner


    Just a pic taken from my camera phone, thought it was quite seasonal and festive, and wanted to give it a sort of old look.

    Few contrast / levels adjustments, change to B&W, 2 subtle textures, some gamma correction and arrived at the finished one below. (saving it as jpeg and resizing seems to have accentuated the vignette )

    140269.jpg

    140270.jpg


  • Closed Accounts Posts: 3,942 ✭✭✭Danbo!


    Heres a few of mine

    Before
    Before1.jpg

    After
    After1.jpg

    Before
    Before2.jpg

    After
    After2.jpg

    Before
    Before3.jpg

    After
    After3.jpg


  • Registered Users, Registered Users 2 Posts: 716 ✭✭✭squareballoon


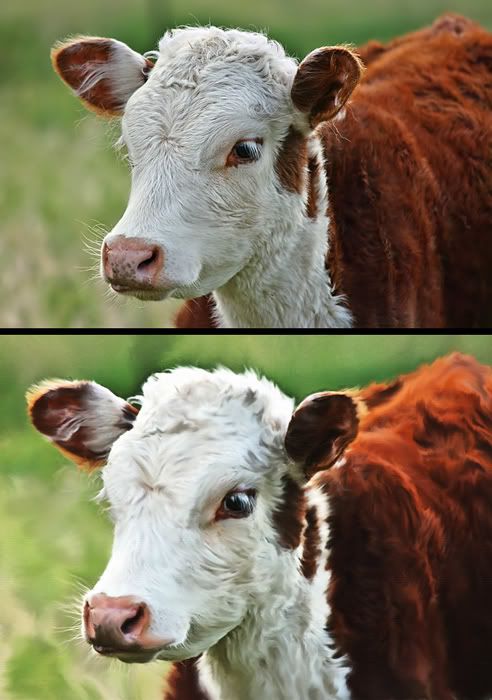
    A before and after with the smudge tool in photoshop. Cheesy I know but enjoyable to do.
    cow.jpg
    close-up
    closeup.jpg


  • Advertisement
  • Registered Users Posts: 428 ✭✭[Rasta]


    This is a panorama made out of multiple photos taken within 2 mins.
    Im not the best with photoshop but im very happy with the outcome.
    Original size 15788x2296

    Before:

    before1.jpg


    After: I got rid of that telephone pole cause its just nasty.
    Some lines are still slightly visible, but its hard to get rid of em perfectly.

    after1.jpg

    edit- heres a larger one so you can see more:
    http://img593.imageshack.us/img593/905/larger1.jpg


  • Registered Users, Registered Users 2 Posts: 888 ✭✭✭quicklickpaddy


    These are my first few attempts at altering photo's (as opposed to just jokes via photoshop)... Let me know what you think! :)

    Before
    http://omg.wthax.org/radio1.jpg

    After
    http://omg.wthax.org/radio_edit_1.jpg

    I just cropped it, desaturated the image bar the layer for the knob, used a very severe setting with the curves, boosted the contrast really high and dropped the exposure a little bit.


    I don't have the before's of this image on this computer but here's the finished product
    http://4.bp.blogspot.com/_llfnYf9Sz04/TR5Ip5WoUBI/AAAAAAAACcc/S6YpY8LbM_8/s1600/interruption%2BA4.jpg

    The background of the photo was already out of focus but I just duplicated the background layer, covered the duplicate in a thick blur and just used an eraser around the receivers. Then I boosted the saturation and vibrancy with a speckled grain filter on the original background layer... And I think that was it!

    EDIT: Sorry for the links - I forgot to resize so they were way too big for the page


  • Registered Users, Registered Users 2 Posts: 993 ✭✭✭ditpaintball


    Here is another one, not a direct before and after, but you can see the work done on the sky and the black and white conversion:

    5225188056_47b85eddc6.jpg
    Setup Julie 3 by Richie Buttle, on Flickr

    Write up: http://www.richie.ie/2010/12/setup-shot-julie/


  • Closed Accounts Posts: 2,131 ✭✭✭oshead


    The background is a Lastolite 8x7 Hilite with train. On the floor is a 4x4 sheet of perspex. The camera and lens is the 5D MkII and the EF 24-70mm L. The key is an Elinchrom BXRi 500 with a 40 inch shoot through umberella. The props are Lastolite tubs with white covers. One little girl imagining that she's walking on stepping stones in a river.:)

    Some things I did before hand.
    1. Using a light meter, set the exposure of the background to f11.
    2. Again with a meter, set the exposure of the foreground to f7.1.
    3. Set my camera's aperture to f5. Notice the apparent seamless white nature of the background.

    142333.jpg

    Some other things I could have done before.
    1. An incamera custom white balance using the second image from the set.
    2. Flag the bottom of the scene, to have less light hitting the floor at the front. This would've help boost the reflection on the ground.
    3. Framed it right???? Though I like to frame wide most of the time.

    142334.jpg

    What I did afterwards in lightroom
    1. White balanced the image using the second image, a shot of the expodisk.
    2. Dropped the brightness down 5 and the contrast up by 50.
    3. Cropped to taste.
    4. Used a graduated filter on the bottom of the image to darken the bottom slightly to boost the reflections on the perspex.


  • Registered Users Posts: 74 ✭✭Neasha


    Wasn't my photo to begin with, but probably one of my better edits to date :D

    before
    7CDB8C36493840D8A8322F6FBDCDE176-800.jpg


    after
    D15902D13DAF499CB41D550A027A0574-800.jpg


    haha excellent!


  • Registered Users Posts: 74 ✭✭Neasha


    Here is one of mine.

    5144434252_a4cc4e59d1.jpg

    Can't remember what I did do it as it was a while ago and I have since changed my processing style. But it would have been.....

    Processing:
    exposure, brightness, contrast and fill light
    Split tones and some saturation boosting

    Retouching:
    Removed the flash
    tighter crop
    some dodge and burn on tatoo


    Great great great.


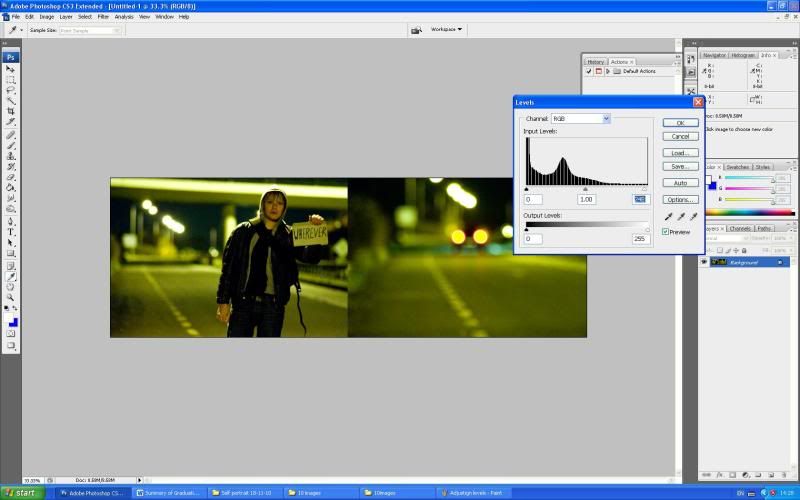
  • Registered Users Posts: 74 ✭✭Neasha


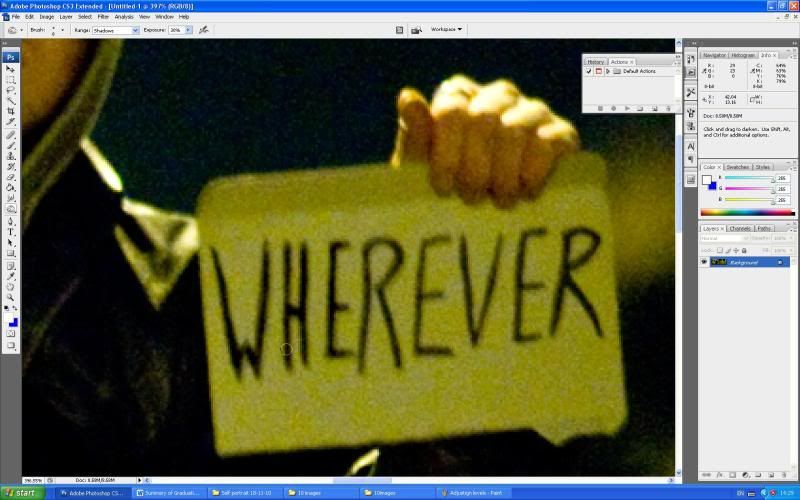
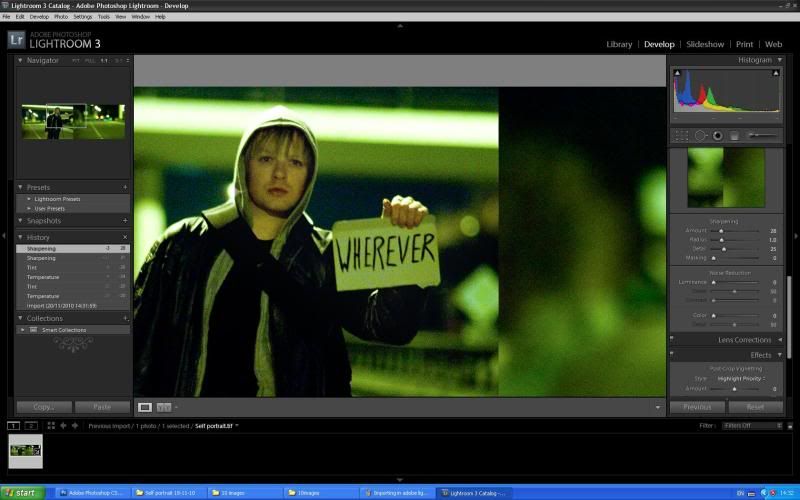
    Adjustignlevels.jpg
    Burningshadowsonwriting.jpg
    Sharpingimagesby28.jpg


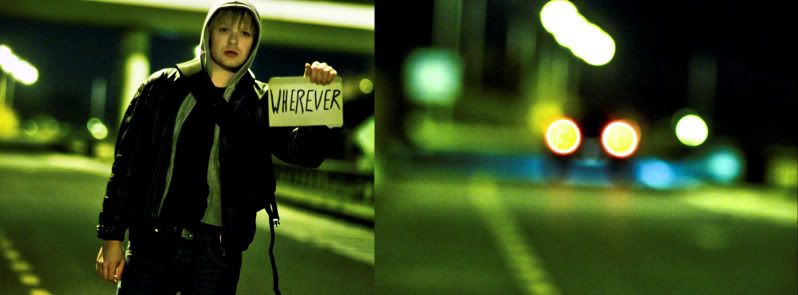
    Final
    Self portrait.

    yjyjy.jpg


  • Closed Accounts Posts: 1,277 ✭✭✭mehfesto


    5350427398_b8d9f08825_z.jpg

    5349790691_41f76b17a0_z.jpg


  • Registered Users, Registered Users 2 Posts: 16,930 ✭✭✭✭challengemaster


    7E59FBF7D8CA464098257C630066772E-0000315821-0002166610-00800L-3E772EFAD39A4BB0B5448A99174D0D94.jpg

    267CE52D53E545DB9A94D051FD23CE67-0000315821-0002165957-00800L-C14206909AEF430CA3D075B65C2E3397.jpg

    22 layers and 2 hours of doing things for I dunno what reason :D


  • Registered Users, Registered Users 2 Posts: 927 ✭✭✭Kev.


    Just spent the last hour or 2 looking through all the photos,some amazing ones in it

    I love that when an after photo isn't the best it gets no thanks....


  • Advertisement
Advertisement