Advertisement
If you have a new account but are having problems posting or verifying your account, please email us on hello@boards.ie for help. Thanks :)
Hello all! Please ensure that you are posting a new thread or question in the appropriate forum. The Feedback forum is overwhelmed with questions that are having to be moved elsewhere. If you need help to verify your account contact hello@boards.ie
Please note that it is not permitted to have referral links posted in your signature. Keep these links contained in the appropriate forum. Thank you.

https://www.boards.ie/discussion/2055940817/signature-rules

Servicing VAG 1.9 TDI

Options
  • 01-12-2009 10:19pm
    #1
    Registered Users Posts: 1,031 ✭✭✭


    Since there has been a thread on servicing petrol engines in the past I said I would do one for diesels.

    Anyways as the title suggests I have a VW Passat Tdi and below is a step by step guide of how I service it.

    Disclaimer
    Before I go any further if you attempt what is described here you do so at ur own risk. If your not confident in your own ability do not attempt or come b***hing to me about it. :D


    Required:

    - Basic tool kit consisting of range of sockets, spanners etc
    - Container in which to store the used engine oil
    - New engine oil (I use longlife VW507.00 5w30 spec) is good for 20k miles....I do 15k a year so I change it once a year.
    - New oil filter (VW OEM)
    - New sump plug (VW OEM, VW recommend its changed)
    - New Pollen Filter (VW OEM)

    I didnt change the diesel filter, airfilter, as this was done less than 16k miles ago.

    First warm up engine so that the oil will be easier to drain from the sump. prepare tools replacement parts etc. Im lucky as I have a pit available at my fathers house :cool: otherwise jack up and use axel stands.


    After the engine oil has sufficiently warmed up. remove the engine cover its secured in place my 3 x 10mm nuts.
    Tagged:


«1

Comments

  • Registered Users Posts: 1,031 ✭✭✭nogoodnamesleft


    Next remover the belly pan underneath the car. Its held in place by about 6 speed screws and a few pop screws in each wheel arch. Its quiet possible that it might not be there as many cars loose them. This will expose the sump.

    Remove the 17mm nut and with a large container at the ready be prepared to catch the used engine oil that will flow out. Caution this may be extremely hot.

    Next remove the top of the oil filter housing (I bought a special tool off ebay for 10euro delivered to make this easier as ive swore and tore the knuckles off myself in the past).


  • Registered Users Posts: 1,031 ✭✭✭nogoodnamesleft


    This will reveal the paper oil filter. Included in the oil filer box will be two seals for the filter housing. Replace both oil seals smear oil over the rubber seals to make sure they seal properly. Discard the used oil filter in a responsible way!

    Place the new filter in the housing taking care to put it the right way up (it has top written on it) and refit the plastic oil filer housing and tighten it up.


  • Registered Users Posts: 1,031 ✭✭✭nogoodnamesleft


    The old oil should have sufficiently drained oil of the sump at this stage. Clean the drain hole with a cloth and refit the new sump plug. Careful not to squeeze the sump up too tight incase you cross thread the aluminium sump.

    Fill the sump with new engine oil (mine took roughly about 4 litres). Keep checking the dip stick and be careful not to overfill. Once the sump is full check for leaks!!

    If everything is ok....start to car making sure that the oil light goes out straight away. I left mine ticking over for a min or so. I then turned it off and checked for leaks again.

    If no leaks. refit the belly pan making sure that everything is secure and properly in positon. Refit the engine cover. Oil service complete.


  • Registered Users Posts: 1,031 ✭✭✭nogoodnamesleft


    Here is the pic of the new sump plug as you can see its clean!!! but it also has a seal on the nut.


  • Registered Users Posts: 1,031 ✭✭✭nogoodnamesleft


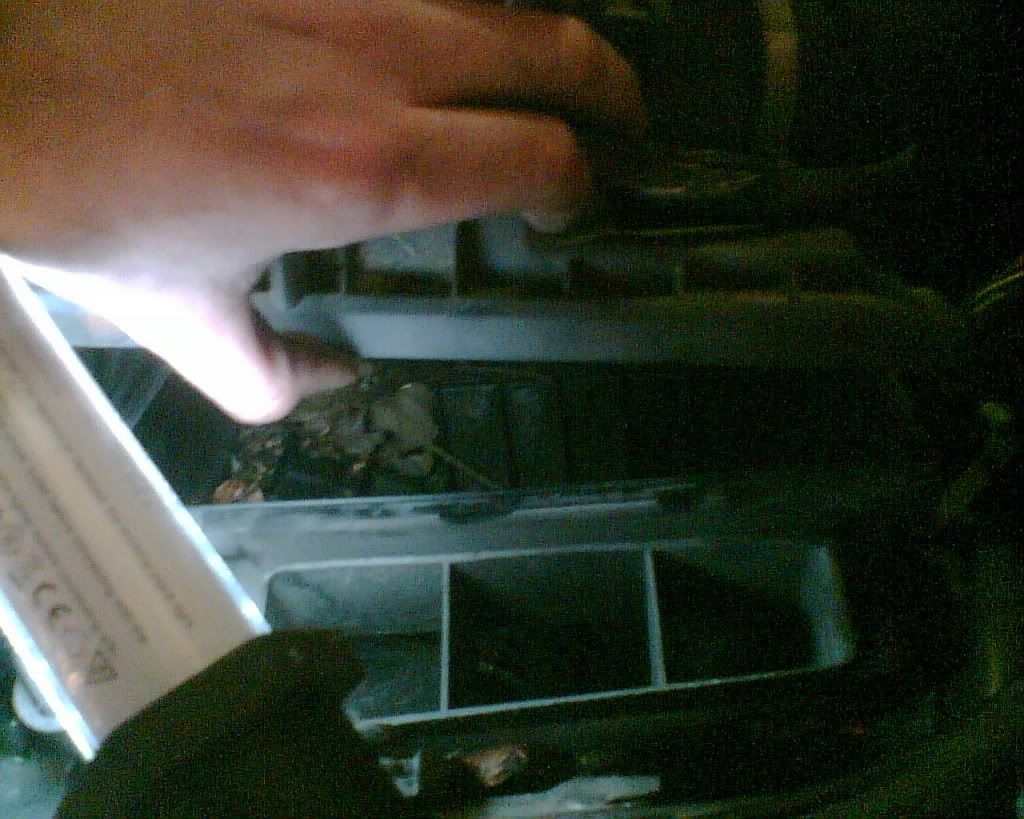
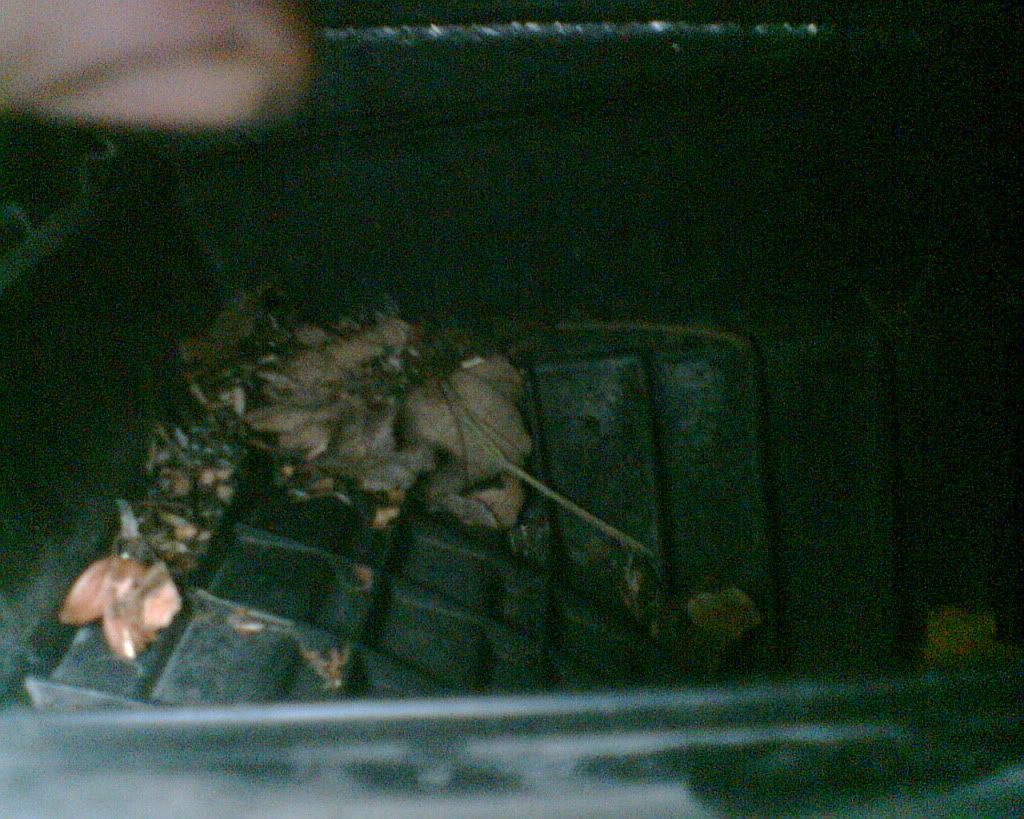
    I also changed the pollen filter as I was at it.

    Remove the plenum chamber cover. First carefully working the cover seal free and then sliding the cover out towards the front of the car. This will reveal the plenum chamber in which lives the brake master cylinder, battery, and pollen filter (and in some cases lots and lots of water).

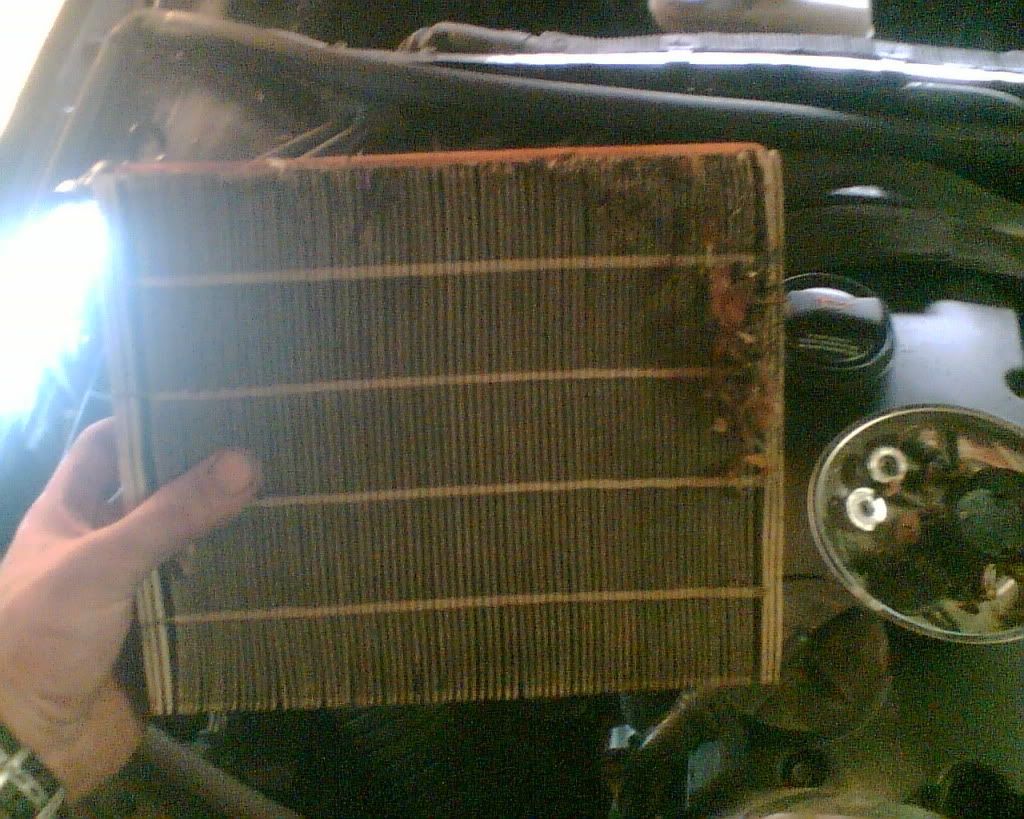
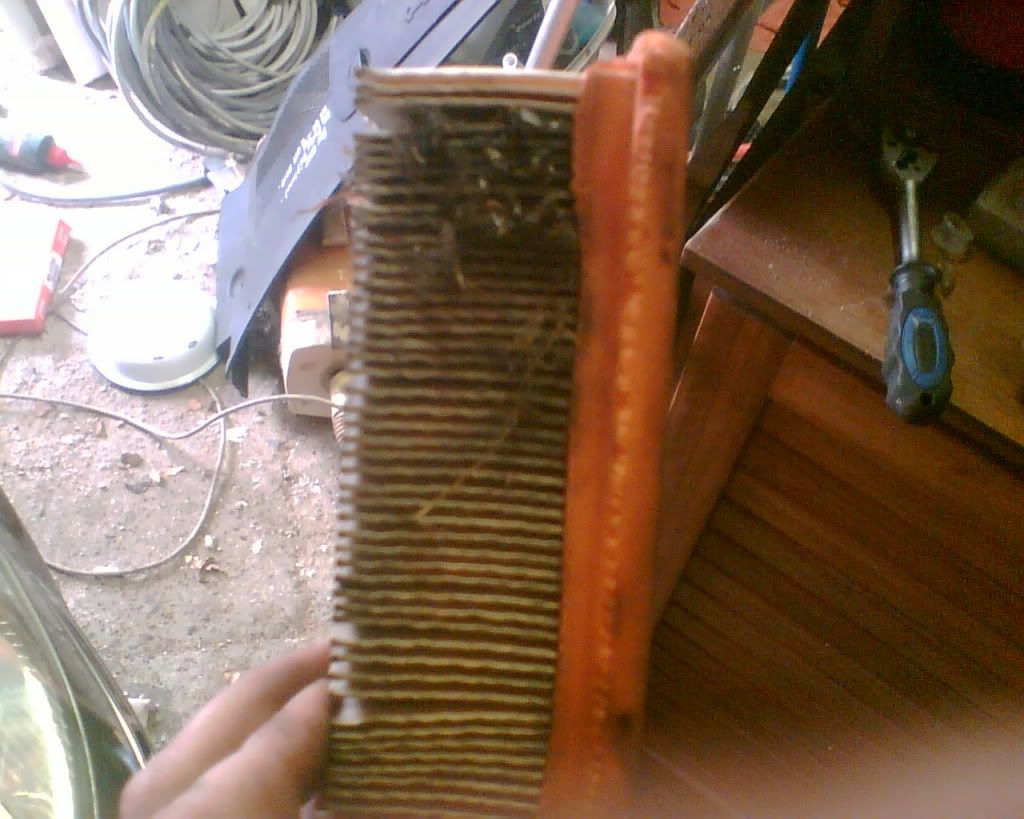
    The filter is held in place with a small locking tab that slides upwards. As is often the case the pollen filter in some cars doesnt get changed. 1st time i changed mine I had the hoover at the ready to hoover the dry leaves. Also take care to put the filter in the correct way....it has arrows denoting airflow.

    As you can see in the pic compare how clean the new fiter is to the old one!

    Once the filer is secure...refit the plenum chamber cover making sure the seal is correctly refitted.

    I make a note of the date and mileage that the car was serviced on and the next service date. I used the sticker provided by the Liqui Moly and stuck it on to the air duct on the right hand side of the engine bay.

    Reset the service indicator using the combination of twisting of knobs....or if you have a licensed version of Vag com over the diagnostic port.


  • Advertisement
  • Registered Users Posts: 1,031 ✭✭✭nogoodnamesleft


    I was quiet lucky I was about to service my car as I discovered the plenum chamber was collecting water.Luckily it hadnt reached the level of the pollen filter.

    Here is a guide for anyone else that might find it useful.

    http://www.weirdlittlebiscuit.com/passat/leak/


    I thought I might have to give a trip to the dealer (as this was an urgent job that required attention) for the radio code as I obviously had to disconnect the battery. Luckily when I reconnected the battery the radio entered "safe" mode then "learn" mode and started working as normal. I recon the radio knows the last ecu it was connected to.

    I refit both rubber bungs after cleaning them out as they were clogged with ****e! I recon the reason they are these is to stop road debris from entering. Never the less its a bad bad design. Ill make note to check them at the next service.


  • Registered Users Posts: 1,031 ✭✭✭nogoodnamesleft


    The symptoms of my problem were engine management light on in the dash as well as "Emissions Workshop" appearing on the driver computer display. I have a VAG COM lead and ran diagnostics (lead cost me 15euro delivered best money I ever spent ) it reported back a faulty coolant temperature sender - Intermittent.


    I got a quote off the main dealer for the part including the O ring and a new clip to hold it in place - 33 euro. Was in cork and called into otto car parts got the same part including O ring for 20 quid. They dont do the plastic clip but you can always reuse the old one or get one of the dealer for less than a euro.

    With the car coolant system NOT PRESSURISED (i.e. the car is cool). Remove the engine cover as described earlier.

    The haynes manual stipulated that you should remover the ducting connecting to the ERG value to allow access. I completed the job without doing this as I though I would be making more work for myself.

    The temperature sender itself can be located by looking down on the left hand side of the engine bay at the back of the engine. The sensor will be pointing to the left with a wiring harness connected to it.

    To remove the harness used a small flat screw driver to unlock the locking tab and move the free end of the harness out of the way. Note it is fairly awkward!

    There is a plastic clip holding the sensor in place as can be seen in the image. Again use a flat head screw driver to give the neccessary leverage to remove.

    When you pull the old sensor out, be prepared that about a litre of coolant will flow out also. Remember to remove the old seal as this will stay inside the manifold.

    Refit the new temperature sender (green) using a new O seal. I also wet the O ring to make sure it gets a good seal. Push gently but firmly in place. I replaced the plastic retaining clip also.

    I sprayed the connection with electric contact cleaner (wd40) to ensure good connectivity. Connect the wiring harness to the new temperature sender making sure its securly in place.

    I scanned the ECU again with VAGCOM and cleared the existing error code caused by the old temperature sender.

    Start the car and bring it up to temperature. Check for leaks.
    The car will require top up of the coolant (G12++ (vag specific coolant)) for bit that was lost changing the sensor do this while the coolant system is NOT under pressure.

    Job done....


  • Closed Accounts Posts: 12,456 ✭✭✭✭Mr Benevolent


    A very handy guide, much obliged!


  • Registered Users Posts: 1,031 ✭✭✭nogoodnamesleft


    Before some delusional individual comes on and says that a mapped 130bhp passat is a wrx beater.......IT ISNT! or the usual VAG bashing.

    Hope this helps a few people out considering the prices that main dealer charge for servicing (approx 300euro) or a code scan (90euro).

    And after all that....here is a pic of my baby and she just passed the NCT last week :D


  • Registered Users Posts: 195 ✭✭treborm


    Might try service my mk4 golf 150pd dont think there would be much difference, hate handing money over to the stealers.:mad:


  • Advertisement
  • Registered Users Posts: 2,903 ✭✭✭cadaliac


    Thanks for the guide. Some very usefull info - drain plug location was handy for me.
    BTW, you should really change the fuel filter and air filter as you are at it.
    I change mine every 10k.
    Just be careful to keep turning on and off the ignition (to pump diesel) when re-starting the car after you change the fuel filter. I'm not sure if you can fill the filter with diesel when you fit the new filter. It can get harsh on the starter.
    Nice wheels BTW.


  • Closed Accounts Posts: 10,025 ✭✭✭✭-Corkie-


    Good man thanks i have to say its one of the most contributave thread/posts on boards.ie that i have seen:)

    I have a 07 passat that i service at home im just wondering are you better drain the sump as you say or is it ok to be lazy and use the pump that sucks the oil from the dipstick hole. I normally suck the oil out is this ok..

    btw ur own passat is lookin well had a 01 130 fantastic car..


  • Registered Users Posts: 82,598 ✭✭✭✭Atlantic Dawn
    M


    I think from the sump is better, more chance of any foreign objects in the oil being taken out through the sump and should be a better overall draining of the old oil.


  • Closed Accounts Posts: 10,025 ✭✭✭✭-Corkie-


    Cheers i thought so to as the fresh oil is still black after service.


  • Registered Users Posts: 237 ✭✭docmartin


    as said above great thread. very conclusive

    i have to service a bke engine audi a4 this weekend so i got all my research done now


  • Registered Users Posts: 4,772 ✭✭✭meathstevie


    Don't worry about the fresh oil being black. It's normal in a diesel.


  • Closed Accounts Posts: 10,025 ✭✭✭✭-Corkie-


    Oh rite i used 5w-30 as opposed to 5w-40 castrol edge i hope this dont make a differ it says on the castrol website to use this if your engine has a diesel particulate filter (dpf)


  • Registered Users Posts: 1,031 ✭✭✭nogoodnamesleft


    malcox wrote: »
    Oh rite i used 5w-30 as opposed to 5w-40 castrol edge i hope this dont make a differ it says on the castrol website to use this if your engine has a diesel particulate filter (dpf)

    Once it says VW 507-00 you have the correct spec oil. The DPF is just to say it can be used on cars with it fitted.


  • Closed Accounts Posts: 10,025 ✭✭✭✭-Corkie-


    Once it says VW 507-00 you have the correct spec oil. The DPF is just to say it can be used on cars with it fitted.


    Cheers i owe u a pint:p


  • Registered Users Posts: 1,031 ✭✭✭nogoodnamesleft


    40k Service was due there last week so took a few more pics for additional items that need attention: Apologies for pic quality. The pics were taken on a very old camera phone (I also mess about with electronic repair waiting on a part for my Nokia E51).

    Anyways Items that needed attention
    • Oil Change
    • Oil Filter
    • Pollen Filter
    • Checked Plenum Chambe
    ^ Items above already covered in my previous posts.
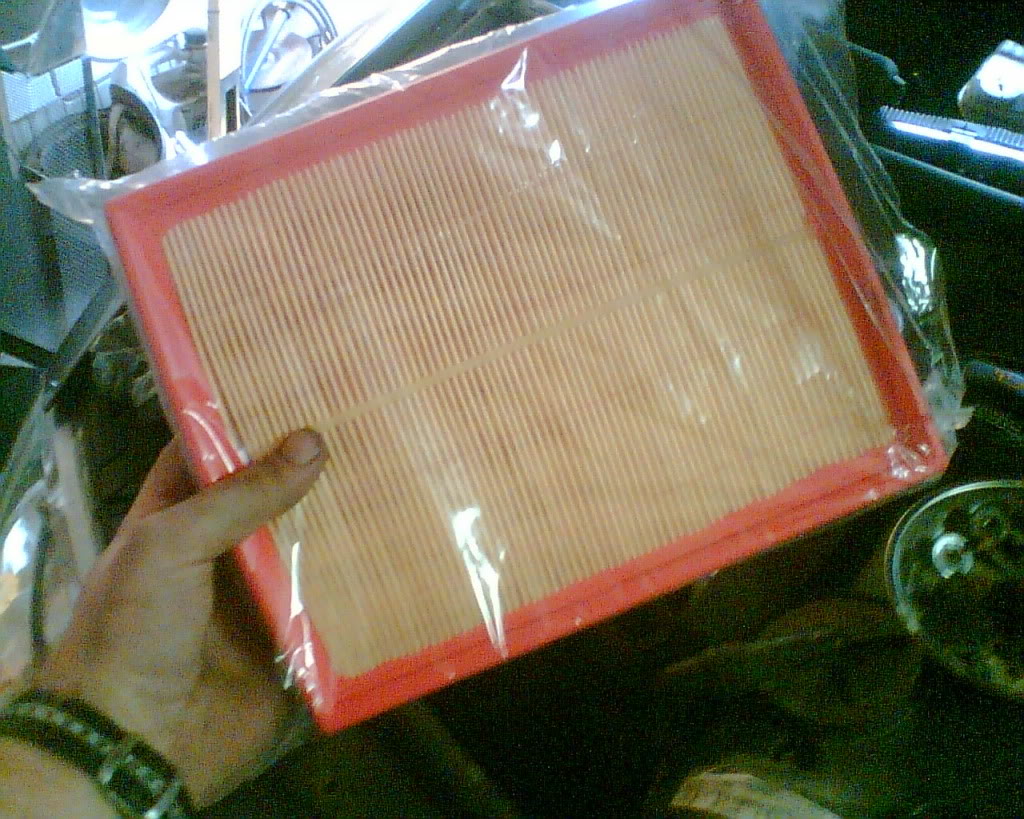
    • Change Air Filter
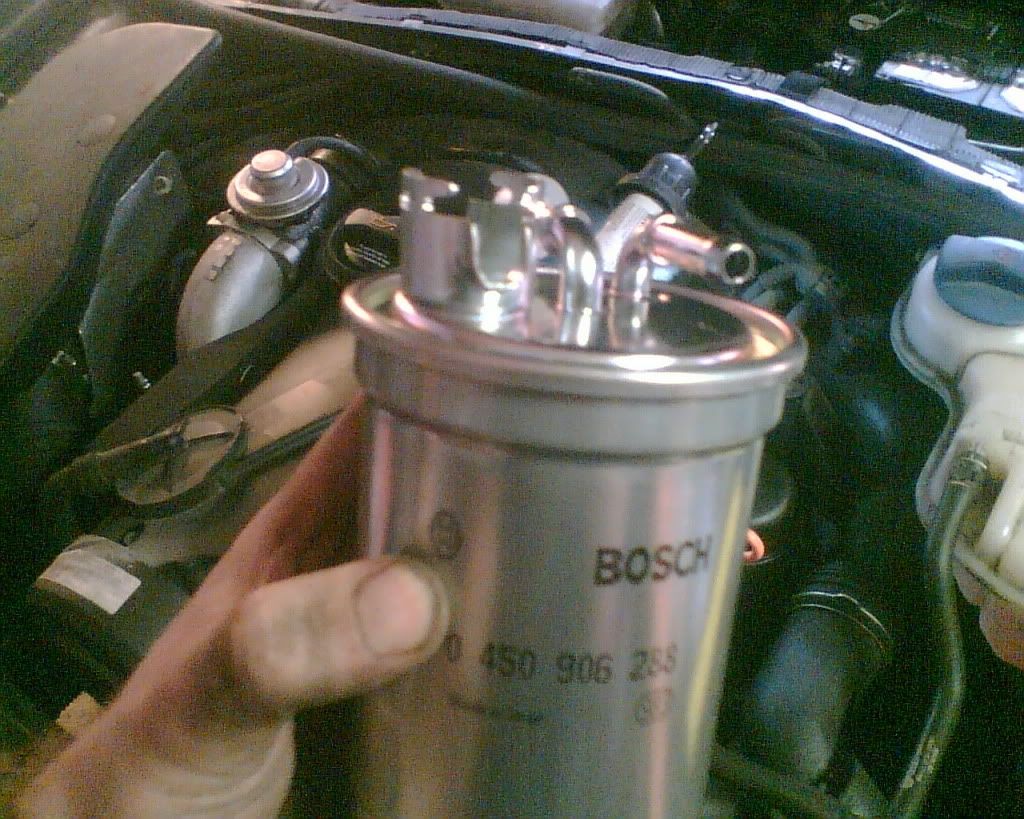
    • Change Diesel Filter
    • Lubricate hinges
    • Check Fluids
    • Suspension and CV joint inspection


    Changing Air Filter:
    Remove Ducting to Air box on the right hand side of the engine bay.
    Undo the 4 clips that secure the top of the air box and remove air filter.
    Alto handy to have a hoover handy to remove depris that lodges on top of the filter and in the air box itself.

    Image018.jpg

    Image017.jpg

    Image014.jpg

    Image015.jpg

    Image022.jpg


  • Advertisement
  • Registered Users Posts: 1,031 ✭✭✭nogoodnamesleft


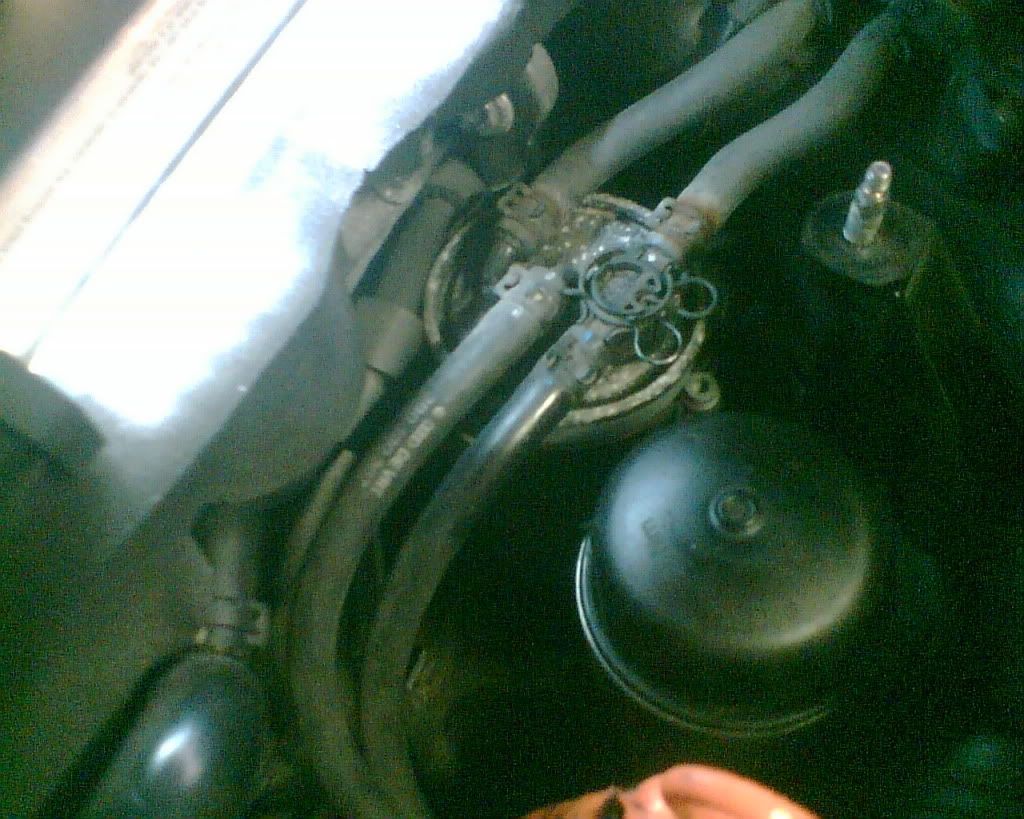
    Diesel Filter: Some people have huge problems after changing the diesel filter as they introduce air locks into the fuel system which results in failure or intermittent starting of the car.
    Some people suggest priming the new diesel filter with fresh diesel prior to installing. You could also crank over the engine and wait for it to eventually burst into life but this can result in the starter over heating and running the battery down.

    The way I did it was the following:
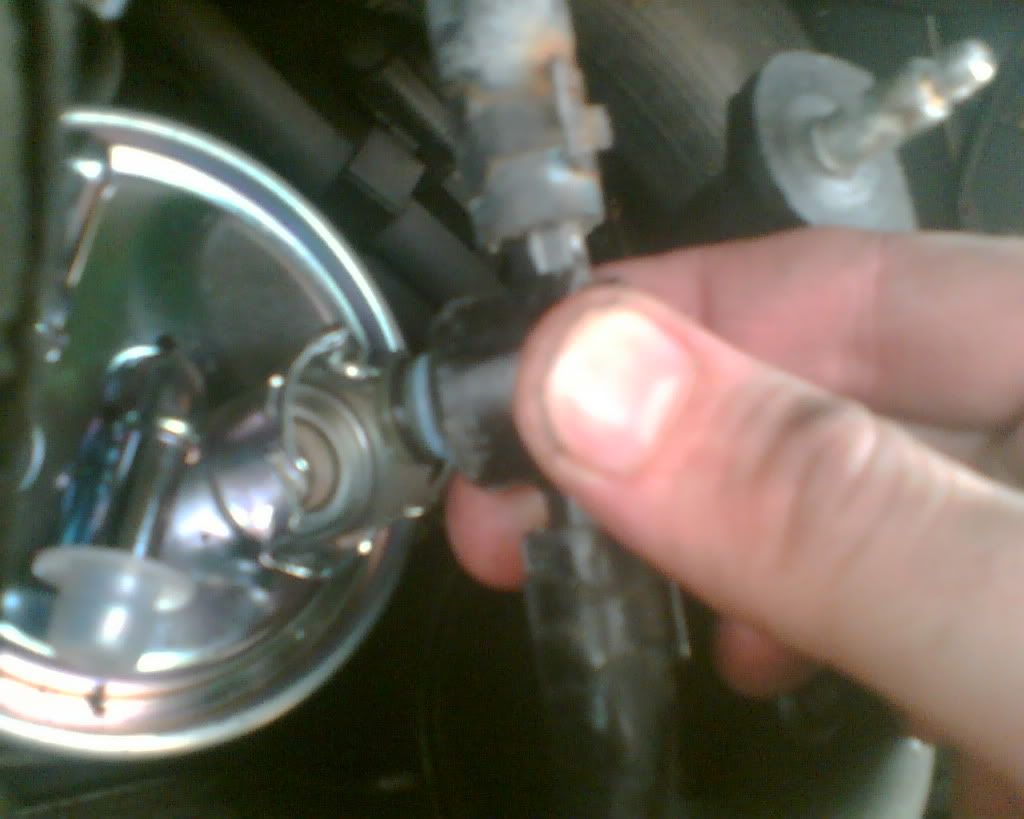
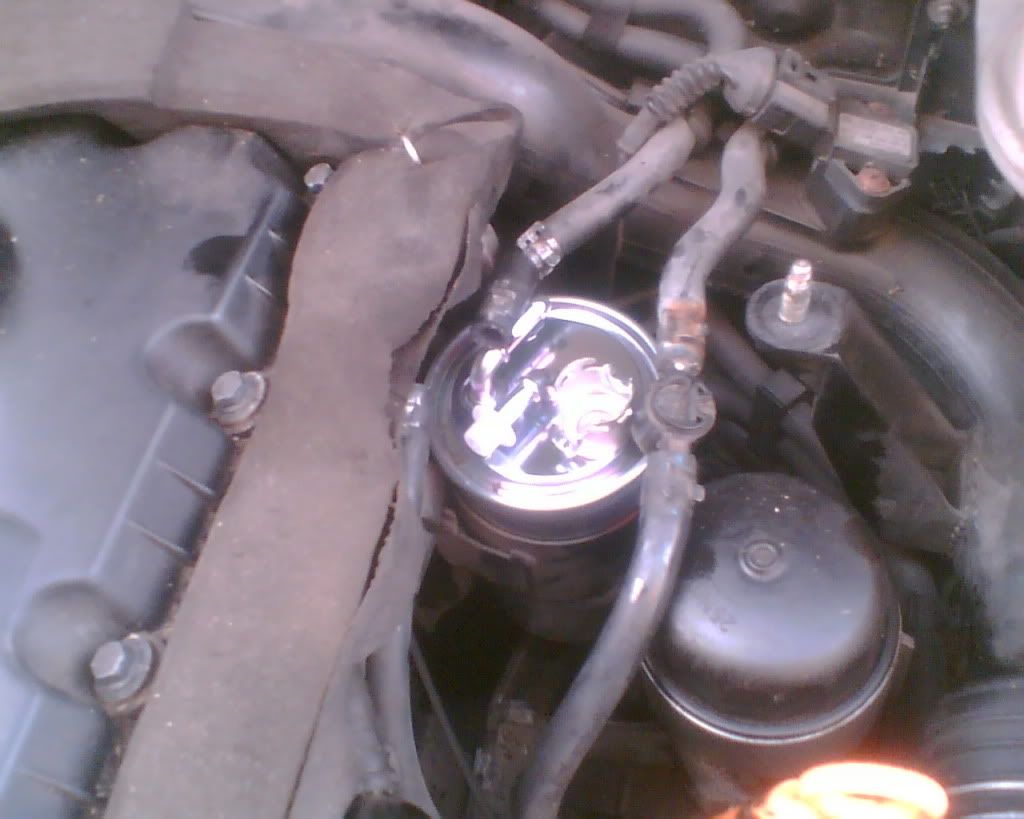
    • Remove the flow and return hose clamps with a pliers. Remove the "mickey mouse clip" (carefully, lot grip of mine and couldnt find it for the life of me, had to call to get a replacement 2euro) and carefully remove the connection into the fuel filter.
    • Undo the clamp around the fuel filter. Mine was a 6mm allen bolt
    .

    Image024.jpg
    • Lift the old diesel filter straight out vertically as its full with fuel.
    • Change the sealing rings on the "T connection piece" into the filter. There is a black and blue. Replace same for same. The old ones are brittle enough one split when replacing it.

    Image027.jpg

    Image025.jpg

    Image029.jpg

    Image028.jpg

    • Swap in the new diesel filter and tighten the securing clamp.
    • Connect the flow and return hoses and slide the hose clamps back into position to secure them.


    Image026.jpg

    Smear some diesel over the new sealing rings to ensure the seal correctly and arent damaged when inserted into the new filter.
    Replace the mickey mouse clip.


    To Prime to the filter:
    • Hop into the car and turn the key to IGN but not starting the car. This will power the fuel pump in the tank.
    • I repeated the above 15 times roughly leaving the key on for about 5 sec
    • Check for leaks frequently.
    • On the 16th turn I started the car. No problems and I left it run for about 5 mins.

    Check and renew fluids (coolant, windscreen etc)
    I checked the C.V. boots and suspension also.


    Job Done.


  • Registered Users Posts: 23,357 ✭✭✭✭mickdw


    This is the procedure as detailed by vw/audi.

    2ewzk83.jpg

    Running the pump without turning the engine as you suggest certainly seems like a good idea though.


  • Closed Accounts Posts: 556 ✭✭✭Bobo78


    Great description OP.
    One question for you regarding those drain holes.
    What would happen if you remove those rubber drain holes for good, so you just leave empty holes. Would that cause any damage to the car or would it be even better because there is no chance of them getting clogged up again?


  • Registered Users Posts: 1,031 ✭✭✭nogoodnamesleft


    Bobo78 wrote: »
    Great description OP.
    One question for you regarding those drain holes.
    What would happen if you remove those rubber drain holes for good, so you just leave empty holes. Would that cause any damage to the car or would it be even better because there is no chance of them getting clogged up again?

    Well I left mine in der as I know its an item to check every second service. But I recon you would probably get some road spray etc coming up into the chamber possibly a small bit of dirt.Some mechanics do remove them AFAIK but im not a mechanic by profession :P


  • Registered Users Posts: 920 ✭✭✭Ron Burgundy II


    The fuel filter from the passat is that a sealed unit, i.e you can't remove screws and replace the paper filter?
    I would guess the cost to replace the fuel filter is high.
    My mk 5 golf has a paper filter. Only thing is I should really change the fuel filter unit itself showing signs of rust on the top. (english import so i assume this is from the large amounts of salt used on the roads).
    Service is much the same as the mk5 golf really with the exception of the pollen filter, they have moved it to inside the ca under the glove box, can be a bit akward to work in this area.
    I see you have oem parts from a main dealer, how do you find there prices compare to a motor factors. I use Castrol Edge 5w30 oil and mann air, fuel and oil filters, and sometimes delphi fuel filters.
    I guess these companies make oem parts.
    One word of advice to anyone servicing their cars double check the amount of oil required for your car. I always check the dipstick as often as possible when filling the car. The guy at the motor factors told me the golf tdi will take 4.5l so sold me a 4l and a 1l bottle of oil. If I didn't check the dipstick when filling and took his advice could of caused bad damage to the car (well maybe not with half a liter)


  • Registered Users Posts: 4,088 ✭✭✭sean1141


    Is the lid bad with rust or just a flake? If just a flake you could rub it down with a wire brush and paint it.

    On filling the oil did you check it again after you started the car?


  • Closed Accounts Posts: 12,985 ✭✭✭✭dgt


    Fairly handy thread for anyone wanting to avoid serving costs from a garage :)

    Any guide on how to to the tb?


  • Registered Users Posts: 2,350 ✭✭✭Mar4ix


    dgt wrote: »
    Fairly handy thread for anyone wanting to avoid serving costs from a garage :)

    Any guide on how to to the tb?

    I think timing belt is pretty hard to do, really need to know what to do. I havent done tb on those, but i heard, all front has to go off, to get it done.


  • Registered Users Posts: 920 ✭✭✭Ron Burgundy II


    sean1141 wrote: »
    Is the lid bad with rust or just a flake? If just a flake you could rub it down with a wire brush and paint it.

    On filling the oil did you check it again after you started the car?

    Always check the dipstick, even after changing the oil let the car run for a small while and then check it again because the oil filter will take some of the oil.
    Just saying if I was a complete novice and took his advice on 4.5l of oil instead of 3.8l that the main dealer told me it takes it could of caused damage in the long term.
    I must try and put up pictures the next time I service the car could be of some help to people.


  • Advertisement
  • Registered Users Posts: 10,013 ✭✭✭✭Wonda-Boy


    Super post....very well done.


Advertisement