Advertisement
If you have a new account but are having problems posting or verifying your account, please email us on hello@boards.ie for help. Thanks :)
Hello all! Please ensure that you are posting a new thread or question in the appropriate forum. The Feedback forum is overwhelmed with questions that are having to be moved elsewhere. If you need help to verify your account contact hello@boards.ie

Arcade & Retro Repairs & Mods, all new recipe, with no added MSG...

14445474950108

Comments

  • Closed Accounts Posts: 2,249 ✭✭✭magentis


    I never had a problem with soldering but desoldering on the other hand,
    it breaks my heart most of the time!
    been after a desolding station for ages and finally bit the bullet and bought one of these.
    https://www.circuitspecialists.com/Compact_Desoldering_System.html

    Was 133e from ebay via parcel motel.

    got it today and have to say im very very impressed.
    stripped out several ICs to test it out it makes life so much easier.
    took out a 24 pin IC in less than 3 minutes and it was 100% clean!
    didnt damage the pcb at all.
    highly recomended
    ebay link
    http://www.ebay.ie/itm/New-Model-ESD-Safe-Compact-Desoldering-Station-CSI-474A-through-hole-work-/321694777098

    Looks like the answer to rows of bad 4116 ram chips!


  • Registered Users, Registered Users 2 Posts: 3,722 ✭✭✭The Last Bandit


    magentis wrote: »
    Looks like the answer to rows of bad 4116 ram chips!

    The only answer for bad 4116's is to replace them the 4164's !!


  • Registered Users, Registered Users 2 Posts: 5,783 ✭✭✭eddhorse


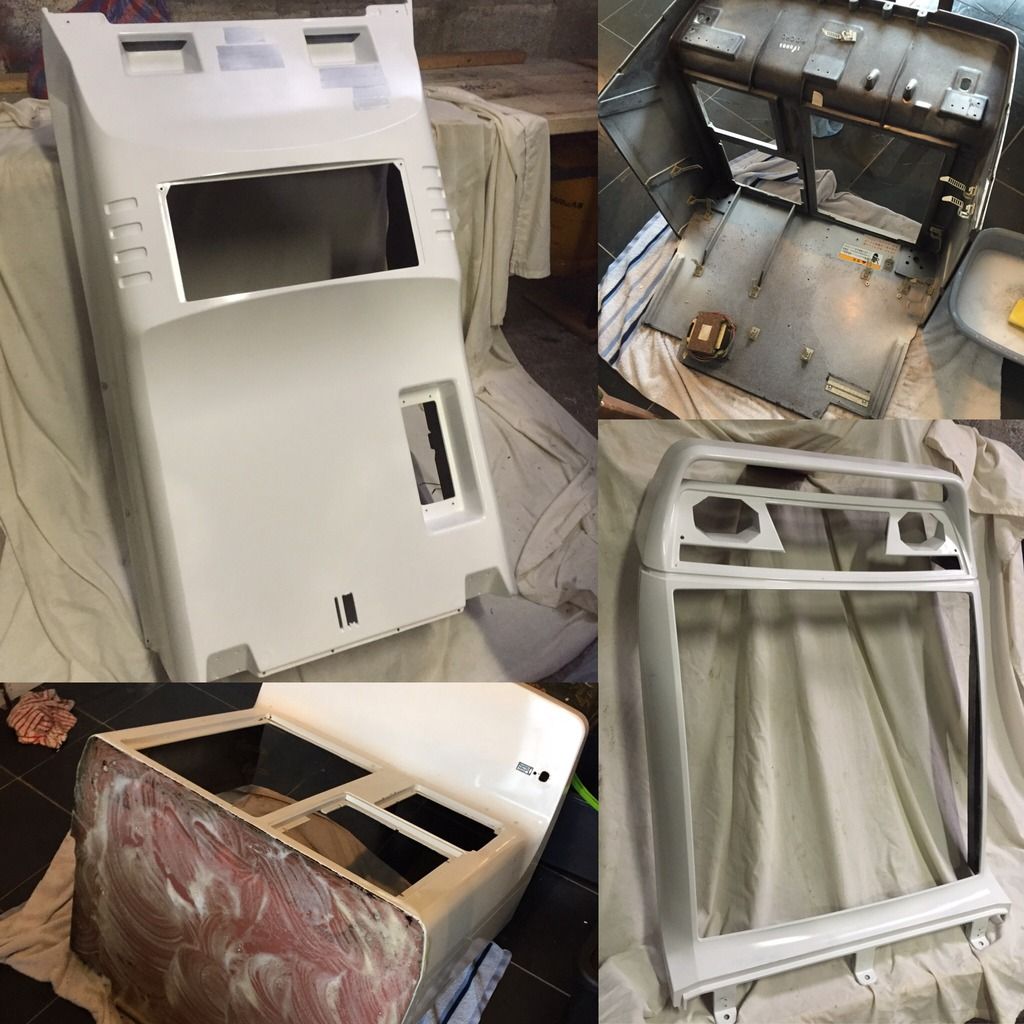
    Bye bye bumps, scratches, grime, holes and cigarette burns.

    Some people might not agree with paint spraying but there were too many scratches for my liking.

    BDE5C5C4-66B4-4465-A60F-75A862A0F670_zpsoqck5dag.jpg

    Needs more sanding, another coat, wax and shine. Then finally reassembly


  • Registered Users, Registered Users 2 Posts: 2,920 ✭✭✭TechnoFreek


    Very nice Edd. Did you do all the work yourself?

    Hope you'll do a restoration thread for us.


  • Registered Users, Registered Users 2 Posts: 5,783 ✭✭✭eddhorse


    Very nice Edd. Did you do all the work yourself?

    Hope you'll do a restoration thread for us.

    Yeah its simple enough really with the help of the wiki to take it apart. Spraying is tricky. Plenty of photos and plenty of scews.


  • Advertisement
  • Registered Users, Registered Users 2 Posts: 15,183 ✭✭✭✭Atavan-Halen


    Looking at picking up a Jap Saturn but was wondering if I can just swap out the power supply from a European one? The one I'm looking at is a model 2 with the round buttons, same as the pal one I have but just want to see if they're the same or if there's different board revisions


  • Registered Users, Registered Users 2 Posts: 8,882 ✭✭✭Steve X2


    Looking at picking up a Jap Saturn but was wondering if I can just swap out the power supply from a European one? The one I'm looking at is a model 2 with the round buttons, same as the pal one I have but just want to see if they're the same or if there's different board revisions

    I swapped mine out, there are different versions and sizes of the Saturn PSU. So definitely do a bit of research to make sure you get the right one.


  • Registered Users, Registered Users 2 Posts: 5,783 ✭✭✭eddhorse


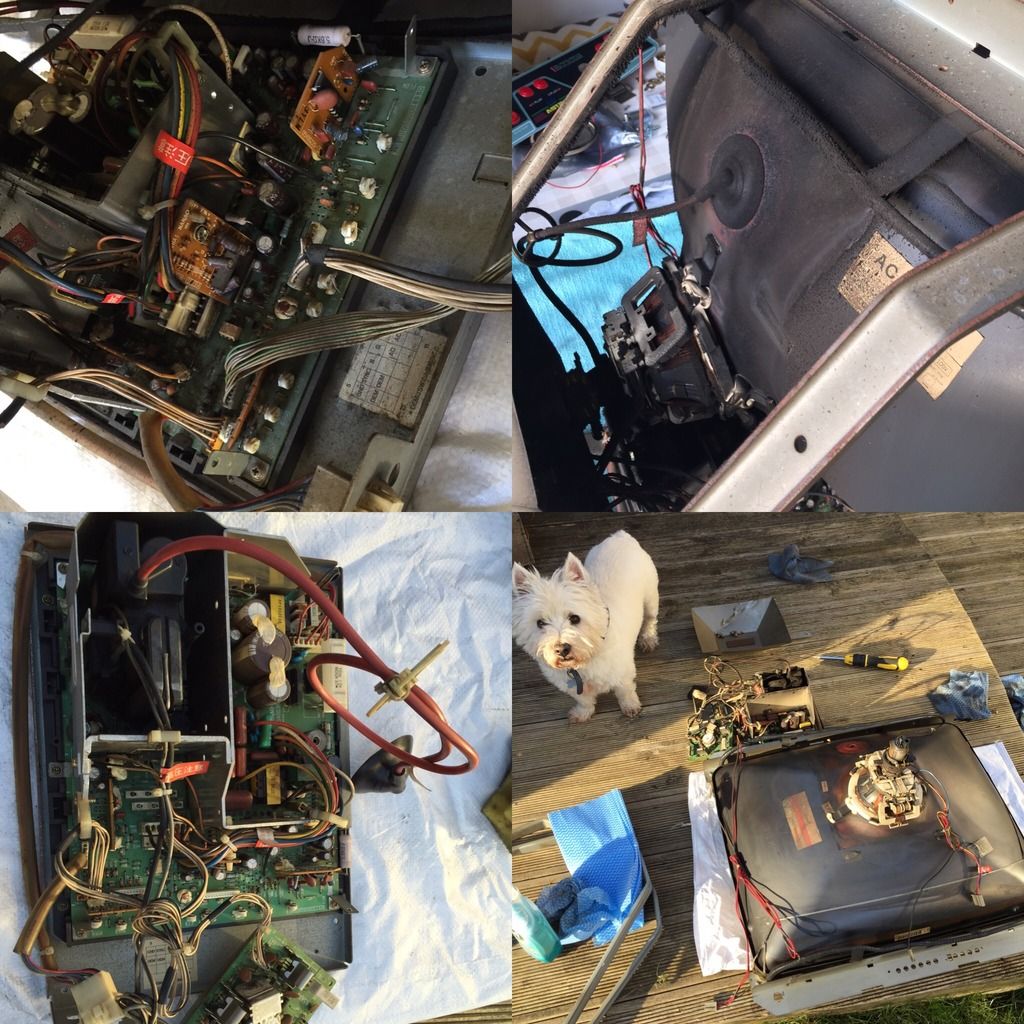
    Durty monitor, didnt go too mad on it just in case i took off the aquadag.

    7DB5A355-FE5F-497E-A8D8-83074223C5FC_zpstb9wp6ik.jpg

    Nice and clean, good father son bonding with Chopper as well :)


  • Posts: 7,499 ✭✭✭ [Deleted User]


    I love a clean monitor and chassis!
    It's makes such a difference.
    That can is gonna be very very nice when done.
    Have you decided what's going into it?


  • Registered Users, Registered Users 2 Posts: 5,783 ✭✭✭eddhorse


    I love a clean monitor and chassis!
    It's makes such a difference.
    That can is gonna be very very nice when done.
    Have you decided what's going into it?

    I think i have an ocd cleaning problem, cant stop.

    Options :
    1. 1943 PCB / Seibu Soccer PCB (jamma switcher)
    2. Taito Gnet
    3. Mame PC with Jpac
    4. Last bandit snes jammacon
    5. All of the above


  • Advertisement
  • Registered Users, Registered Users 2 Posts: 8,882 ✭✭✭Steve X2


    Not a retro question, but do any of our techy modders know the best type of grease to apply to high grade linear bearings( LMUW6 to be precise)?
    I've got a few on order for a project but they’re coming untreated, so can’t be used until lubricated. Can I use silicon grease? These are extremely high grade parts, so I really want to get the lubrication perfect.


  • Registered Users Posts: 58 ✭✭con71


    SKF grease LGEP2 or similar.


  • Registered Users, Registered Users 2 Posts: 8,882 ✭✭✭Steve X2


    con71 wrote: »
    SKF grease LGEP2 or similar.

    Cool, just googled it and it seems to be exactly what I need.


  • Registered Users, Registered Users 2 Posts: 5,783 ✭✭✭eddhorse


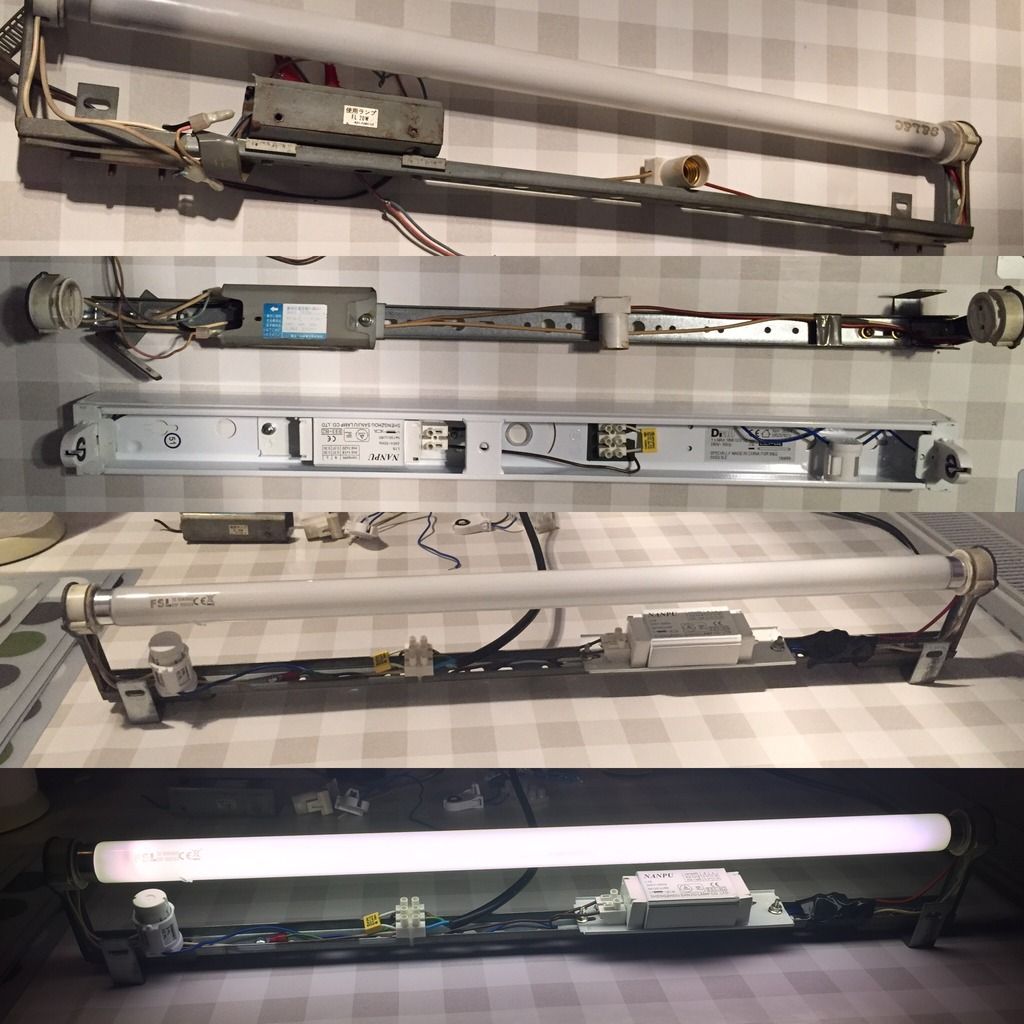
    So Astro City marquee light flickers after replacement of starter. Rather than hoping a new 110v bulb might fix it im looking at upgrading to 240v.

    DA68C391-30CC-4AC2-9A27-BB8EFDC63878_zpsl8uabavc.jpg

    Question is, do i retrofit parts of the new one to the old bracket or just use the new one which would be easier?


  • Posts: 7,499 ✭✭✭ [Deleted User]


    That's a decission only you can make!


  • Registered Users, Registered Users 2 Posts: 5,783 ✭✭✭eddhorse


    That's a decission only you can make!

    Thanks for your help, went with retrofitting old bracket with new dismantled light.

    F6E3E07E-8676-480B-8D0E-ED046EB869EB_zpsleguzoko.jpg


  • Registered Users, Registered Users 2 Posts: 225 ✭✭frasr


    How hard is it to upgrade the harddrive on a PS3? I'm guess it's not as simple as a xbox 360 where it's an external add-on. 12GB seems very very small


  • Registered Users, Registered Users 2 Posts: 5,783 ✭✭✭eddhorse


    frasr wrote: »
    How hard is it to upgrade the harddrive on a PS3? I'm guess it's not as simple as a xbox 360 where it's an external add-on. 12GB seems very very small

    Very easy, you will need two things, a mounting bracket for the hard drive and a bigger hard drive.

    This is the mounting bracket :
    http://www.amazon.com/Mounting-Bracket-System-CECH-400x-Series/dp/B00GD8Q34K

    http://ie.playstation.com/upgrade-ps3/
    1. Press the power button to turn off the system.

    The power indicator turns solid red and the system enters standby mode.

    2. Unplug the AC power cord, and then disconnect the other cables from the system.

    For safety reasons, remove the plug for the power cord from the electrical outlet, and then detach the other cables.

    3. Remove the hard disk drive.

    Remove the HDD cover and gently pull the handle to remove the HDD.

    4. Install the new hard disk drive.

    Place the HDD in the new mounting bracket, open the HDD bay cover and insert the HDD into your PS3. You should refer to the installation steps in the instruction manual supplied with the hard disk drive or mounting bracket for full details.

    5. Reinstall the system software.

    After the hard disk has been replaced, the system software must be reinstalled.


  • Registered Users, Registered Users 2 Posts: 4,146 ✭✭✭CathalDublin


    eddhorse wrote: »
    Thanks for your help, went with retrofitting old bracket with new dismantled light.

    F6E3E07E-8676-480B-8D0E-ED046EB869EB_zpsleguzoko.jpg

    you made the right choice


  • Registered Users, Registered Users 2 Posts: 2,920 ✭✭✭TechnoFreek


  • Advertisement
  • Registered Users, Registered Users 2 Posts: 8,882 ✭✭✭Steve X2


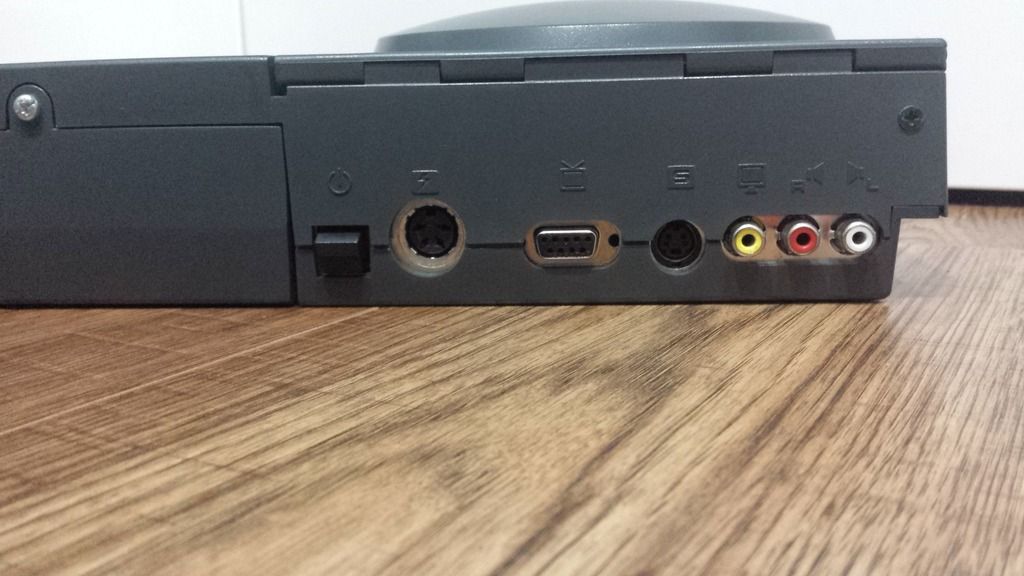
    Oh, thats nice.
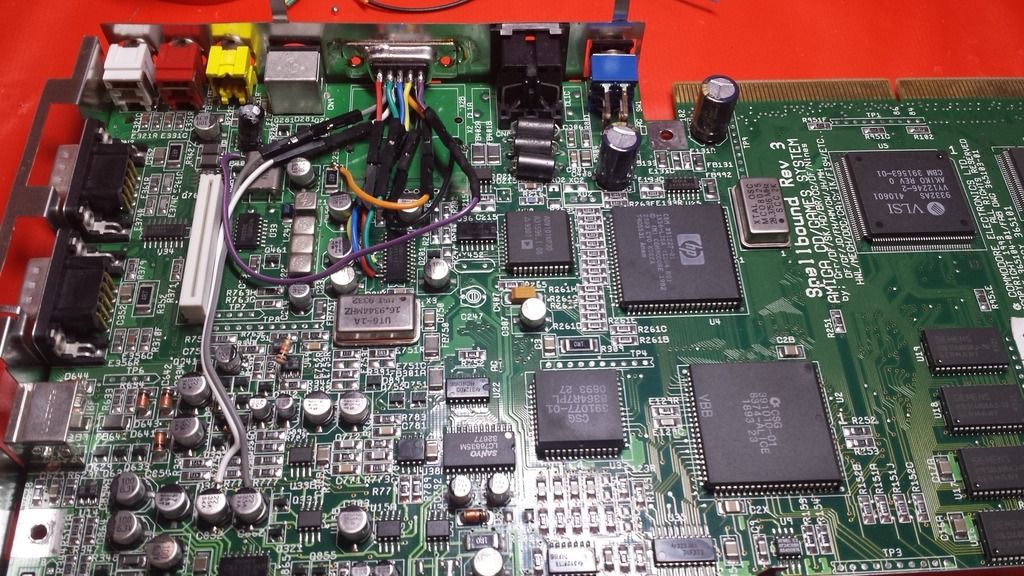
    I'd love an RGB out on one of my CD32's. It's a failed console, so you know it's one of my favourites :)


  • Registered Users, Registered Users 2 Posts: 3,722 ✭✭✭The Last Bandit


    Looks a bit messy tbh.


  • Registered Users, Registered Users 2 Posts: 8,882 ✭✭✭Steve X2


    Looks a bit messy tbh.

    Ah sure you can grab one of my CD32's and do the mod proper.
    I don't mind, no really I dont :)


  • Registered Users, Registered Users 2 Posts: 9,051 ✭✭✭Doge


    Looks a bit messy tbh.

    Thats the con of making the connector removable.

    I wonder why he did make it removable though?


  • Registered Users, Registered Users 2 Posts: 3,722 ✭✭✭The Last Bandit


    Probably short on DB9 connectors...


  • Registered Users, Registered Users 2 Posts: 2,920 ✭✭✭TechnoFreek


    Looks a bit messy tbh.

    By neater I meant neater and substantially cheaper than this add on expansion to get rgb out of the CD32 otherwise!
    Does turn the Cd32 in to Amiga 1200 with an additional floppy drive.

    sx1_1.jpg

    sx1_6.jpg

    sx1_8.jpg


  • Registered Users, Registered Users 2 Posts: 3,722 ✭✭✭The Last Bandit


    Well thats just silly :)


  • Registered Users, Registered Users 2 Posts: 2,920 ✭✭✭TechnoFreek


    Well thats just silly :)

    I know. Like Lego!


  • Moderators, Category Moderators, Computer Games Moderators, Society & Culture Moderators Posts: 34,621 CMod ✭✭✭✭CiDeRmAn


    I have a disk drive piggy backing my CD32, must check to see if it has any such outputs.


  • Advertisement
  • Registered Users, Registered Users 2 Posts: 3,722 ✭✭✭The Last Bandit


    RGB is available on the edge connector alright, but I don't think it is sufficiently amplified.


Advertisement