Advertisement
If you have a new account but are having problems posting or verifying your account, please email us on hello@boards.ie for help. Thanks :)
Hello all! Please ensure that you are posting a new thread or question in the appropriate forum. The Feedback forum is overwhelmed with questions that are having to be moved elsewhere. If you need help to verify your account contact hello@boards.ie

Building my own Bread Oven

  • 01-07-2010 12:01am
    #1
    Registered Users, Registered Users 2 Posts: 215 ✭✭


    Hello everyone just a preface, Just finished collage and I had 2 months available to do something. I enjoy baking so I thought I would build a bread oven. It started when I gave my father a book about building bread ovens a few years ago at Christmas when he was just about to build a new house. It has been on the book shelf since then. Until, I found it after I came back from collage. Had some time on my hands and my father said he would fund the materials. So why not.

    This build has been based around this book, this is the bible for wood fired bread ovens and what most of the oven I've seen online are using.
    Ok A few handy links for reference.
    A nice Brick oven
    Well documented oven similar to the books plans.
    Various links to different ovens.
    More Links

    Design Brief: I want it to last at least 50 years so I have over engineered it. Budget is not the limiting factor and i expect the build to come in at around 1100 - 1300.
    I have also designed it as a bread oven rather than a pizza oven the difference between the two would be that the concrete cladding for the pizza would be thinner.


    Suppliers:
    Dineen Refractories for the firebricks, fondue cement, vermiculite
    S&N Granite for Granite sand and chippings used for aggregate
    Lagan Bricks for the FIreclay
    Radionics for the thermocouples
    The rest I got at the local builder merchants.

    Now the Pictures

    29043_10150191755470357_635950356_12968798_1861577_n.jpg
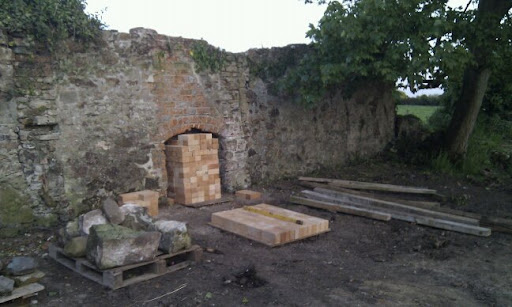
    I have just bought the firebricks. I bought 230 of them.

    29043_10150191762445357_635950356_12968959_4980450_n.jpg
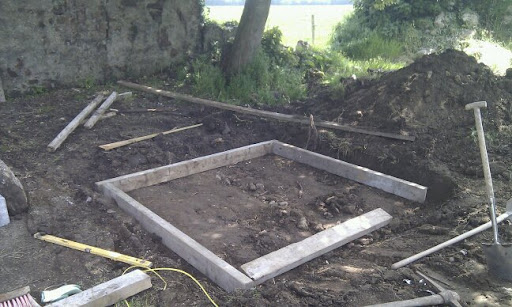
    Once the placement of the oven was chosen, foundation time. 6 inches.

    29043_10150191762685357_635950356_12968976_2118055_n.jpg
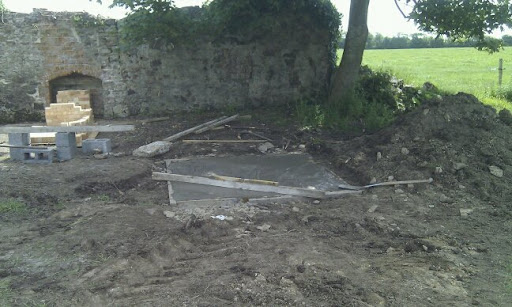
    With the help of my brother the foundation was poured. Probably the most boring parts of the build so far lots of heavy lifting with just a slab to show for it.

    29043_10150191763255357_635950356_12968990_4421848_n.jpg
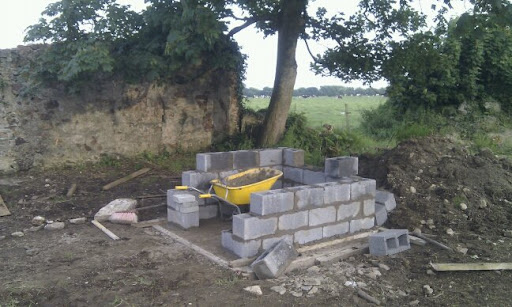
    More heavy lifting but at least I have the beginnings of what looks to be like a dog house to show for it.

    37428_10150197701760357_635950356_13143363_1684286_n.jpg
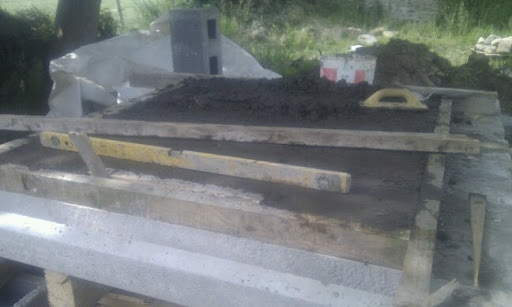
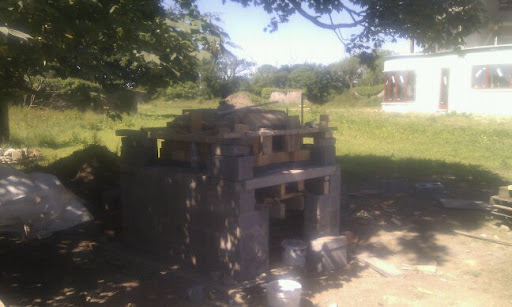
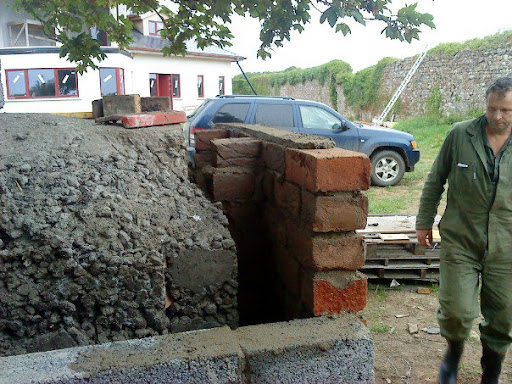
    Skipping on a bit, I'll fill in later. Now I have the floor in place made with lintels. I also have 3 inches of vermiculite concrete and i'm poring the refractory concrete now. Very important to have it level as it makes placing the brick easier.

    37428_10150197701730357_635950356_13143360_2661497_n.jpg
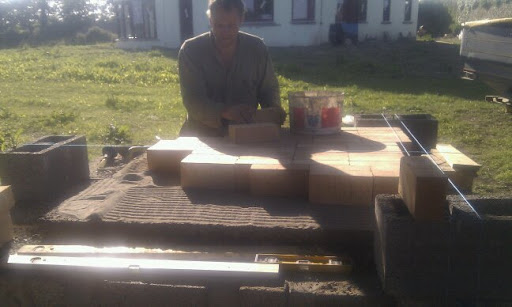
    Using a notched trowel a dry bed of 50:50 granit sand and fireclay. I made the mistake of using a wet mix but this made it very difficult to lay the bricks. That my father giving me a hand. The strings marked out the position of the ash slot and the the front.

    36116_10150198397550357_635950356_13171728_4535110_n.jpg
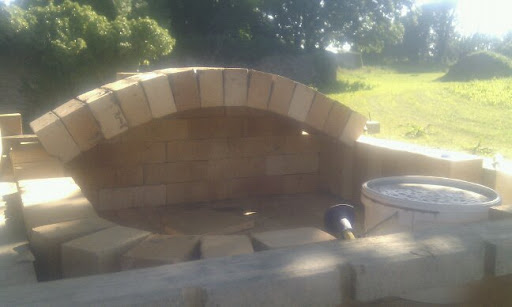
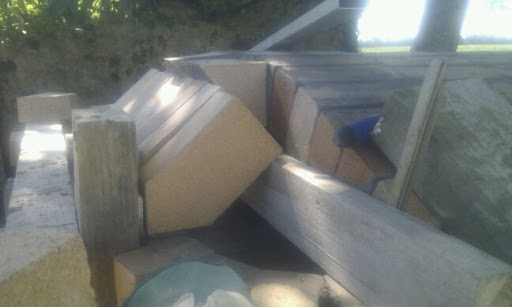
    Walls are up and the first row of the dome is up. The Dome was made by using a wooden form underneath.

    36116_10150198397640357_635950356_13171730_2180172_n.jpg
    Looking good.

    36116_10150198397775357_635950356_13171732_7234996_n.jpg
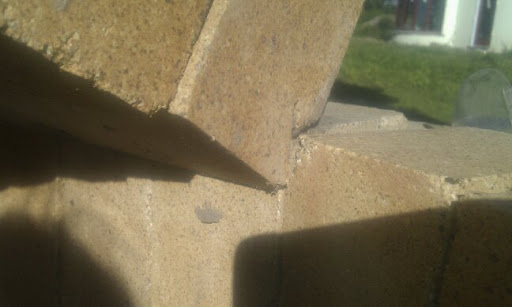
    So that the bricks would fit and to reduce the risk that the dome would not slip down I notched the side bricks

    36116_10150198397880357_635950356_13171734_7114536_n.jpg
    This is how I made the front part of the dome

    36116_10150198398065357_635950356_13171737_7662341_n.jpg
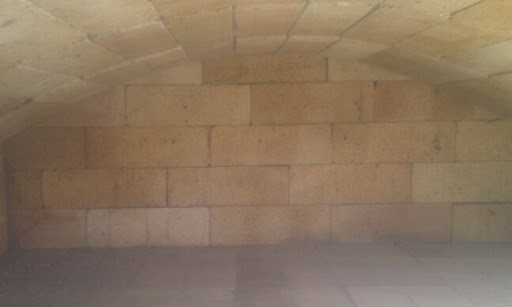
    Dome finished

    36116_10150198397970357_635950356_13171735_2186839_n.jpg
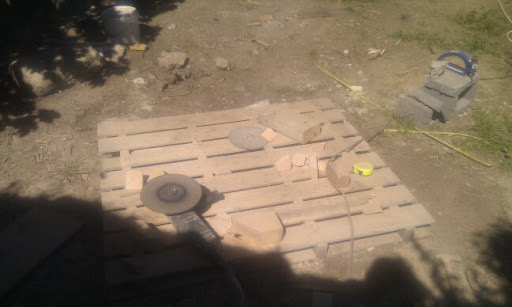
    The bricks were cut using an angle grinder with a stone blade. Very dusty work but quite fun, using big power tools, cutting and grinding to size

    34343_10150204264345357_635950356_13348151_65290_n.jpg
    Few pics missing again to be up loaded at a later date. I've clad the walls in 3 inches of ref concrete. The tinfoil is in place to allow for a certain degree of slip between bricks on concrete

    37331_10150204336035357_635950356_13350198_7690305_n.jpg
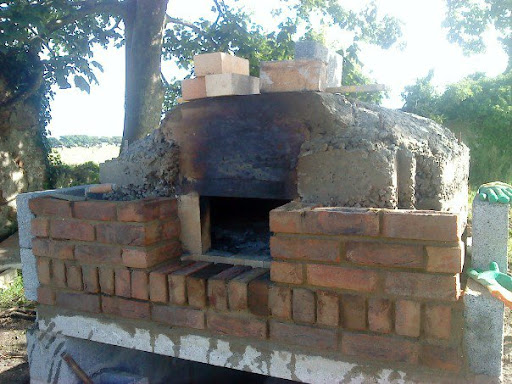
    Clad the the rest of the dome at 6 inches which is at the thicker side but it should allow me to bake two rounds of bread. But it will need more wood to heat up. Flat bit at the front for the chimney to rest on.

    TBC


Comments

  • Registered Users, Registered Users 2 Posts: 215 ✭✭Beno


    Reserved just in case


  • Registered Users Posts: 984 ✭✭✭Dummy


    That's pretty cool Beno.

    I was in Middleton Market last weekend and there were guys there with a mobile wood burning oven for baking pizza.

    This is something that I would love to have a go at - maybe not as big as the one I saw in Middleton but a decent size.

    Great project - it knocks the socks off any project I did during my college days.

    Come back and show us the finished product, oven & bread, when you're done.

    D.


  • Closed Accounts Posts: 457 ✭✭Leadership


    I saw the same oven in Middleton so now I would love one;)

    I guess though it will be next spring before I start though


  • Registered Users, Registered Users 2 Posts: 2,376 ✭✭✭jack of all


    Hi Beno, fair play to you, that's a fantastic project and the workmanship looks great!


  • Registered Users, Registered Users 2 Posts: 215 ✭✭Beno


    37331_10150204336035357_635950356_13350198_7690305_n.jpg
    Concrete cladding has been added. 3 inches at the sides and about 5 on top. Used a cement fondu refractory cement with a granit aggregate. Probably overkill but I would like the oven to last at least 50 years

    35769_10150209098600357_635950356_13487402_260289_n.jpg
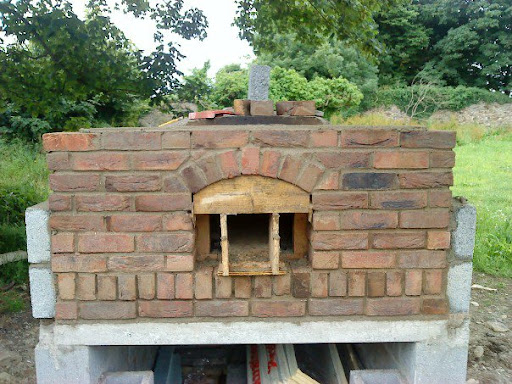
    The front brick work has started. I used the bricky tool to help keep my joints constant. Fairly tricky stuff since I never laid a brick or block before starting this project

    35779_10150209857370357_635950356_13505805_1442828_n.jpg
    Dome is in. It was a bit difficult to keep the bricks clean.

    34314_10150209856740357_635950356_13505800_3045549_n.jpg


    37446_10150210713005357_635950356_13526077_603284_n.jpg
    Chimney flue put in. It rests on the second brick above the dome. While the bricks above that are half bricks.
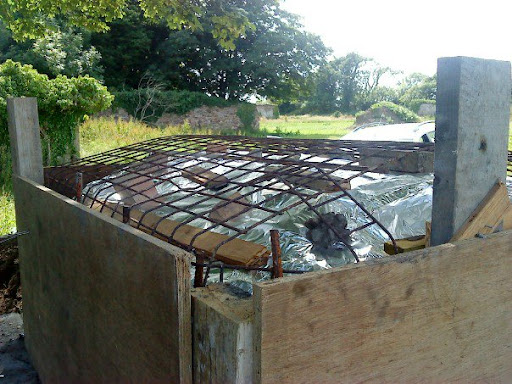
    4 inches of rock wool was put around the dome and 1/2 inch chicken wire was used for support the vermiculite concrete that was put on after this picture. About 2-3 inches. Would have like to use more more I didn't have enough. But I think it is insulated enough.

    P1020968.JPG
    Had the inaugural pizza party. One of the pizza cooked in a pizza pan

    P1020972.JPG
    My mother removing a garlic pizza that cooked straight on the bricks, it was fantastic. The base had the authentic stone baked base.
    I also have bought a few tools such as a pizza paddle, pi

    Whats left to do.
    I'm off on holiday now.
    Once I get back I will add a 3 inch layer of concrete as weather proofing.
    I have installed thermocouples into the oven, I will also have to wire up a display for these.
    I will leave the oven for a year and see if any cracks develop. If not will plaster with and stick granit gravel to it.
    Bake lots of pizza's bread roast's etc.


  • Advertisement
  • Registered Users Posts: 572 ✭✭✭forestfruits


    fair play looks great!

    Any chance you could tell me where you picked up the pizza peel/paddle??


  • Registered Users, Registered Users 2 Posts: 12,556 ✭✭✭✭AckwelFoley


    Looks pretty good! I bet that pizza tasted of satisfaction.


    Personally that alot of work for a pizza, i think i'll just ring Dominos :D


  • Registered Users Posts: 38 cannyfradock


    Beno

    Really informative post. I love the introduction and build details and your photo diary of the build is first class.

    Nice of you to share your build with the forum.

    Terry


  • Closed Accounts Posts: 1 Prague Ben


    Hi Beno

    I like your walk through the process, I have the same book asn am planning to start building when our permafrost lets up.

    What sort of thermocouples did you use? no one here seems to be able to give me any information. I looked at the link, but i can not tell one thermocouple from another.

    Thanks

    Ben


  • Closed Accounts Posts: 9 dungay


    Hi Beno,

    That looks great,

    I am thinking of building a pizza oven myself this yr.

    Your ones looks a bit bigger that what i have in mind, how many pizza/breads can you cook at a time and did you come in under budget, was the chimney draw a problem...so many questions.

    Look forward to hearing from u


  • Advertisement
  • Registered Users, Registered Users 2 Posts: 215 ✭✭Beno


    Sorry about the delay on updating this post:

    @ forestfruits
    I picked up the pizza pan, peel and a long handled wire brush at easyequipment.ie they have lots of pizza accessories

    @ Prague Ben
    A thermocouple is basically an electrical resistor whose resistance changes with temperature. By measuring the resistance the temperature can be calculated. There are several different standards on thermocouple, these affect the different materials that they are made from, the temperature range that they can be used. I used a K type, this is the most common. You can pic these up for 3 euro on ebay or 20-30 in radionics and the main difference is quality the duration of time that these will last for.

    @ dungay
    I have not yet done much cooking in the oven but there is space for about 4 16 inch pizzas as it is quite big, but they only take about 3-5 min to cook so in practice 1 just have one or two in. I have thrown in chicken legs, thighs. Sweet potatoes and they cook great and taste oh so good.

    I have not looked at the total cost but It came to about 1500 euro

    Early on the firing it smokes out the door a bit, but once the fire is up and running the chimney draw is great. I havent doen any performance assessments yet so I cannot say exactly.


  • Closed Accounts Posts: 2,389 ✭✭✭Carlow52


    Beno: Most interesting post, thank you.
    beats the hell out of the normal stuff here.

    Any chance of a pic of the chimney setup?


  • Registered Users, Registered Users 2 Posts: 215 ✭✭Beno


    @ Carlow52

    DSC00043.JPG

    I dont have any good pics of what I did but if you look at this picture. I add one more course of brick. Then have a standard flue liner rest half way across on the front brick. Then above that I just chop the bricks in half to make room for the flue liner. It rests on the sides on some that stick out and then I use some vermiculite concrete on the concrete dome to level it up. After that I just use some fire retardant foam to patch up any holes and create a smooth taper.

    Hope that clears it up


  • Registered Users, Registered Users 2 Posts: 215 ✭✭Beno


    DSC00048.JPG

    When I stopped the project this summer I finished putting on the vermiculite. But didn't have time to finish it. So I covered it with a plastic sheet.

    IMG_3637.JPG

    I had planned to put a concrete coat on it but while I was away the folks had some carpenters around the house and they just put a roof on it using some spare lead and tiles. This is ideal as it allows me to drive away the water that has gotten into the insulation during the winter. And it looks nice and complements the house.

    IMG_3641.JPG

    IMG_3639.JPG

    DSC00811.JPG
    Here is me just adding a few more bricks to cover the gap created by the roof.

    Using an angle grinder, chisel and lump hammer I removed the excess block work at the front.

    DSC00829.JPG

    Me mesmerised by the cooking food

    DSC00842.JPG
    It tasted soo good

    Now I just have to plaster the surroundings and add a nice door for wood storage.

    I also have to seal the lead onto the bricks, can i glue the lead to the bricks using the same stuff used on the chimney flue or do I have to put another 2 or so courses of bricks on top of the lead?

    Cheers for the compliments but folks are chuffed to bits with it as well


Advertisement