Advertisement
If you have a new account but are having problems posting or verifying your account, please email us on hello@boards.ie for help. Thanks :)
Hello all! Please ensure that you are posting a new thread or question in the appropriate forum. The Feedback forum is overwhelmed with questions that are having to be moved elsewhere. If you need help to verify your account contact hello@boards.ie

Autoguiding progress

Options
  • 02-03-2013 2:02pm
    #1
    Registered Users Posts: 4,424 ✭✭✭


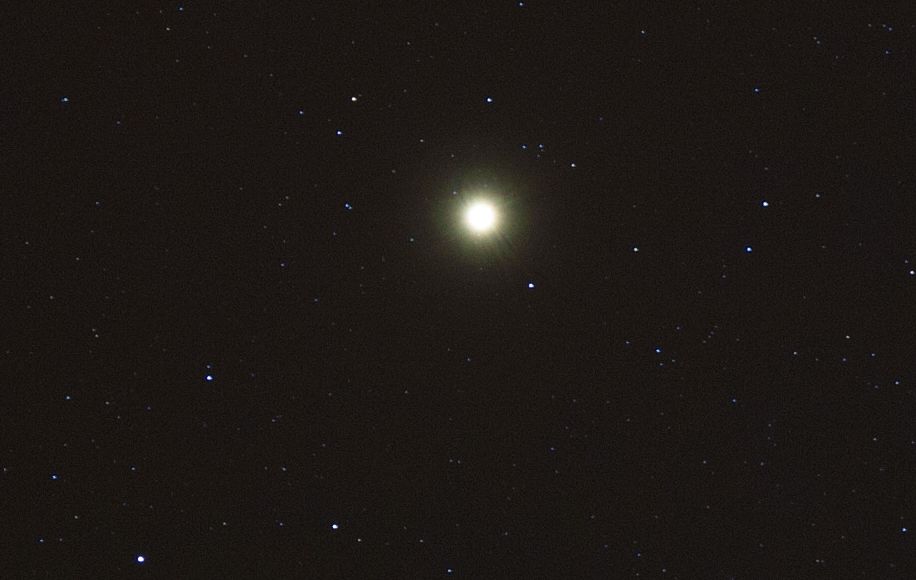
    Just an update on how I'm getting on with autoguiding (keep the forum going!). Put it to the test again last night from the back garden before I start heading to darker sites. Much better then previous efforts, graph showed pretty smooth spikes in both RA and Dec this time around. Did some tweaking with values which obviously helped. Got good polar alignment using the RA scale on the mount which I avoided at first cos it sounded complicated, but is actually very simple and accurate. Here is a 5 min exposure on Betelgeuse at 100% crop, slightly oval stars but not noticable unless cropped at 100% which I wouldn't be doing anyway due to noise:

    Betelgeuse5minexpcrop_zps292f5572.jpg

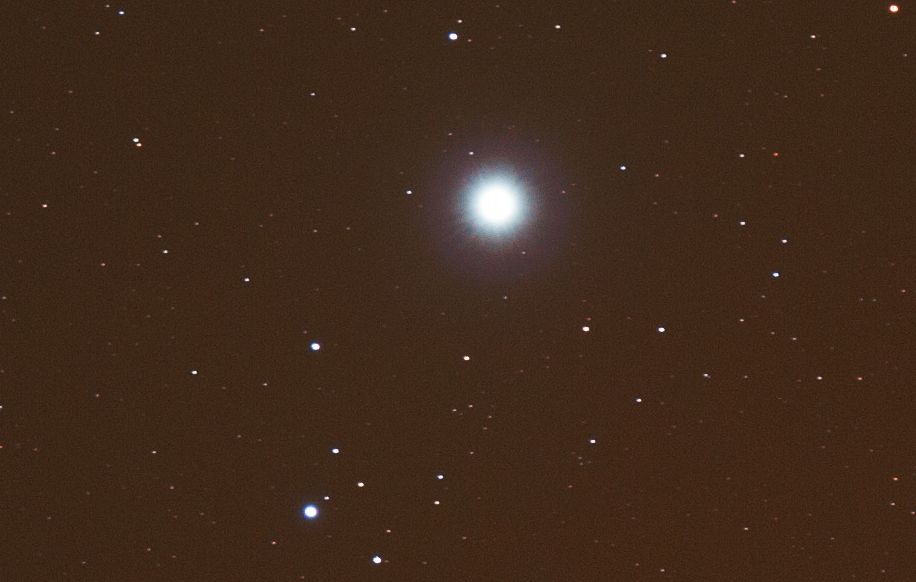
    This is just one frame, no dark subtraction etc. Not bad. Then tried a ten min exposure on Procyon (100 ISO) and was very pleased with this one. Again it is 100% crop with only slightly oval stars:

    Procyon10minexpcrop_zps33b2dae3.jpg

    So looking good, just waiting on the moon to go away and clear skies! A rarity these days, especially since I started this hobby.


Comments

  • Registered Users Posts: 959 ✭✭✭ZeRoY


    Nice guiding! What method do you use for polar/drift align currently?


  • Registered Users Posts: 4,424 ✭✭✭Wailin


    ZeRoY wrote: »
    Nice guiding! What method do you use for polar/drift align currently?


    Don't do drift align Zeroy, never tried it and don't think I'll bother. I use the RA scale on the mount to get an accurate alignment and its very simple and effective. Instructions that came with the mount are crap, used these tutorials here: http://www.astronomyshed.co.uk/forum/viewtopic.php?f=19&t=1893 which are very good. Maybe drift align might get more accurate alignment but with only a slight distortion in the stars after 10 min exposure I'm happy with that. Its not noticable at all unless heavily cropped, as above pics show.


  • Registered Users Posts: 959 ✭✭✭ZeRoY


    indeed, whatever works! as long as you are happy with the result!


  • Registered Users Posts: 1,143 ✭✭✭Tzetze


    Man, the neq6 performs very nicely!
    Would love to see a PHD graph.
    Which guidecam do you use?


  • Registered Users Posts: 4,424 ✭✭✭Wailin


    Tzetze wrote: »
    Man, the neq6 performs very nicely!
    Would love to see a PHD graph.
    Which guidecam do you use?

    Its the QHY5 with an st80. I saw a graph that you put up on a previous post and you had almost perfect dec! I didn't have it that smooth, or RA but it was good enough and consistent. How do you upload the graph onto boards by the way?


  • Advertisement
  • Registered Users Posts: 393 ✭✭Nerro


    Wailin wrote: »
    Its the QHY5 with an st80. I saw a graph that you put up on a previous post and you had almost perfect dec! I didn't have it that smooth, or RA but it was good enough and consistent. How do you upload the graph onto boards by the way?
    You can take a screen shot and crop it any way you want.


  • Registered Users Posts: 1,143 ✭✭✭Tzetze


    Wailin wrote: »
    Its the QHY5 with an st80. I saw a graph that you put up on a previous post and you had almost perfect dec! I didn't have it that smooth, or RA but it was good enough and consistent. How do you upload the graph onto boards by the way?

    Hit the PrtScn button to screengrab the entire screen, or Alt+PrtScn to grab just the active window. Then you can paste into a new image in mspaint or similar.

    The reason I asked which camera you used is to get an idea of image scale. The camera I use myself has large 'pixels' and gives an image scale of 4.4 arcseconds per pixel. The gap between each horizontal line on the PHD graph corresponds to 1 pixel - in my case that's 4.4".

    The formula is (206.3 * pixel_size_in_microns) / focal_length_in_mm
    Your image scale is (206.3 * 5.2)/400 = 2.7"/pixel.

    So you can't just compare two graphs. You have to look at the total drift of an axis above and below the origin.

    Say for example that my RA line was peaking halfway to the next lines above and below the origin. That is half a pixel above and half a pixel below. A total of 1 pixel would be a max drift of 4.4".

    Let's say your RA line looked worse and was going a full pixel above and below. That would be 2 pixels of drift which works out at 5.4".

    The graph would look like it was 100% more drift but actually works out to be only 23% more.


    You can also use image scale per pixel to get an idea of how well your setup is performing from your final image.
    Using my own setup as an example 450D + ED80 (no barlow or reducer) gives an image scale of 1.79"/pixel. If there is movement during the exposures you will have "star spread" which will increase the image scale. But if everything stays nice and solid you should have a final image scale close to or right on the scale limit of your setup.

    Astrometry.net have a group on flickr where you can submit an image and find it's image scale. Example. (2nd reply reports the image scale.) :D


  • Registered Users Posts: 4,424 ✭✭✭Wailin


    Tzetze wrote: »

    Hit the PrtScn button to screengrab the entire screen, or Alt+PrtScn to grab just the active window. Then you can paste into a new image in mspaint or similar.

    The reason I asked which camera you used is to get an idea of image scale. The camera I use myself has large 'pixels' and gives an image scale of 4.4 arcseconds per pixel. The gap between each horizontal line on the PHD graph corresponds to 1 pixel - in my case that's 4.4".

    The formula is (206.3 * pixel_size_in_microns) / focal_length_in_mm
    Your image scale is (206.3 * 5.2)/400 = 2.7"/pixel.

    So you can't just compare two graphs. You have to look at the total drift of an axis above and below the origin.

    Say for example that my RA line was peaking halfway to the next lines above and below the origin. That is half a pixel above and half a pixel below. A total of 1 pixel would be a max drift of 4.4".

    Let's say your RA line looked worse and was going a full pixel above and below. That would be 2 pixels of drift which works out at 5.4".

    The graph would look like it was 100% more drift but actually works out to be only 23% more.


    You can also use image scale per pixel to get an idea of how well your setup is performing from your final image.
    Using my own setup as an example 450D + ED80 (no barlow or reducer) gives an image scale of 1.79"/pixel. If there is movement during the exposures you will have "star spread" which will increase the image scale. But if everything stays nice and solid you should have a final image scale close to or right on the scale limit of your setup.

    Astrometry.net have a group on flickr where you can submit an image and find it's image scale. Example. (2nd reply reports the image scale.) :D

    You know your stuff tzetze! Bit too technical for me to be honest, id need to sit down and study this carefully! I stripped down the RA axis on the mount and greased everything after removing the cheap grease that was on it originally. Didn't do the dec axis yet but I will. Tune up seems to make it run more smoothly anyway.

    Yesterday I modified my 450d successfully, that was a lot more difficult than stripping the neq6! So rearing to go....

    I can count on one hand the amount of clear nights we've had since I bought my gear 3 months ago, its ridiculous. Just have to grin and bear it!


  • Registered Users Posts: 1,143 ✭✭✭Tzetze


    Wailin wrote: »
    You know your stuff tzetze! Bit too technical for me to be honest, id need to sit down and study this carefully! I stripped down the RA axis on the mount and greased everything after removing the cheap grease that was on it originally. Didn't do the dec axis yet but I will. Tune up seems to make it run more smoothly anyway.

    Yesterday I modified my 450d successfully, that was a lot more difficult than stripping the neq6! So rearing to go....

    I can count on one hand the amount of clear nights we've had since I bought my gear 3 months ago, its ridiculous. Just have to grin and bear it!

    Oh, I've probably overcomplicated that way too much. It's just worth bearing in mind that different setups have different graph scales.

    Well done on modding the 450d. I guess that's the filter replacement then. Which filter did you go with?


  • Registered Users Posts: 4,424 ✭✭✭Wailin


    Tzetze wrote: »
    Oh, I've probably overcomplicated that way too much. It's just worth bearing in mind that different setups have different graph scales.

    Well done on modding the 450d. I guess that's the filter replacement then. Which filter did you go with?

    I actually just removed the low pass filter 2 and didn't replace it, left in the low pass filter 1. This means i won't have auto focus but i got the camera second hand solely for astrophotography, I have an 1100D for normal stuff. You only need to replace the filter if you want to keep using the camera for everyday use as well as astro. Good explanation on the different types of mods here half way down the page: http://www.astronomiser.co.uk/eosmod.htm

    It wasn't a pleasant experience though but I'd be much more confident now after doing it. If you haven't done it and are thinking of, this is the strip down guide I followed: http://ghonis2.ho8.com/rebelmod450d1.html

    Very keen for clear skies to see the difference!


  • Advertisement
  • Registered Users Posts: 1,143 ✭✭✭Tzetze


    I've seen those guides and balked at both the cost of having astronomiser do the work and the complexity of the self mod. How did you find it yourself, did you feel like you were flying by the seat of your pants at any stage of it?

    Im looking forward to seeing the results and maybe then I can talk myself into doing it!


  • Registered Users Posts: 4,424 ✭✭✭Wailin


    Tzetze wrote: »
    I've seen those guides and balked at both the cost of having astronomiser do the work and the complexity of the self mod. How did you find it yourself, did you feel like you were flying by the seat of your pants at any stage of it?

    Im looking forward to seeing the results and maybe then I can talk myself into doing it!

    Well you need good light to see what your doing because everything is so small (I have good eyesight and still had some difficulty), screws are tiny as well so you need the perfect size Philips screwdriver. My smallest one was slightly too big and I ended up rounding off the head on one screw which caused some problems. One screw was very difficult to get at so I had to drill a small hole in the body of the camera so I could fit the screwdriver in. Removing all the ribbon cables is a pain but connecting them back up is even worse. I put everything back together and went to power up but nothing happened:eek:! Ended up that one of the ribbon cables wasn't fully inserted and it took a lot of fiddling about to get it in.

    I'd have no issue doing it again now I know whats involved, I'd just make sure to have the proper tools :D
    Looking forward to putting it to the test.


  • Registered Users Posts: 325 ✭✭ThatDrGuy


    Wailin wrote: »
    Well you need good light to see what your doing because everything is so small (I have good eyesight and still had some difficulty), screws are tiny as well so you need the perfect size Philips screwdriver. My smallest one was slightly too big and I ended up rounding off the head on one screw which caused some problems. One screw was very difficult to get at so I had to drill a small hole in the body of the camera so I could fit the screwdriver in. Removing all the ribbon cables is a pain but connecting them back up is even worse. I put everything back together and went to power up but nothing happened:eek:! Ended up that one of the ribbon cables wasn't fully inserted and it took a lot of fiddling about to get it in.

    I'd have no issue doing it again now I know whats involved, I'd just make sure to have the proper tools :D
    Looking forward to putting it to the test.

    Wow thats brave. If I get the mount working ( Ive been saying that for 6 months now - go a duct tape lateral adjuster on it now!) I'm going to try and mod my 350. That way when I break it, Ill have an excuse to go hyperstar CCD :)


  • Registered Users Posts: 4,424 ✭✭✭Wailin


    ThatDrGuy wrote: »

    Wow thats brave. If I get the mount working ( Ive been saying that for 6 months now - go a duct tape lateral adjuster on it now!) I'm going to try and mod my 350. That way when I break it, Ill have an excuse to go hyperstar CCD :)

    I could be wrong but I think there is a bit of soldering involved with modifying the 350d which might make it a little more difficult. There is plenty of good guides out there on it though.


Advertisement