Advertisement
If you have a new account but are having problems posting or verifying your account, please email us on hello@boards.ie for help. Thanks :)
Hello all! Please ensure that you are posting a new thread or question in the appropriate forum. The Feedback forum is overwhelmed with questions that are having to be moved elsewhere. If you need help to verify your account contact hello@boards.ie
Please note that it is not permitted to have referral links posted in your signature. Keep these links contained in the appropriate forum. Thank you.

https://www.boards.ie/discussion/2055940817/signature-rules
Hi all! We have been experiencing an issue on site where threads have been missing the latest postings. The platform host Vanilla are working on this issue. A workaround that has been used by some is to navigate back from 1 to 10+ pages to re-sync the thread and this will then show the latest posts. Thanks, Mike.
Hi there,
There is an issue with role permissions that is being worked on at the moment.
If you are having trouble with access or permissions on regional forums please post here to get access: https://www.boards.ie/discussion/2058365403/you-do-not-have-permission-for-that#latest

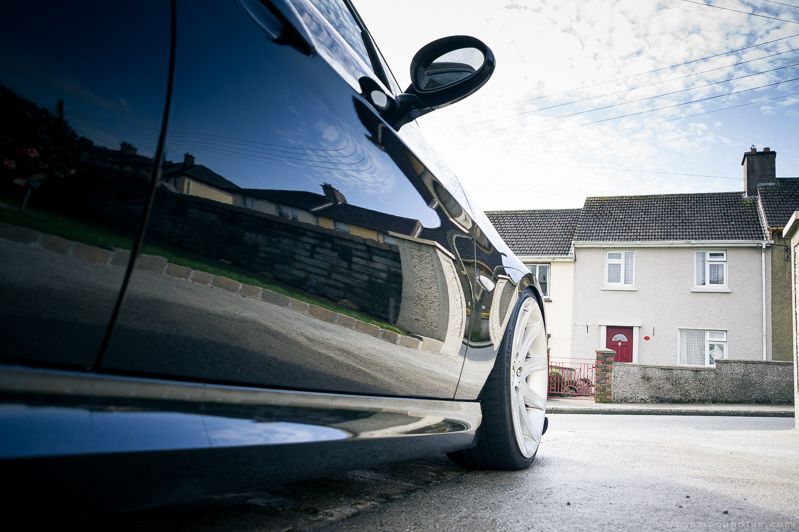
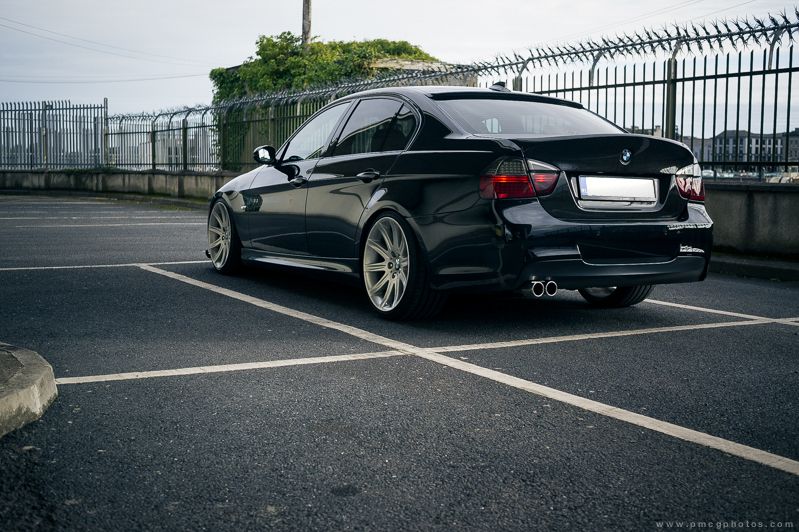
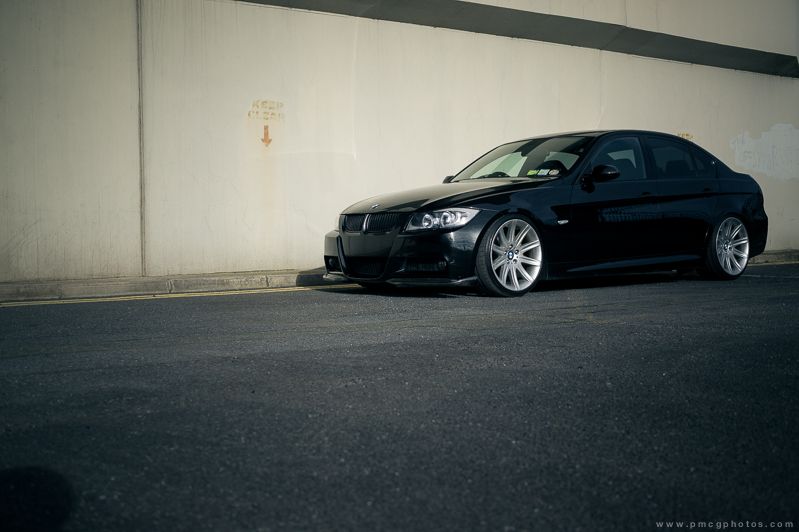
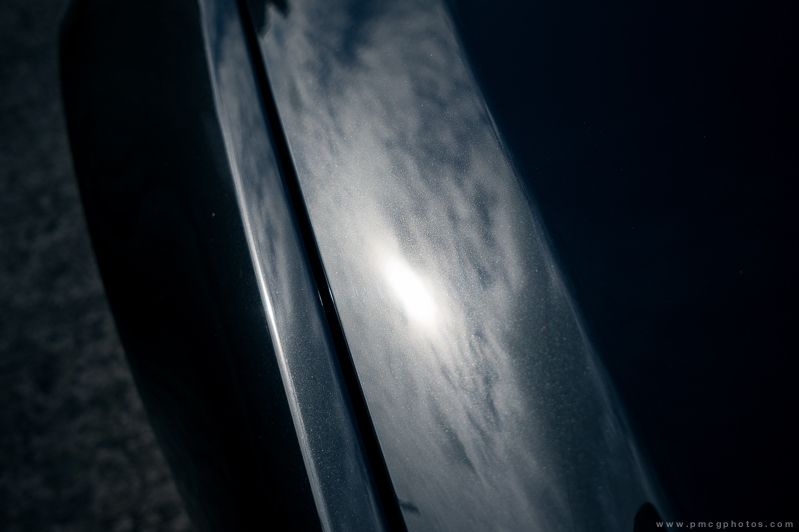
Today I did some detailing...

12223252728122

Comments

  • Posts: 14,344 ✭✭✭✭ [Deleted User]


    Pictures seem good to me :)

    Also great work on the car. Can I ask what it is. I'm not BMW fan in general (ie; I've nothing against them, but I don't love them, like a lot of people do) but that particular one always stood out to me as a lovely motor. Always loved the kinda squared-off look it has.


  • Posts: 14,344 ✭✭✭✭ [Deleted User]


    Another day, another disaster. :(

    So, getting frustrated with the weather, I've decided that I have to detail panel by panel indoors. I find myself getting increasingly annoyed at the sheer amount of scratches that are littered all over the Rav's bodywork, with the bonnet and driver side door around the handle area being two areas in particular that wreck my head.

    So I said to myself, today, I have all the CG's Hexlogic pads I need (green is the roughest that is advised to use on a 'soft' paint car, which apparently the toyota is). I ruined the more aggressive orange and yellow ones on my brothers car, but sure that's neither here nor there.


    Anyway. Bonnet was filthy.

    C1F0729460BD4D5F98BF881BF3979541-0000333410-0003508329-00800L-5081425BF18046D3A0F145D1BB5FE521.jpg


    So washed that off with a 2BM wash (the blur is my hand with a mitt on)

    A12E749DB8C144FCBA0B557F654024E7-0000333410-0003508328-00800L-04EE8C3C05E14285814A6C29E20A98CE.jpg


    Dried it:

    777B57B1B2844BCD99A44851A163CFA5-0000333410-0003508327-00800L-69007DC4CE8141B2B37A10413CD5D4C3.jpg


    Then I clayed it (made no difference, really. Only took tiny fragments of dirt off it):

    CCAE25318144485FB6A624BA660883C2-0000333410-0003508324-00800L-4983C891AB9D4BD18292D6A96DEA3F8A.jpg


    and washed the clay marks off:

    3BF67AFEC4D4400888F7B1DF70C54FD2-0000333410-0003508323-00800L-517827460FBF4F26A49CD52AED63F752.jpg


    Then I took an area, masked it off and polished it. Here's a before:


    3478C80FEAEE4868A2BAEB3C7FF53AD2-0000333410-0003508320-00800L-6AE524863E89403F8CA50AA128B9EC81.jpg


    And after:

    22AB1E62A5184190B9A78F3106845ADA-0000333410-0003508319-00800L-8FE72342ECDA4BB4828774D606D5CF14.jpg


    This is where it all fell apart for me.

    Although the before and after above has a reasonable level of difference, it didn't actually look much better in person. In fact, I'd go as far as to say it barely improved the overall appearance. There were still a couple of noticeable (but not feel-able) scratch marks. So I polished it again and spent longer at it. Same result.

    So I got annoyed and decided to wet sand it. I figured, I could easily get rid of the sand marks on my brothers car (the Megane), so if i replace the few noticeable scratches with hundreds of much smaller ones, the DAS will be more successful at getting them out.


    So I sanded it, and when I dried it off, I nearly filled my boxers :eek: .


    F030B319313246E2ABD2F55EF0E92758-0000333410-0003508318-00800L-DDA719238A7A4EB4B91E343E356605B4.jpg


  • Posts: 14,344 ✭✭✭✭ [Deleted User]


    Thankfully, my heart needn't stop too long, as I polished it back to black:

    1C42BF7F1A3E43DF97F085B6E6A7AC7B-0000333410-0003508317-00800L-4A6067CD5B354BB294BAF6EB889FC463.jpg


    But it couldn't even polish out all of the sanding marks!?

    951D744B8D314168B56C27A627DCDBE6-0000333410-0003508316-00800L-311D9CFD214E499BBEBEC572D9E3B01D.jpg


    Polished (left) and un-polished (right)

    B523F32868C84B28B92F207B2C3E708D-0000333410-0003508315-00800L-B6F4340CB71844D1AB43DB4984E8BC05.jpg


    Without the tape (though you can still see an outline of where the tape was)


    3478B5018FFE4073B4CD970CE3B1C1F7-0000333410-0003508313-00800L-5941F06DCFD44F9F87D2EF3A28EB1B59.jpg


    So I am pretty much back to where I started with it!? Great way to pass a couple of hours :rolleyes:

    Need to pick up the most aggressive Hexlogic pad again. The rest are a waste of time.

    Maybe time to try different pads altogether? Anyone any suggestions or recommendations? :)


  • Registered Users, Registered Users 2 Posts: 19,854 ✭✭✭✭MetzgerMeister


    This is a prime example of why you shouldn't go near a car with sandpaper unless you really know what you're doing.

    What grit sandpaper did you use? 4???? :P


  • Posts: 14,344 ✭✭✭✭ [Deleted User]


    This is a prime example of why you shouldn't go near a car with sandpaper unless you really know what you're doing.

    What grit sandpaper did you use? 4???? :P


    Oh I'm the first to admit that I've been just making it up as I go along, but to be fair, it's back to looking grand now anyway :P

    I gave it a good waxing too to hopefully add some protection.

    I think the grit was either 1500 or 2000. But I'm not completely sure.

  • Advertisement
  • Registered Users, Registered Users 2 Posts: 1,381 ✭✭✭mb1725


    We used to do cutting and polishing back in the day with cellulose based lacquers. The wet sanding was always done with worn 1200 grit but using very soapy water to keep it lubricated and to avoid scratching. The finish before final polishing was meant to look like a hazy, matt surface not scratched. You may have been just a little too heavy handed.


  • Posts: 14,344 ✭✭✭✭ [Deleted User]


    That's likely the case (or that I just did too many passes, I wasn't really putting pressure on it).

    I'm more annoyed at the DAS and the green hex pad's lack of effort though. I know polishing is time consuming, but jaysus, it didn't do much at all.


  • Registered Users, Registered Users 2 Posts: 2,088 ✭✭✭JAMES VTI S


    951D744B8D314168B56C27A627DCDBE6-0000333410-0003508316-00800L-311D9CFD214E499BBEBEC572D9E3B01D.jpg

    .............. :eek:


  • Posts: 14,344 ✭✭✭✭ [Deleted User]


    .............. :eek:

    Ah, t'is nothing a bit of tender loving care won't sort out. :)


    ... I hope... :P


  • Registered Users, Registered Users 2 Posts: 1,381 ✭✭✭mb1725


    Here's a guy wet sanding and polishing the finish on a guitar. Gives the idea.


  • Advertisement
  • Posts: 14,344 ✭✭✭✭ [Deleted User]


    mb1725 wrote: »
    Here's a guy wet sanding and polishing the finish on a guitar. Gives the idea.


    Oh I've a fair idea of how it all works. It's just the practicality of actually doing it for the first time.

    My hope is that in the next few months, the Rav will look like a brand new car. I want the paint work to be as flawless as possible.

    The issue is that it's just (evidently) not really had any caring owners from a cosmetic standpoint (mechanically there's not a bother on it).


    Here are two photos I took of the Rav within the first month of owning it (About a fortnight after buying it).

    You can see the street lighting brings up the swirl marks on the paint work. It is literally covered head to toe in them:

    (click photos for link to full size picture)


    50595DF91A354A6BA445C216102BE24D-0000333410-0003509710-01200L-ECFA26CCE8F442DE9E81EA46EA428141.jpg


    963823E5D4A04446BD59203570D63264-0000333410-0003509709-01200L-C7C3CAAE660C40819F5095E9E760B871.jpg


    So I know I've an enormous task in front of me (hence the decision to do it panel by panel, in an effort to keep myself sane) but with little actual practical detailing experience (and no touch-up experience, for the stone chips and such) I'm pretty much guaranteed to make plenty of mistakes along the way. :o


  • Closed Accounts Posts: 9,607 ✭✭✭toastedpickles


    If i were you, I'd buy an old chipped bonnet or something and practice on that :)


  • Registered Users, Registered Users 2 Posts: 10,050 ✭✭✭✭cena


    Step away I repeat step away from the sand paper. Your going to make a mess of the whole car. Just bring it to a pro and keep on top of the paint if it needs swirls removed again.


  • Registered Users, Registered Users 2 Posts: 19,854 ✭✭✭✭MetzgerMeister


    cena wrote: »
    Step away I repeat step away from the sand paper. Your going to make a mess of the whole car. Just bring it to a pro and keep on top of the paint if it needs swirls removed again.

    +1

    Either than or just use your D/A. It's soft Jap paint so the D/A along with a bit of patience will go a long way.

    There's a reason it takes time and that's so that you don't damage the paint with the machine but some of us aren't happy with the lack of damage they have done so they go at the soft Jap paint with sandpaper and make an absolute arse of it :P

    I've been detailing and valeting for a long long time and I have never used sandpaper on anything because; a) it's bloody dangerous and you need training when working on a proper car (especially a customer's car) and b) I know that if I just have patience and enjoy the work, which I do, I'll get there in the end.

    You're hammering a nail with a jack-hammer by using sandpaper!


  • Registered Users Posts: 1,639 ✭✭✭Zoney


    KKV, what polish did you use? I imagine black paint is a lot harder to get looking right, but I found Autoglym polish was sufficient after a clay to hide head to toe swirls on our car, metallic silver (and even thin scratches on the bonnet can only be seen close up). EGP on top too but I'm sure I remember the polish doing most of it.

    I've been holding off and reading more, getting more familiar with bodywork care and even stuff like the headlight restoration for now, but I do want to attempt some scratch repair myself in time, so interested to see how you get on!


  • Posts: 14,344 ✭✭✭✭ [Deleted User]


    cena wrote: »
    Step away I repeat step away from the sand paper. Your going to make a mess of the whole car. Just bring it to a pro and keep on top of the paint if it needs swirls removed again.

    But what would I learn from handing it over to someone else? smile.png

    +1

    Either than or just use your D/A. It's soft Jap paint so the D/A along with a bit of patience will go a long way.

    There's a reason it takes time and that's so that you don't damage the paint with the machine but some of us aren't happy with the lack of damage they have done so they go at the soft Jap paint with sandpaper and make an absolute arse of it :P

    Jesus, you'd swear I was after just going up to some fellas car on the street and firing away..? :confused: It's my own car, folks. I'm happy to try new things. Worst case scenario is I get the panel resprayed and that'll cost feck all anyway, so..?


    I do need to pick up more aggressive pads for the DA though. I spent ages on it with the one I had, and it's improvement wasn't great. I want to get rid of all the scratches I can't feel. :(


  • Posts: 14,344 ✭✭✭✭ [Deleted User]


    Zoney wrote: »
    KKV, what polish did you use? I imagine black paint is a lot harder to get looking right, but I found Autoglym polish was sufficient after a clay to hide head to toe swirls on our car, metallic silver (and even thin scratches on the bonnet can only be seen close up). EGP on top too but I'm sure I remember the polish doing most of it.

    I've been holding off and reading more, getting more familiar with bodywork care and even stuff like the headlight restoration for now, but I do want to attempt some scratch repair myself in time, so interested to see how you get on!

    Meguiar's Ultimate Cut Compound, I think it's called (something along those lines).

    Got decent results using it on the Megane with the more aggressive pads for the DA (though even then it took a bit of time).

    Scratch repair is something I'm interested in (in terms of both getting away the swirls and cleaning actual 'i hit it against something' scratches.

    Would love to be able to do a bit of panel beating, even, if need be (not as a job or such, I don't mean, but just a skill to have for myself and my own cars in future). :)

    I'm interested to see how I get on, too! :P:o


  • Registered Users, Registered Users 2 Posts: 7,822 ✭✭✭stimpson


    If it's any consolation, you'll learn more from your mistakes than your successes. I think you need to be realistic as to what level of correction is possible with the tools (and experience) that you have. You also need to have a bit more patience.

    Polishing reminds me of knife sharpening - I have 5 stones and I start with the coarsest one only when I need to correct chips, change a blades angle or set a new edge. If there is a really large chip, I might just live with it as to correct it would mean removing too much metal from the knife. Wherever I start, I gradually work my way down through the stones, each time taking less and less metal from the knife.

    I finish with some Autosol on a leather strop, which barely takes anything off, but polishes the edge to a mirror finish. Each pass you use a finer abrasive because that's how you get the best finish - there are no short cuts.

    What you need to remember is that you have a very thin layer of paint on your car so not to attack it too aggressively. You can always take more off - you can never put more back on.


  • Registered Users, Registered Users 2 Posts: 1,652 ✭✭✭Chimaera


    Get the orange pad for the DA and some aggressive compound and you might be able to recover those scratches. Don't assume a respray is the easy (cheap?) way out if you screw it up either. A good bonnet respray is going to be a few hundred euro, a full car (done right) closer to €2000.


  • Registered Users, Registered Users 2 Posts: 96 ✭✭west cork lad


    On a side note, does anybody know a detailing God who passed on and now lives in the sky's over cork. 5 hours of beautiful sunshies, a smile on my face as I fill my buckets, as soon as I put them down beside the car the heavens open up. Roll on the Indian summer.


  • Advertisement
  • Posts: 14,344 ✭✭✭✭ [Deleted User]


    Chimaera wrote: »
    Get the orange pad for the DA and some aggressive compound and you might be able to recover those scratches. Don't assume a respray is the easy (cheap?) way out if you screw it up either. A good bonnet respray is going to be a few hundred euro, a full car (done right) closer to €2000.


    Ah I know a panel beater well who'd give me a good price. I'd say I'd pay no more than €200, if that. The cost of a DA and I'd have a fresh surface. The bonnet of the Rav annoys me, but I don't want to just hand it over to someone.

    Even if I make a total balls of it, I'd still rather give it a whirl myself, first. You never know, if you never try, and all that. :)


    Jesus, you'd swear I was after just going up to some fellas car on the street and firing away..? :confused: It's my own car, folks. I'm happy to try new things. Worst case scenario is I get the panel resprayed and that'll cost feck all anyway, so..?


    Just flicked through the thread again, and re-reading my own post there, I realised it might sound a bit harsh or that I'm getting a bit aggressive with you there, MM.

    Just wanted to clarify that's not the case at all. I'm aware at the end of the day it's all a bit of fun and didn't want you to take me up wrongly there (not sure if you read it yet or not, so...).


  • Posts: 14,344 ✭✭✭✭ [Deleted User]


    Are ye guys using Mr. Pink as a foam or as a normal 2BM shampoo? I've been doing the latter but just seen this relatively impressive video:

    http://www.youtube.com/watch?v=_SS66yCEtwQ

    (when I say relatively impressive, I obviously mean the amount of foam, not it's cleaning power on an already sparkling car)


  • Registered Users, Registered Users 2 Posts: 15,590 ✭✭✭✭vectra


    ^^ Shampoo for me.


  • Registered Users, Registered Users 2 Posts: 635 ✭✭✭BillJ


    I will be using it as snowfoam this weekend, i'll report back with pics!

    As a shampoo I find it decent, very slick, smells lovely too!


  • Registered Users, Registered Users 2 Posts: 635 ✭✭✭BillJ


    Good days detailing done today, got to try out my new nilfisk, New snow foam lance, New wash mitt and towel and collinite 846. Pics to follow tomorrow!


  • Posts: 14,344 ✭✭✭✭ [Deleted User]


    Tomorrow? Sure that could be weeks away!? :eek: :P


    Today I re-polished the area I 'ruined' on my bonnet the last time. I spent a solid 40 minutes on that single section. Maybe the green pad isn't completely useless, but mine is just worn down or such? (though it looks fresh enough?).

    Anyway, I went over the area and spent ages on it. I got rid of all the sandpaper marks easily enough, but I couldn't get a particular scratch I was aiming for, to come out, so i got annoyed and went to sandpaper again ( :o ) and went at it with the DAS again. I'd say I went through a quarter of the bottle of polish on it.

    But anyway, the end of the story is that the bonnet part i worked on still has visible scratches, but they're only noticeable under direct light and you do have to look for them (all the sandpaper marks are long gone).

    I'm not doing anymore without the yellow and orange pads though. That green pad must have been sourced in a joke shop somewhere. After taking off the 3M tape that I was using to seperate the area i was working on, there were noticeable marks from where the tape was when i was polishing. After a solid 2 minutes (no exaggeration) of just polishing the tape marks, they were STILL there. :rolleyes:


    But I can see improvement. I just need to really take my time. I didn't have the camera so no pictures unfortunately.


    I also tried this amount of Mr Pink:

    http://photos2.pix.ie/D4/D0/D4D0459DC528414EB522BF5626D65AB4-0000333410-0003511361-00640L-35FE9045BE4D4D8AB305462F8FC6578C.jpg


    with hot water (filled to the top of the label) to get this result (warning: nauseating video):


    (if that's not working, or sideways, just give it an hour. It's too awkward to hold the phone sideways/properly when foaming so i always have to rotate it on Youtube).


  • Registered Users, Registered Users 2 Posts: 1,552 ✭✭✭dylbert


    Cleaned the interior today, just used APC on everything, plastic, seats, mats, can't believe how well it cleans everything, seats and mats are like new. To think of all the money I've wasted on fancy cleaners over the years.
    Not bad for a 10 year old car :)

    6199416FD67D450F91F2E972CA00B1B8-0000367193-0003511751-00800L-DCEAFA2ACA2144DE875C9C5FFC8476F1.jpg

    3CADFC817A4141288183ED49690C5C09-0000367193-0003511752-00800L-B5ACC4ABCF994F82A7EE7D8B742BE475.jpg

    DEFEC2114CB646C09CD56F9FA987AA72-0000367193-0003511753-00800L-D2F4193351494D169FC00DE8B4DA3606.jpg

    CB826739D34A40889B65C61FA29F856F-0000367193-0003511756-00800L-D0F3C23AD9F248279957DE0A3C447AB0.jpg


  • Registered Users Posts: 1,639 ✭✭✭Zoney


    dylbert, that really looks great! What APC did you use?


  • Registered Users, Registered Users 2 Posts: 1,552 ✭✭✭dylbert


    Just the cheap LIDL one, it's called W5 All Purpose Cleaner.


  • Advertisement
  • Registered Users, Registered Users 2 Posts: 4,377 ✭✭✭Curran


    I'd say I went through a quarter of the bottle of polish on it.

    Are you scrapping out the dried polish the pad after every few sets? Sounds like the pad is caked in polish and as a result wint be as effective. Ideally you'd have a few pads of the type and use one for a few sets, wash it out, move to a second clean / dry pad...but thats a major expense for someone who isnt using the polisher regularly.

    You can wash out the pad, ring it out as best possible and then spin out a bit of water on the machine. Problem with that is that wet pads results in less friction and slower correction, also polish can splash everywhere....but the pad will dry out..but then will need re-cleaning.
    You can use a toothbrush to clean the pads too without water. Spin it on the machine and drag the toothbrush across the pad and polish will come out...but once the pad is clogged / caked, this needs to be done every set or two.


  • Registered Users, Registered Users 2 Posts: 15,590 ✭✭✭✭vectra


    dylbert wrote: »
    Just the cheap LIDL one, it's called W5 All Purpose Cleaner.

    That or the Aldi one.
    Lovely lemon smell from them.


  • Registered Users Posts: 1,639 ✭✭✭Zoney


    dylbert wrote: »
    Just the cheap LIDL one, it's called W5 All Purpose Cleaner.

    Will pick some up! How did you get it to work on the seats without them ending up too wet?


  • Registered Users, Registered Users 2 Posts: 1,552 ✭✭✭dylbert


    Mix a cap full with water in a spray bottle, sprayed on the seats and agitated with a brush then gave them a good wipe with a damp microfiber cloth, I kept rinsing the cloth in a bucket of clean water as I went.


  • Registered Users, Registered Users 2 Posts: 7,822 ✭✭✭stimpson


    Curran wrote: »
    Are you scrapping out the dried polish the pad after every few sets? Sounds like the pad is caked in polish and as a result wint be as effective. Ideally you'd have a few pads of the type and use one for a few sets, wash it out, move to a second clean / dry pad...but thats a major expense for someone who isnt using the polisher regularly.

    You can wash out the pad, ring it out as best possible and then spin out a bit of water on the machine. Problem with that is that wet pads results in less friction and slower correction, also polish can splash everywhere....but the pad will dry out..but then will need re-cleaning.
    You can use a toothbrush to clean the pads too without water. Spin it on the machine and drag the toothbrush across the pad and polish will come out...but once the pad is clogged / caked, this needs to be done every set or two.

    Would it be worth putting a used pad into a ziplock bag to stop it drying out? My old man does this with paint brushes and rollers. Saves having to wash them out every day when doing a big job. The paint stays wet for a few weeks without drying on the brush.


  • Registered Users, Registered Users 2 Posts: 4,377 ✭✭✭Curran


    Pads get clogged / caked in polish even when the is wet....its possible to over clog the pad on the fist usage.
    Pads should be washed out and let dry naturally after time their used.


  • Advertisement
  • Registered Users, Registered Users 2 Posts: 635 ✭✭✭BillJ


    The detailing gods were on my side this weekend for a change!

    Got to use the new powerwasher, lance, washmitt and wax. I started off with snow foaming the car (mixed views on it, will discuss seperately), I then 2BM'd it, de-tarred it, wheels, clayed it, polished and then waxed it.

    First snowfoam with mr.pink:
    uU3a8Kfl.jpg
    RqiwBPQl.jpg

    Good thick foam but after 5-6 minutes it looked like this:
    Xwi1rhSl.jpg

    I think what happened was I got my dilution ratio wrong, one inch of mr.pink and filled the bottle with water, I should have just gone up to the bottom of the label with water right?

    Detarred body and used turtle ice wheel cleaner on the wheels, APC'd the tyres. Can't find my iron cleanse :mad: Only gave the wheels a quick going over, they need a day dedicated to them alone i think.
    vHzISBOl.jpg

    Clayed next, obviously didnt get all the tar because when claying the lower of the car this was the result :eek::
    UXprIGdl.jpg

    Next I hand polished, some reflection after polishing stage:
    rQAcNtZl.jpg
    OGqRId4l.jpg

    Then I got one layer of Collinte 845 on before it started to rain, finished results:
    1x2ye1kl.jpg?2
    yFnUXjll.jpg
    bFkHaZNl.jpg
    (rusty looking brake discs are annoying in this one)
    H28EuvOl.jpg
    JXIjmIE.jpg?1


  • Registered Users, Registered Users 2 Posts: 14,015 ✭✭✭✭Mc Love


    Going to try my MrPink next time I snowfoam and see if there is a difference between the results I get from Cotton Candy.


  • Posts: 14,344 ✭✭✭✭ [Deleted User]


    Curran wrote: »
    Are you scrapping out the dried polish the pad after every few sets?


    No, to be honest. I didn't think of it or think it needed to be done. Can I just bang them into the washing machine and go from there? In saying that, I ruined the two other pads (yellow, orange) on the wheel arches of the Megane, and tore them apart, so I need to replace them anyway.


    Once I eventually get around to doing that I can worry about actually polishing the Rav4 properly. It's absolutely wrecking my head looking at it at the moment. :(:o

    Once I have the Rav4 done to a standard I'm happy with, I'll not really need to do it again, I don't think. Every six months I might freshen it up with another polishing but I don't think it'd really be necessary? Surely it won't just fall back into it's current state if i keep on top of it, and give it a decent wash and waxing every now and again?


    Was it odd or unusual that I seen little to no difference on the freshly polished Megane, when I used a glaze on it? (It made no difference, from what I recall)?


  • Registered Users, Registered Users 2 Posts: 4,377 ✭✭✭Curran


    Yeah you can pop them in the washing machine but give them a quick rinse and squeeze out in the sink first.

    Yeah you need to be careful around the edges of panels for two reasons...the pad can get ruin and also paint is a lot thiner on the edge of panels so its easier to strike-through on the edges.

    On paintwork thats been fully corrected and finished really well, the glaze will only improve the wet look by a small amount, but it will help fill swirls or defects that are in the paint if any remain....which will be hard enough to notice without close inspection.
    Say if you only did a light enhancement, deeper defects would remain and it helps level the surface and as a result improve shine.


  • Registered Users, Registered Users 2 Posts: 1,899 ✭✭✭Paddy@CIRL


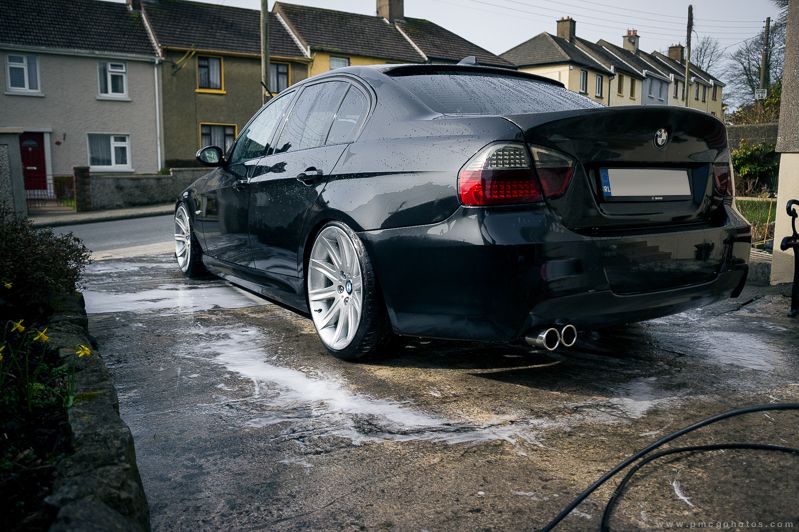
    Today, it finally got a decent wash...

    E90QuickWashPMcG-1_zpsdd3fb7c8.jpg

    It's been a while since it was last cleaned. I try to keep washes to a minimum over the winter as you're likely to create more swirls and scratches the more often you wash the car, especially with the amount of dirt on the roads at this time of the year.

    E90QuickWashPMcG-3_zpsfbae83a2.jpg

    I do have protection on the paintwork still, so that does mean that even when it's dirty, it's usually not too bad as the rain will take the worst of it away.

    E90QuickWashPMcG-4_zpsbbaa50cf.jpg

    The joys of owning a black car though, is that everything shows up. I think the worst is when the dirt dulls the paint and removes the gloss. A black car can look really boring, really quick.

    E90QuickWashPMcG-5_zps465ec400.jpg

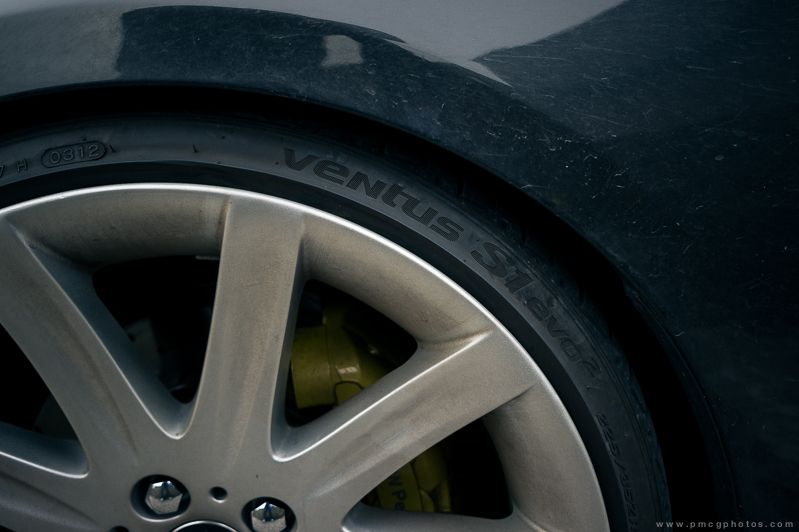
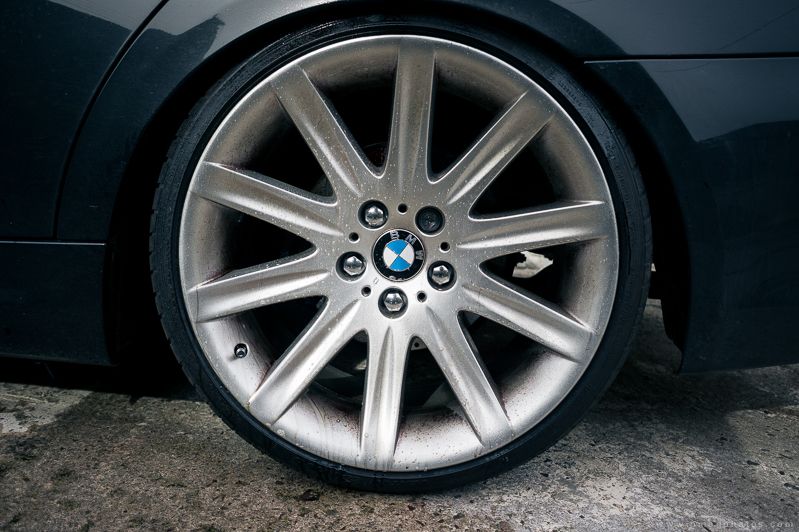
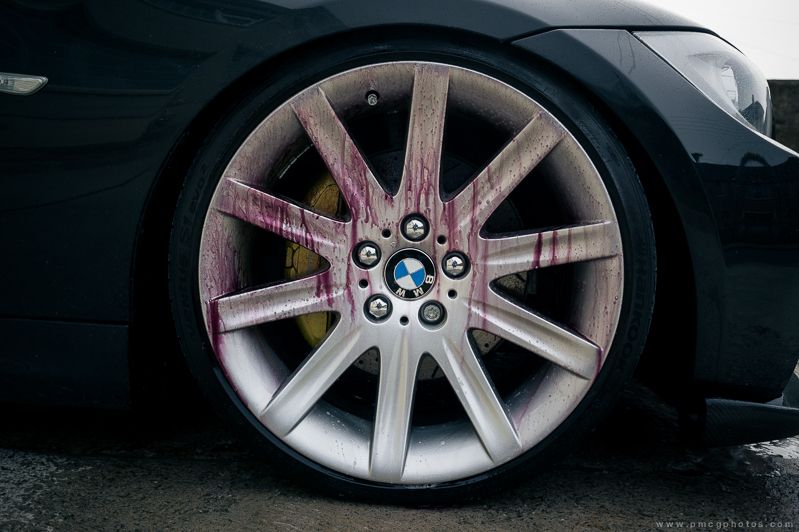
    With the bigger Brembo brakes on the front, there's a bigger mess too. Although the Style 95s are so much easier to clean than my old 3SDMs were.

    E90QuickWashPMcG-2_zpsfe79d096.jpg

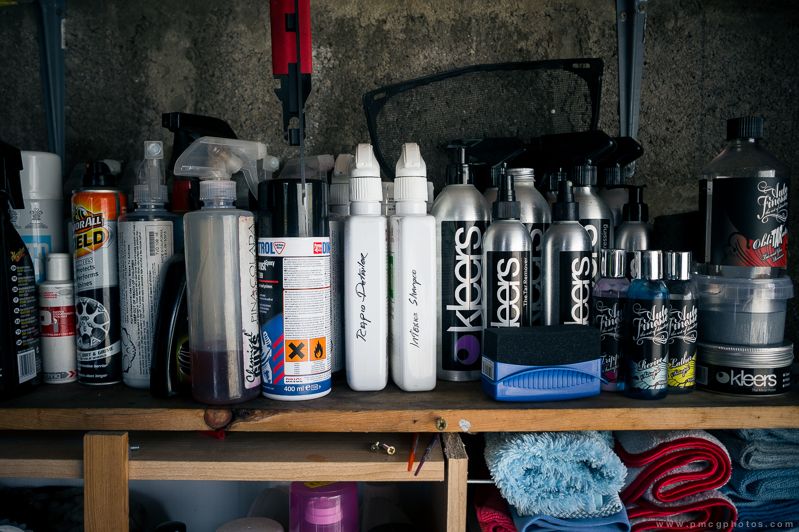
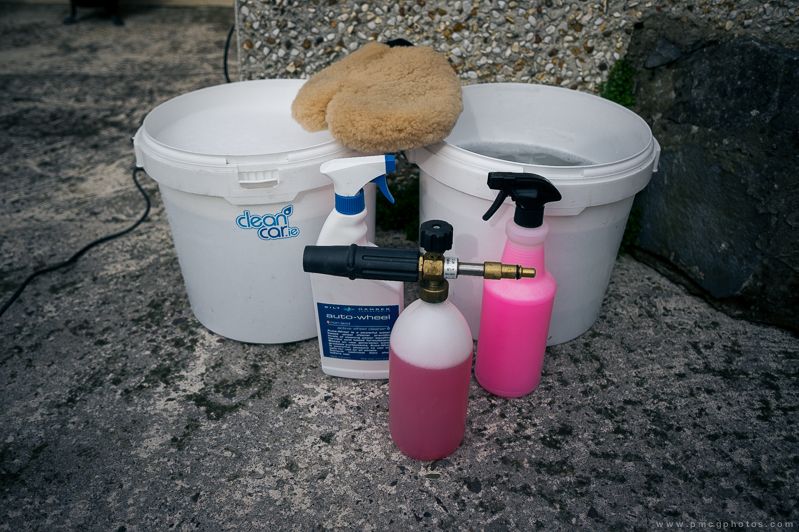
    This is the bulk of the products used. There was CG Glossworks shampoo in the bucket on the left, clean water in the bucket on the right and both with grit guards. Snowfoam is CleanCar's own brand, wheel cleaner is Bilt-Hamber Auto Wheels and CleanCar's own Rinse Aid in the light pink bottle.

    E90QuickWashPMcG-6_zpsbd97ab1e.jpg

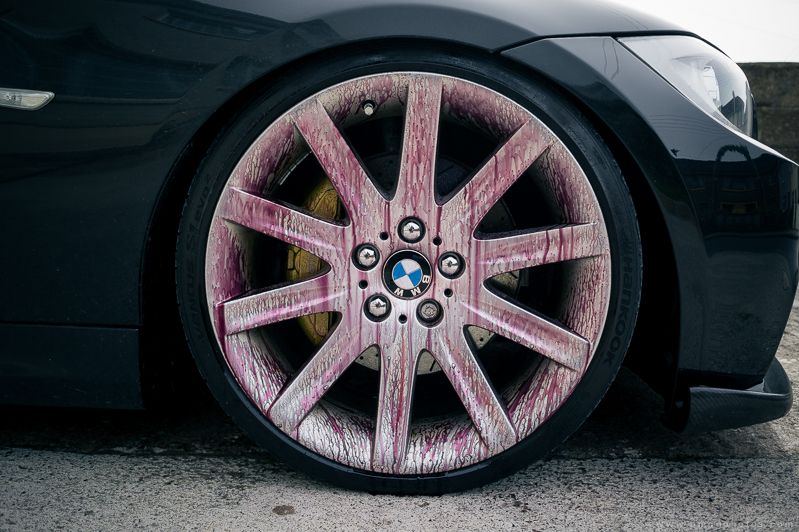
    I always start with the wheels. Bilt-Hamber on...

    E90QuickWashPMcG-7_zps6086e0de.jpg

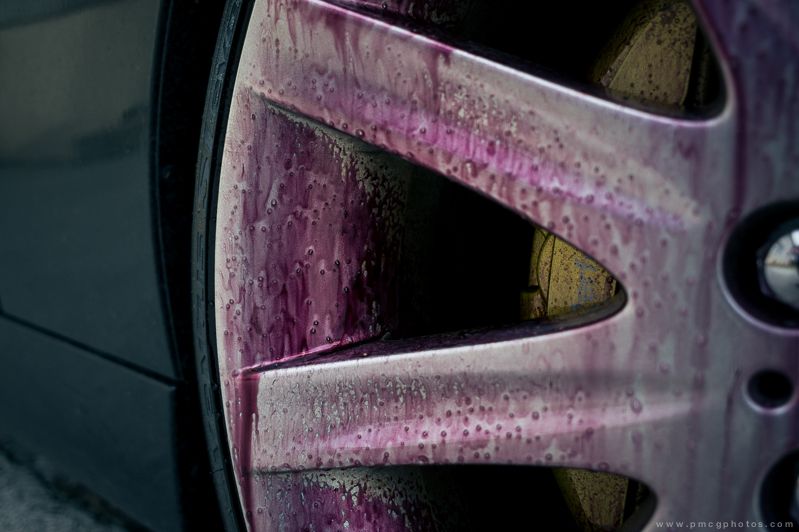
    Left to dwell for a few minutes and the extent of the brake dust and dirt is evident.

    E90QuickWashPMcG-8_zpsbba1c638.jpg

    The beauty of Bilt-Hamber Auto Wheel over the likes of Iron-X etc. is that not only does it lift the iron contaminants, but acts as a normal wheel cleaner too. It's PH neutral also.

    E90QuickWashPMcG-9_zps2861f057.jpg

    Just pressure washed the bottom of the wheel to give you an idea of how good it is. There was no agitation applied.

    E90QuickWashPMcG-10_zpsb61e632f.jpg

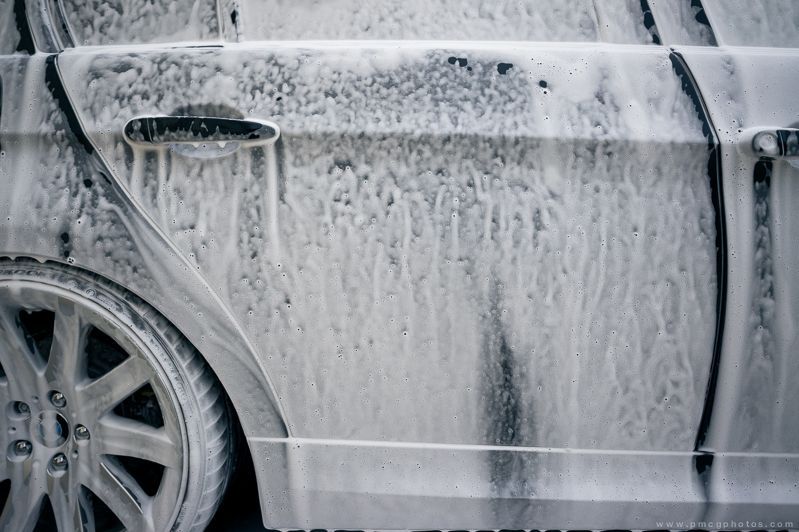
    With the worst of the dirt taken off the wheels, I applied a generous amount of snow foam to the entire car and left it tow dwell for ten minutes.

    E90QuickWashPMcG-11_zpsc093fb21.jpg

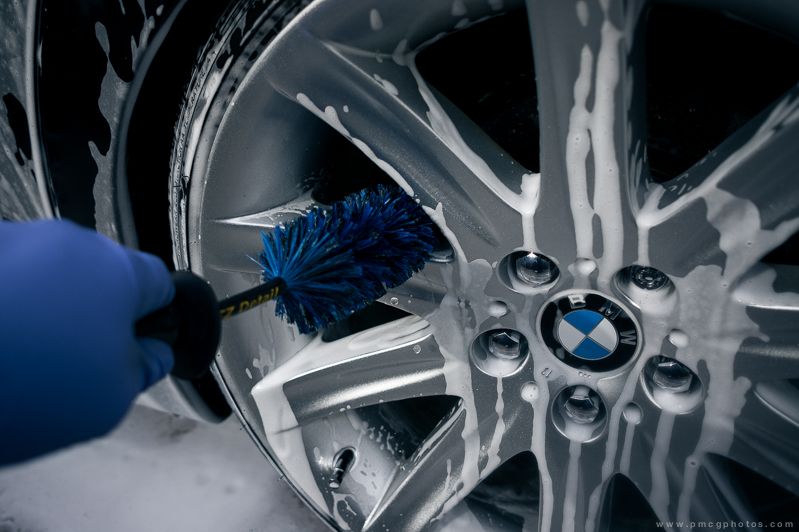
    Whilst the foam was doing its thing, I used a soft bristled brush to clean the wheels more thoroughly.

    E90QuickWashPMcG-12_zps4ca42b95.jpg

    With the foam rinsed off, this is what I was left with. You can see the water is stuck to the car from beneath the door handles and down. This shows that there is still plenty of dirt still there, despite the fact that it looks glossy again.

    E90QuickWashPMcG-13_zpsf1286cf6.jpg

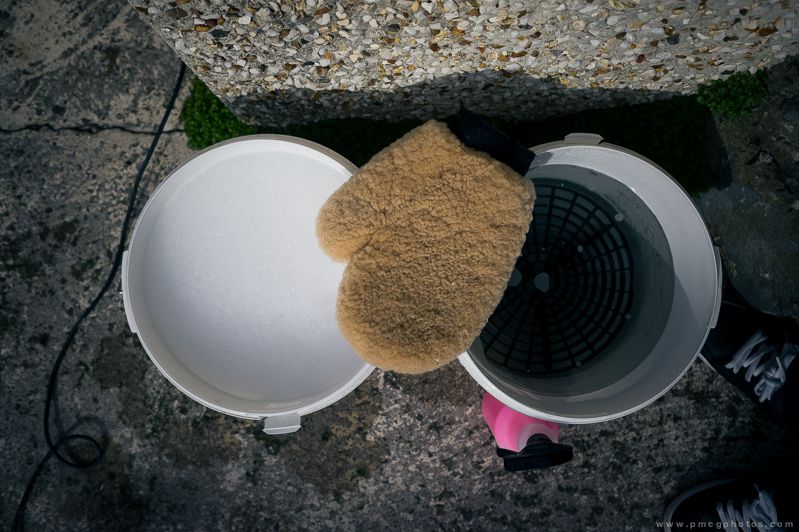
    Next was some two bucket action with a Merino lamb's wool mitt. No pictures of the process, but I was returning to the buckets much more regularly once I started beneath the door handles and lower areas of the body work. I would usually do one panel, rinse mitt in dirtied water and re-soak it in the clean water with the CG Glossworks in it.

    E90QuickWashPMcG-14_zpsbee7ec3c.jpg

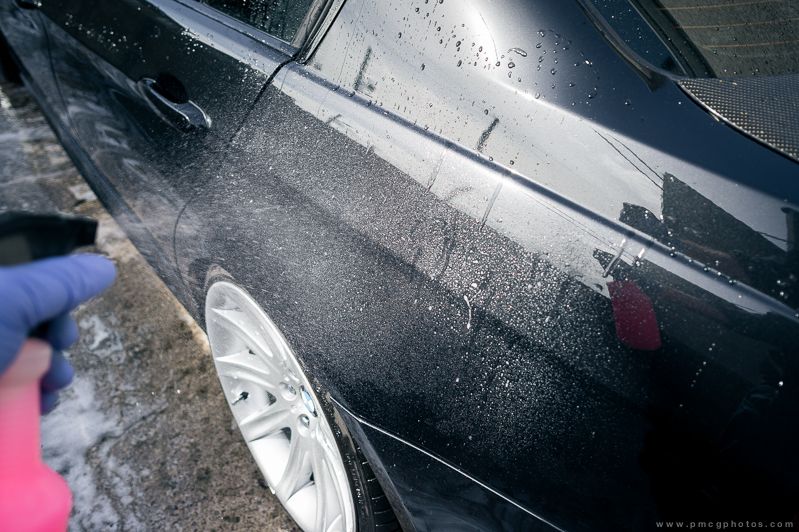
    I rinsed it down again with the power washer, then applied the CleanCar Rinse Aid.

    E90QuickWashPMcG-15_zps60a069fe.jpg

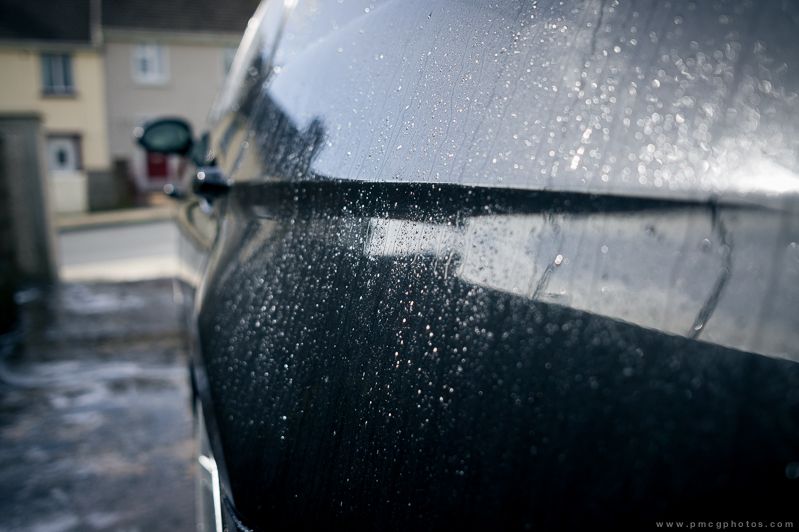
    You only need to apply a really light misting to the car and you will immediately see all the water begin to bead off. Once the car was covered, I rinsed it again but this time with an open hose.

    (Continued below...)


  • Advertisement
  • Registered Users, Registered Users 2 Posts: 1,899 ✭✭✭Paddy@CIRL


    E90QuickWashPMcG-16_zpsd734dfd0.jpg

    Drying time! This is the part I hate the most but since I started misting the drying towel with a QD, it's become a much easier part of the process. Like the hand washing part, I only go either from left to right or right to left when touching the car. Never up and down. Never.

    E90QuickWashPMcG-17_zpscfa26173.jpg

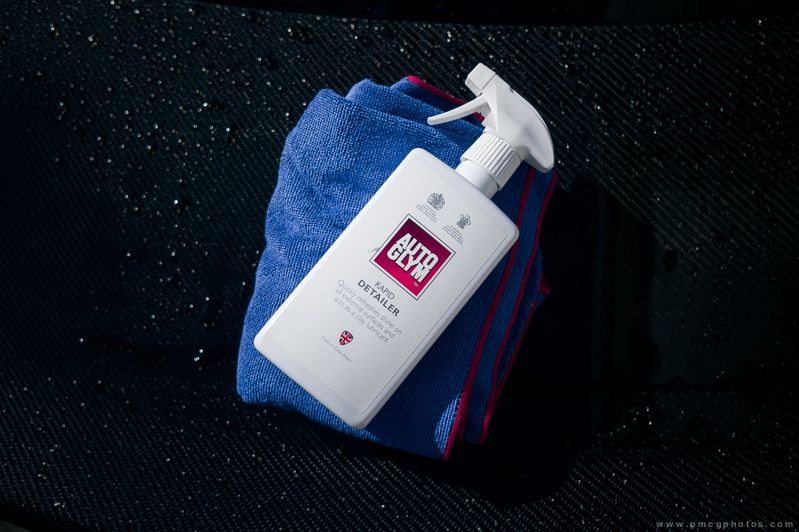
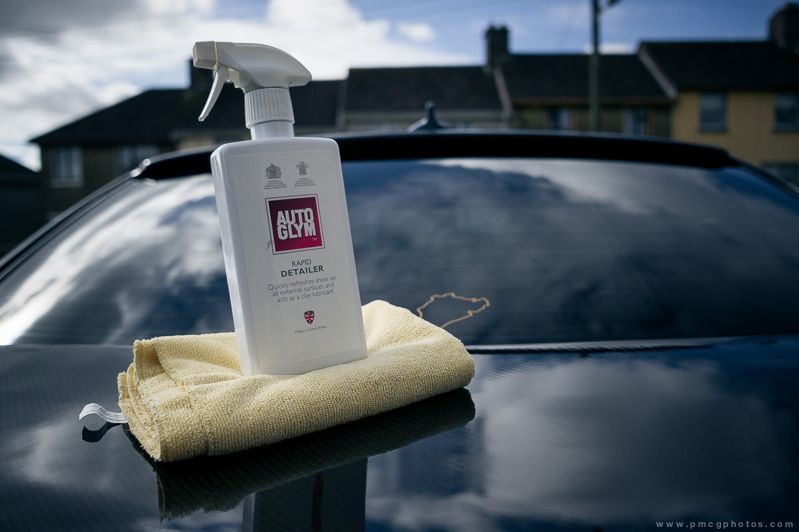
    With the car dry, I gave it another once over with a clean Meguiar's microfibre (by far the best microfibre towel I've used) and Autoglym's Rapid Detailer. I'm using the AG QD because the car was last waxed with HD Wax and I find it's better to stick with products from the same manufacturer.

    E90QuickWashPMcG-31_zpsd25b76f3.jpg

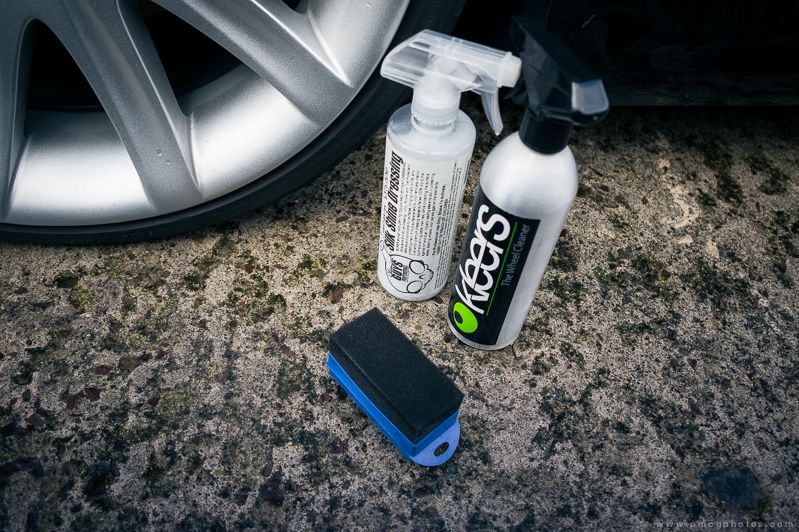
    Back to the wheels again. With another clean cloth, some Kleers wheel cleaner and CG Silk Shine Dressing, I go over the wheels and tyres one more time to dry them, remove any last bits of brake dust I might have missed previously and apply the tyre dressing.

    E90QuickWashPMcG-32_zps99af77ab.jpg

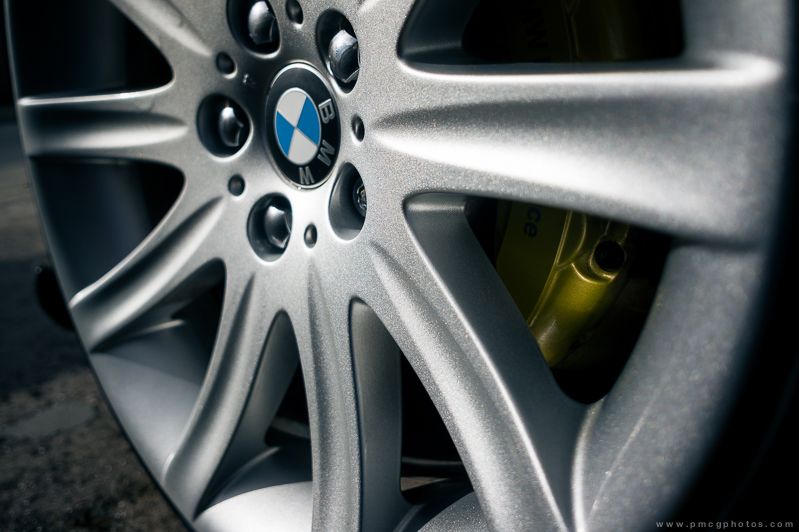
    There's a really nice fleck in the paint on these 95s, so it's worth putting the effort in to bring it out.

    E90QuickWashPMcG-22_zpsd66802f8.jpg

    With everything dry and all the trim dressed, I go around the car once more to check for any parts I may have missed with the QD.

    E90QuickWashPMcG-19_zps271c493b.jpg

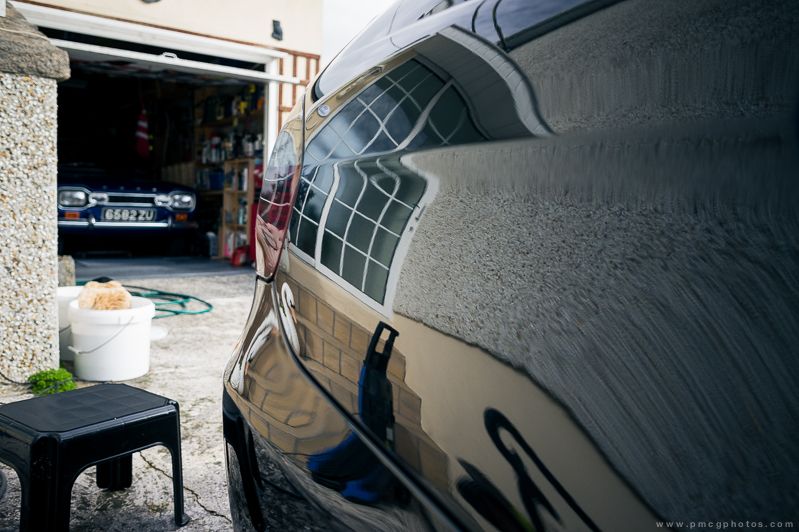
    Black is a morale killer when trying to maintain a car because every little mark shows up.

    E90QuickWashPMcG-20_zps101bb6f1.jpg

    Usually around now, I'd start putting everything away but with it being a good day, I took the opportunity to sort something that was bugging me for a while.

    E90QuickWashPMcG-23_zpsa8ce60c8.jpg

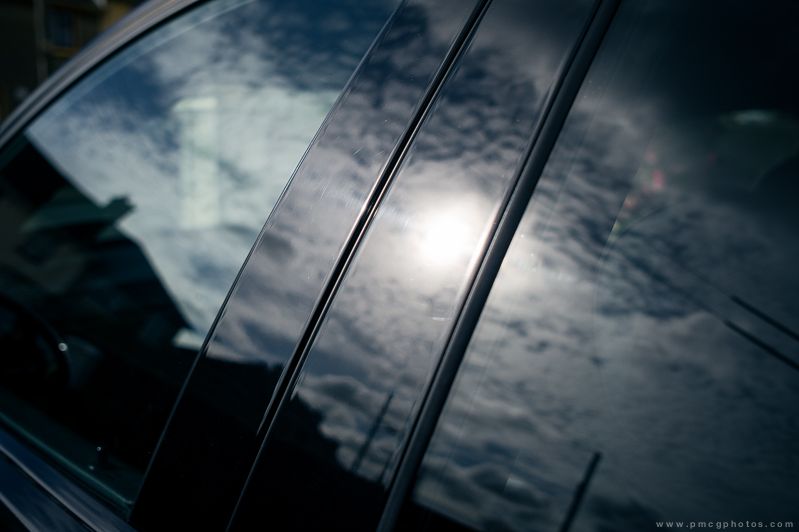
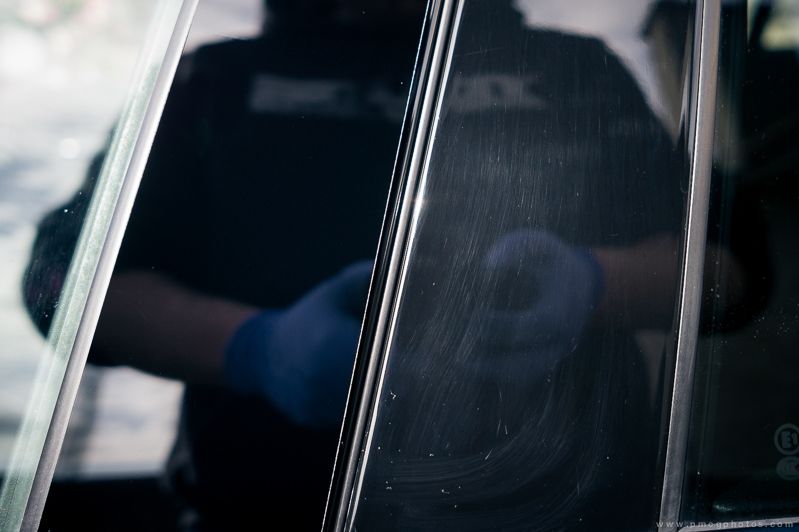
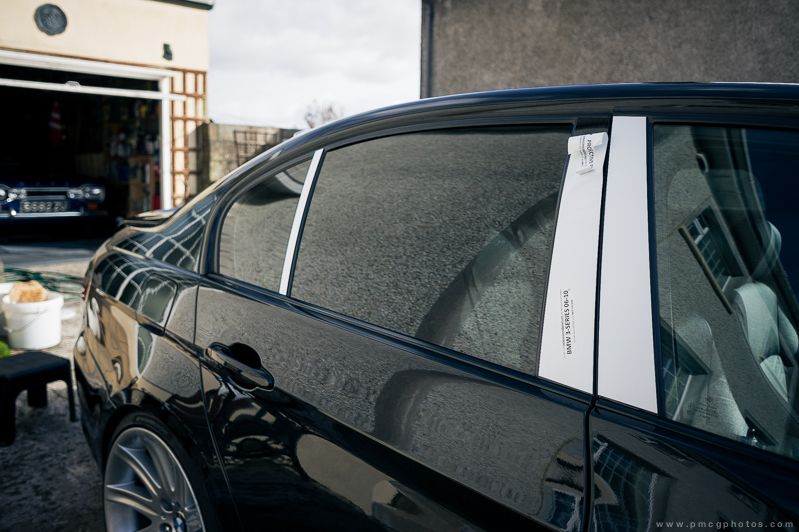
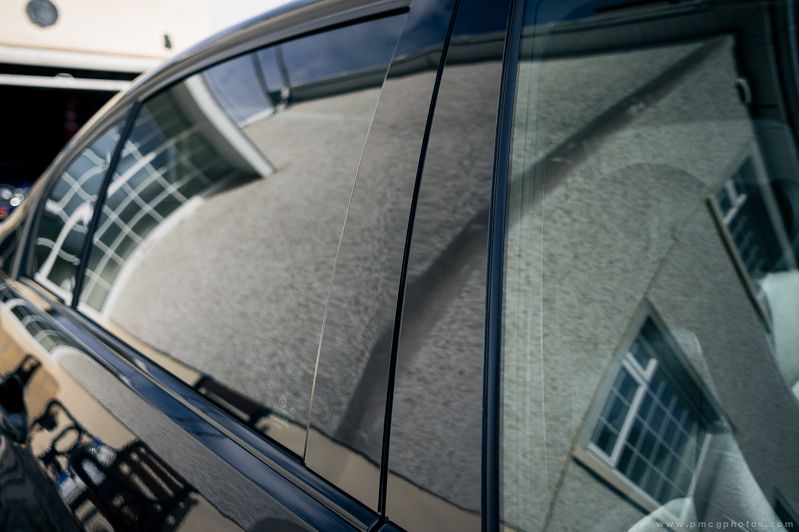
    The gloss black trim on the doors is an absolute nightmare to maintain. Every little scratch and mark shows up and really lets the car down IMO.

    E90QuickWashPMcG-25_zps00a5f362.jpg

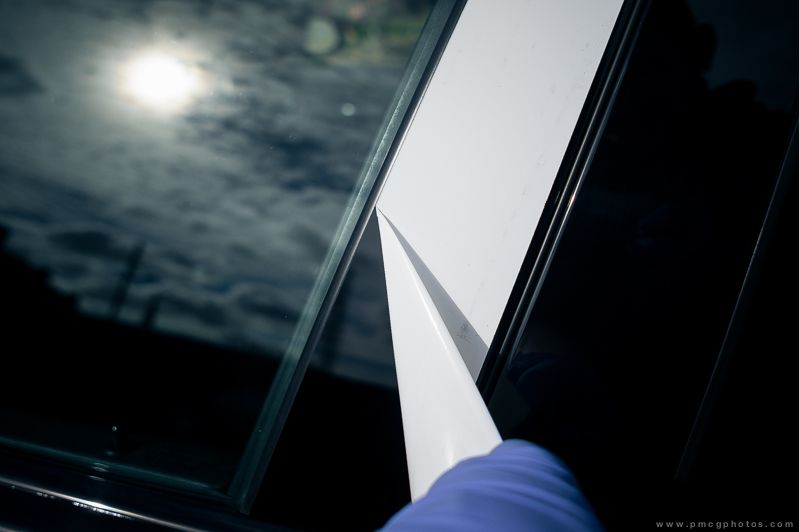
    I found a company in the US that offer polycarbonate cut to the shape of the original which is scratch and UV resistant. It bonds directly to the original trim, so does protrude slightly, but you would have to know it was there or really go looking for it to notice.

    E90QuickWashPMcG-27_zps62944155.jpg

    New trim on the left, old trim on the right. A big difference.

    E90QuickWashPMcG-28_zpsa9c88010.jpg

    The kit comes with IPA wipes so you can clean the original trim before applying the new polycarbonate covers. The adhesive is quite permanent and you do not want to mess up the application. Once it's on, it's never coming off.

    E90QuickWashPMcG-29_zpsa449fe81.jpg

    It's only a small thing, but makes a big difference to the overall look of the car.

    E90QuickWashPMcG-30_zps990c5c51.jpg

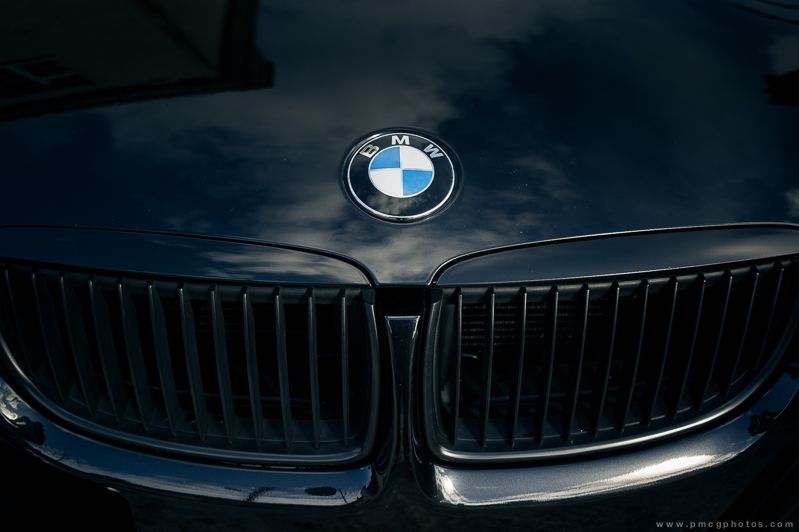
    I also took the opportunity to try out the gloss brows for the grills. There's not a huge difference TBH, although it might look better when the lower grills are changed over too. Gloss on the left, matte on the right

    E90QuickWashPMcG-34_zpsb5491b36.jpg

    With the exterior finished, I went around and dried out and QD'd the door shuts...

    E90QuickWashPMcG-33_zps9025e31c.jpg

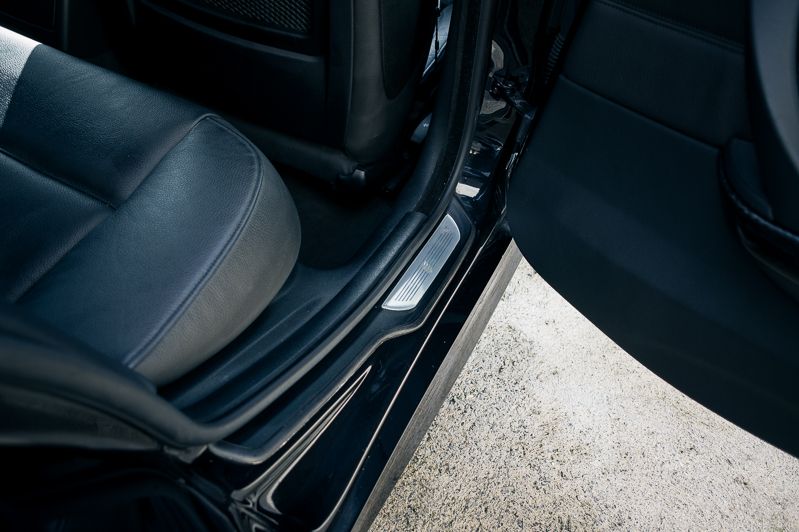
    ...before giving the rest of the interior a quick dust and the front mats a shake. Above all, I usually keep the inside spotless as it's where I spend more of my time.

    (Continued below...)


  • Registered Users, Registered Users 2 Posts: 1,899 ✭✭✭Paddy@CIRL


    (Last part, sorry for breaking your internets)

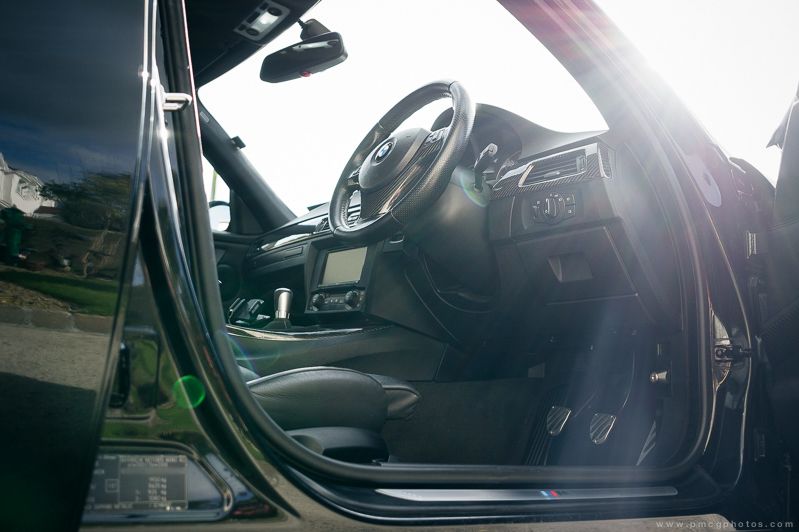
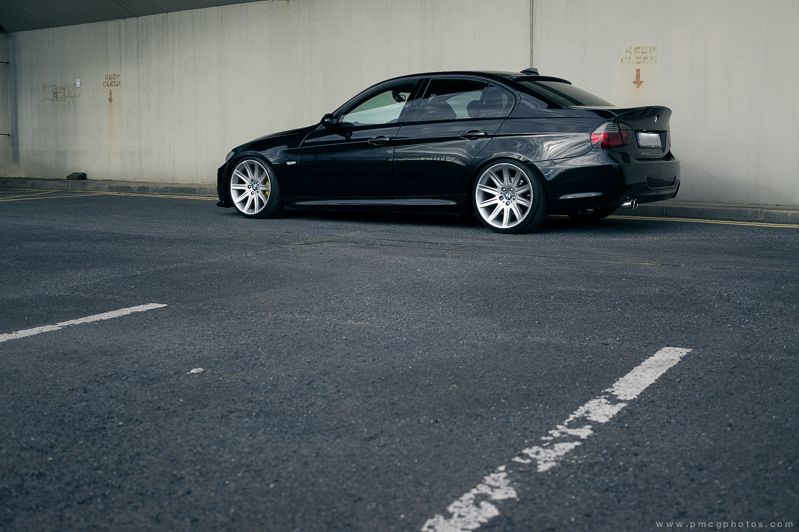
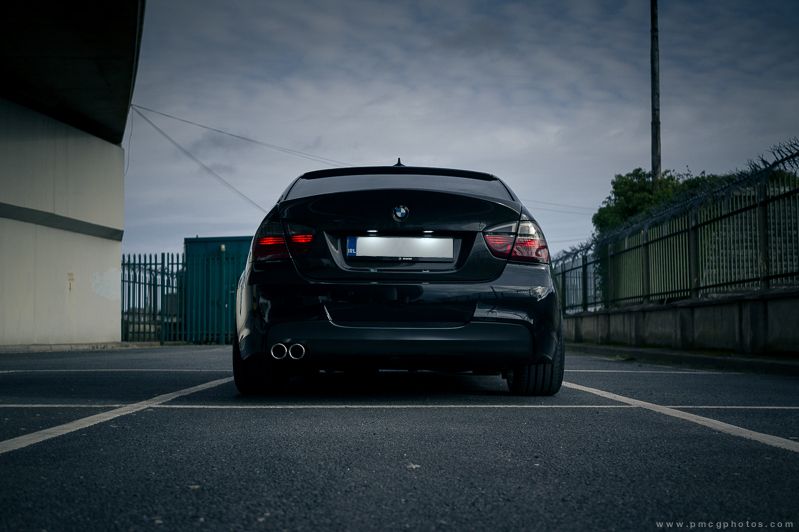
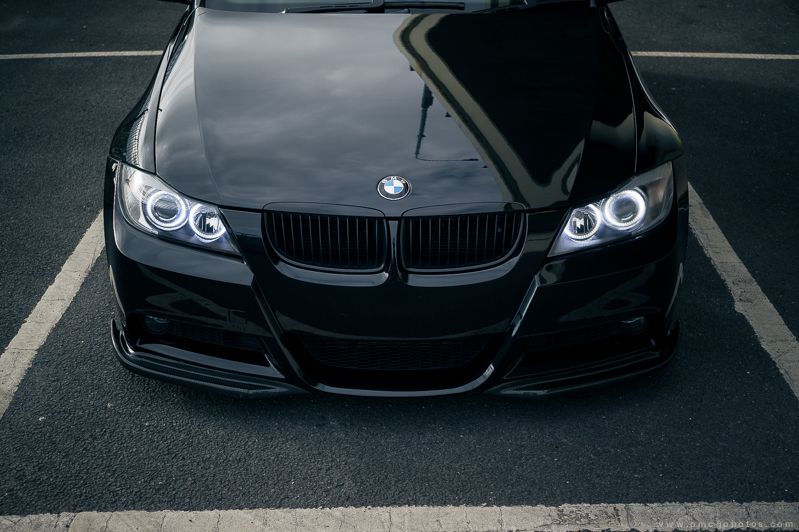
    The results...

    E90QuickWashPMcG-35_zps9360ab2e.jpg

    E90QuickWashPMcG-36_zps1bdf3b24.jpg

    E90QuickWashPMcG-39_zps5b4beb4d.jpg

    E90QuickWashPMcG-37_zps2e3fbf46.jpg

    E90QuickWashPMcG-40_zpsab4519c5.jpg

    I've got a small leak in my front passenger-side headlight which will be easily rectified once it comes out of the car when my new lights arrive. There's a hint of haziness too, although I'm not sure if that's a by-product of the moisture that's present. It evaporates pretty quickly but looks ****. As I said, it'll be easily remedied once they're out.

    I'm hoping to get the car painted shortly as the bonnet has quite a few stone chips (that are touched up, but still) and there's a couple of small marks and dings around the car that are annoying me, so they'll need to be seen to as well. Once it's back from paint and with the new headlights fitted, it'll be up for its NCT. There's a couple of things I need to sort to ensure it passes but I don't foresee any major problems. When the paint is gassed off, I'll give it to CleanCar to correct it once more before applying a proper coating of Gtechniq to the paintwork.

    I've a few other small things I want to change over the year, but they can wait until my bank balance begins to recover...

    Thanks for reading :)


  • Registered Users Posts: 2,154 ✭✭✭opinionated3


    Great results. Looks awesome.


  • Registered Users, Registered Users 2 Posts: 10,050 ✭✭✭✭cena


    I would love to see that car in person. Just look how clean and shiney it is


  • Registered Users, Registered Users 2 Posts: 4,377 ✭✭✭Curran


    cena wrote: »
    I would love to see that car in person. Just look how clean and shiney it is

    There's not many people who car for their cars as well as Paddy does!!
    Between lots of professional care; detail, top up protection, and maintenance washes.....and a bit of OCD cleaning on Paddy's part; this car gets a serious amount of TLC...but; doesnt it look good for it!

    Good work Paddy...keep it up!


  • Registered Users, Registered Users 2 Posts: 14,015 ✭✭✭✭Mc Love


    How does the rapid detailer work when youre drying the car?

    And how does the rinse aid work?

    I also use bilt hamber auto wheel clean and its fantastic!


  • Registered Users, Registered Users 2 Posts: 2,088 ✭✭✭JAMES VTI S


    Nice work.


  • Registered Users, Registered Users 2 Posts: 19,854 ✭✭✭✭MetzgerMeister


    Mc Love wrote: »
    How does the rapid detailer work when youre drying the car?

    And how does the rinse aid work?

    I also use bilt hamber auto wheel clean and its fantastic!

    Rapid detailer works by giving a slicker surface than normal, helping the water to come off.

    The rinse aid basically does the same thing.

    Both are different names for what is in essence, the same outcome. The main difference being that a quick detailer is used with a cloth panel by panel and a rinse aid is sprayed all over the car first before using a cloth.

    That's my understanding of it anyway!


  • Registered Users, Registered Users 2 Posts: 15,590 ✭✭✭✭vectra


    Those wheels are perfect on it.


  • Registered Users Posts: 263 ✭✭agfasfos


    Fantastic job.


  • Advertisement
Advertisement