Advertisement
If you have a new account but are having problems posting or verifying your account, please email us on hello@boards.ie for help. Thanks :)
Hello all! Please ensure that you are posting a new thread or question in the appropriate forum. The Feedback forum is overwhelmed with questions that are having to be moved elsewhere. If you need help to verify your account contact hello@boards.ie
Please note that it is not permitted to have referral links posted in your signature. Keep these links contained in the appropriate forum. Thank you.

https://www.boards.ie/discussion/2055940817/signature-rules

Today I did something to my car (volume 2)

Options
1243244246248249327

Comments

  • Moderators Posts: 3,554 ✭✭✭Wise Old Elf


    Pollen filter and air filter in my Focus (2004, Mk1).
    Got spark plugs as well but it was getting dark. Will do the oil in the next week or so.

    Old vs new pollen filter:
    5tZbsvfb.jpg

    Old air filter wasn't that bad as it happens:
    JgPSmi2b.jpg

    Edit: question on the mini-filter thing, I think it's a filter for the crankcase breather or something. Anyway, it's a sponge style filter, but it's too big for the slot in the focus, so I had to squish it to get it to fit. Should I have cut it to size instead or does it matter?


  • Registered Users Posts: 5,875 ✭✭✭Foxhole Norman


    Replaced my rocker cover with a new second hand one and fitted a new gasket at the same time. Gave the car a service too with Petronas 5W-30, E39's seem to love it! New NGK Laser plugs which were badly needed too and new Pollen/Air/Oil Filters:

    New cover and filters fitted:

    IMG_20161230_160838_zpsucw6khxp.jpg

    IMG_20161230_171349_zpsigweipou.jpg

    IMG_20161230_182431_zpsdbjjbzls.jpg

    IMG_20161230_151016_zpsyiyt97mo.jpg


  • Registered Users Posts: 6,845 ✭✭✭Noccy_Mondy


    Pollen filter and air filter in my Focus (2004, Mk1).
    Got spark plugs as well but it was getting dark. Will do the oil in the next week or so.

    Old vs new pollen filter:
    5tZbsvfb.jpg

    Old air filter wasn't that bad as it happens:
    JgPSmi2b.jpg

    Edit: question on the mini-filter thing, I think it's a filter for the crankcase breather or something. Anyway, it's a sponge style filter, but it's too big for the slot in the focus, so I had to squish it to get it to fit. Should I have cut it to size instead or does it matter?

    Be sure to get the proper seal of Ford to reseal the plastic cover at the base of the windscreen or else your pollen filter will be sopping in no time! It's only a few beans. And no, silicone won't work ;)


  • Registered Users Posts: 24,644 ✭✭✭✭punisher5112


    Pollen filter and air filter in my Focus (2004, Mk1).
    Got spark plugs as well but it was getting dark. Will do the oil in the next week or so.

    Old vs new pollen filter:
    5tZbsvfb.jpg

    Old air filter wasn't that bad as it happens:
    JgPSmi2b.jpg

    Edit: question on the mini-filter thing, I think it's a filter for the crankcase breather or something. Anyway, it's a sponge style filter, but it's too big for the slot in the focus, so I had to squish it to get it to fit. Should I have cut it to size instead or does it matter?

    That sponge is the oil breather.
    Take it out clean with petrol or egr cleaner etc. Then dry it out with kitchen towel.

    As above seal replace and get at oil asap if needed.


  • Moderators Posts: 3,554 ✭✭✭Wise Old Elf


    That sponge is the oil breather.
    Take it out clean with petrol or egr cleaner etc. Then dry it out with kitchen towel.

    As above seal replace and get at oil asap if needed.

    Thanks, a new one comes with the air filter so I just popped the new one in with the new air filter instead :)
    Did the oil earlier this year so it's not in a very bad state.


  • Advertisement
  • Registered Users Posts: 8,720 ✭✭✭Hal1


    I hoovered out my air box the last time I recharged my air filter (k&n). It's amazing what you don't see initially. Also were the oil breather is can get fouled with oily gunk stuff, so worth spending the extra time to clean it.


  • Registered Users Posts: 13,652 ✭✭✭✭joujoujou
    Unregistered Users


    New year, new mods! :D

    Additional ceiling light this time.

    It will go here, between the sunvisors:

    01ceiling_phm.jpg

    But first things first, a lot of reading pug 207 diagrams (that was the car the light assy came from) and even more connections checks with multimeter.

    02dzwonimy_phm.jpg

    Peugeot diagrams confirmed that them lights are controlled by the sort of ECU (a.k.a. Built-in System Interface), but I needed it to be controlled simply by presence (or not) of ground taken from door sensors, so had to cut some connections (4 points), as seen below. Some soldering done as well.

    03soldered_cut_phm.jpg

    Time to make a template...

    04template_phm.jpg

    ...and it fits!

    05fits1_phm.jpg06fits2_phm.jpg

    Messy wires are no longer messy:

    07tidied_phm.jpg

    Some drawing...

    08drawn_phm.jpg

    ...cutting and wiring...

    09cut_wired_phm.jpg

    ...and all works as I wanted it to! :D

    10done_phm.jpg

    Yes, it looks like is a bit off to the right, but in fact it's O.K.

    May get some better LED bulbs later. :cool:


  • Registered Users Posts: 5,115 ✭✭✭job seeker


    Very nice mod dude. :cool:


  • Registered Users Posts: 5,115 ✭✭✭job seeker


    I just taxed the Yaris for the year. 199 beans!


  • Registered Users Posts: 13,652 ✭✭✭✭joujoujou
    Unregistered Users


    Minor thing this time, sort of visual improvement. ;)

    Was:

    405634.jpg

    Now:

    405635.jpg


  • Advertisement
  • Registered Users Posts: 14,721 ✭✭✭✭CianRyan


    Advised crab pressure?


  • Closed Accounts Posts: 193 ✭✭fitzeyboy.


    Swapped out the front left brake caliper with a refurbed one because it was sticking intermittently. Changed front pads while I was at it. Then found the front right caliper piston wouldnt go all the way back in. Caliper boot had split and piston had corroded. Had to strip the fecker down, clean it up and replace some bits with what I had lying around the shed. Working like a dream now, but I'll swap it out with a refurbed one during the week for peace of mind.


  • Registered Users Posts: 5,875 ✭✭✭Foxhole Norman


    All sorted, kind of :p they all work now but fronts cut in every now and again but I'm happy out, first time they've worked since I got the car :D

    This Blue and black cable was unplugged:

    IMG_20170108_171933_zpsv8s75ft1.jpg


  • Registered Users Posts: 1,855 ✭✭✭nd


    Before
    o9s5eZn.jpg?1

    After
    METPwkd.jpg?1

    it needed a bumper, rad, left wishbone, headlight, tyre and left shock. I've to do the shock yet. Should come tomorrow.


  • Registered Users Posts: 24,644 ✭✭✭✭punisher5112


    Wash it and will look all new and shiny.


  • Registered Users Posts: 1,855 ✭✭✭nd


    I'll leave that till last :)


  • Registered Users Posts: 5,290 ✭✭✭Ardent


    CianRyan wrote: »
    Advised crab pressure?

    Beware of crabs (with enormous fjcking claws!) when opening your door!


  • Moderators Posts: 3,554 ✭✭✭Wise Old Elf


    Not so much did something but today my 13 year old Focus passed the NCT, another year of legal motoring :)
    It was actually at the limit of brake imbalance at the front, 29 percent and fail at 30, so need to check that out. Everything else was OK, CO at idle was 0.22, limit of 0.30 so a bit of leeway there as well.


  • Moderators, Science, Health & Environment Moderators, Society & Culture Moderators Posts: 60,159 Mod ✭✭✭✭Wibbs


    Not exactly rebuilding a gearbox or anything but swapped out my Denso's for these;

    406193.JPG

    Bloody hell! What a difference. :eek: I have never noticed much of any difference when swapping out spark plugs, but man this time I did. The Densos were OEM platinums and not that long in the car as far as mileage goes(and looked nice and clean burning coming out so that's good), maybe 10,000 Kms tops, but these go in and it starts a turn of the starter motor less and the idle is smoooooth. And when you press the go pedal, much more immediate a response. It'll be interesting to see how they affect petrol consumption, but it's a thrifty enough old bastid as is so... Well worth the money(35 euroquids from ebay).

    Rejoice in the awareness of feeling stupid, for that’s how you end up learning new things. If you’re not aware you’re stupid, you probably are.


  • Registered Users Posts: 3,668 ✭✭✭eringobragh


    Wibbs wrote: »
    Well worth the money(35 euroquids from ebay).

    Im sure you know but careful where you buy the NGKs from on there, theres alot of fakes doing the rounds ;)

    On a side note (no pics for once) I swapped out my electric aerial on the MR2 with the one from my breaker MR2 as it wasn't retracting and I couldn't be bothered rebuilding it [next time]

    I found one of these watch cover removers ($1 on fleabay) to be quite gentle on the chrome cap and released it quite easily, the official tool is mad money and the need nose pliers can mark it if your not careful

    s-l1600.jpg


  • Advertisement
  • Registered Users Posts: 13,652 ✭✭✭✭joujoujou
    Unregistered Users


    Yet another visual improvement (well, sort of...):

    407522.jpg


  • Registered Users Posts: 579 ✭✭✭keyboard_cat


    nd wrote: »
    Before
    o9s5eZn.jpg?1

    After
    METPwkd.jpg?1

    it needed a bumper, rad, left wishbone, headlight, tyre and left shock. I've to do the shock yet. Should come tomorrow.

    https://www.donedeal.ie/cars-for-sale/2006-mazda-3-1-4-new-nct-jan-18/14501462
    what sorta boards discount do u do?


  • Registered Users Posts: 1,510 ✭✭✭TrailerBob


    Swapped the old rear indicators for LEDs to see how they go. Colour is almost identical but I reckon a bit brighter. Have stop & tail on order. All helps to reduce the load on the harness along with trailer wiring.

    https://us.v-cdn.net/6034073/uploads/attachments/442641/408276.jpg

    €6 from AliExpress - and the quality is good. No dodgy crooked LED panels or lumpy soldering


  • Registered Users Posts: 3,532 ✭✭✭Daniel S


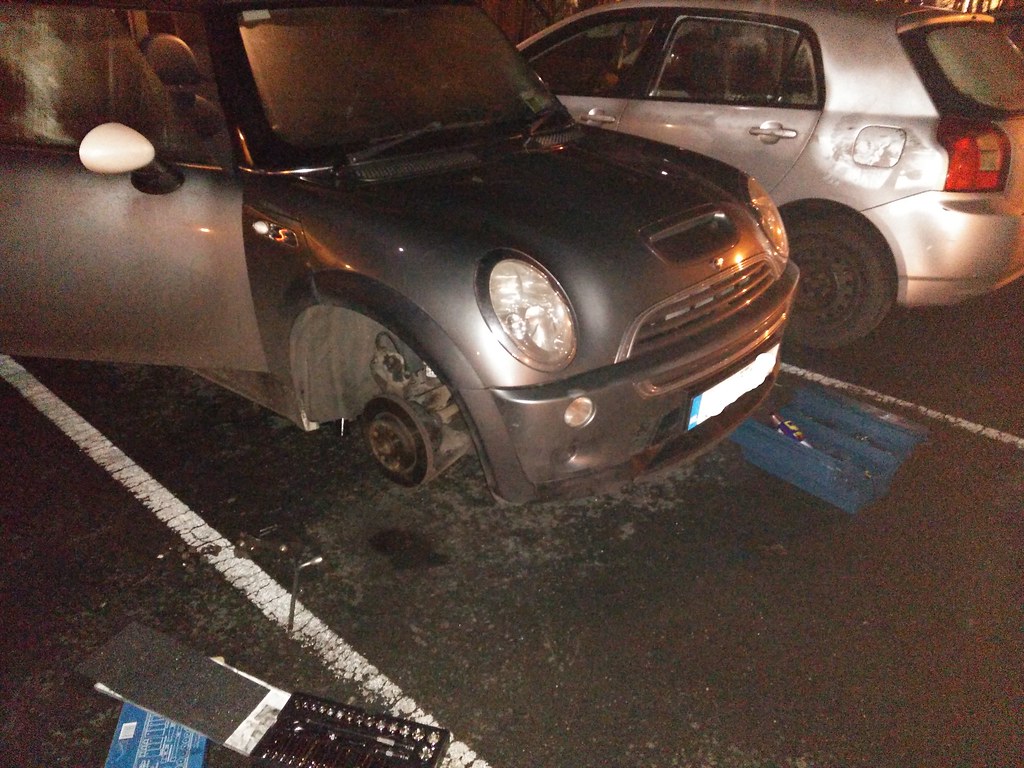
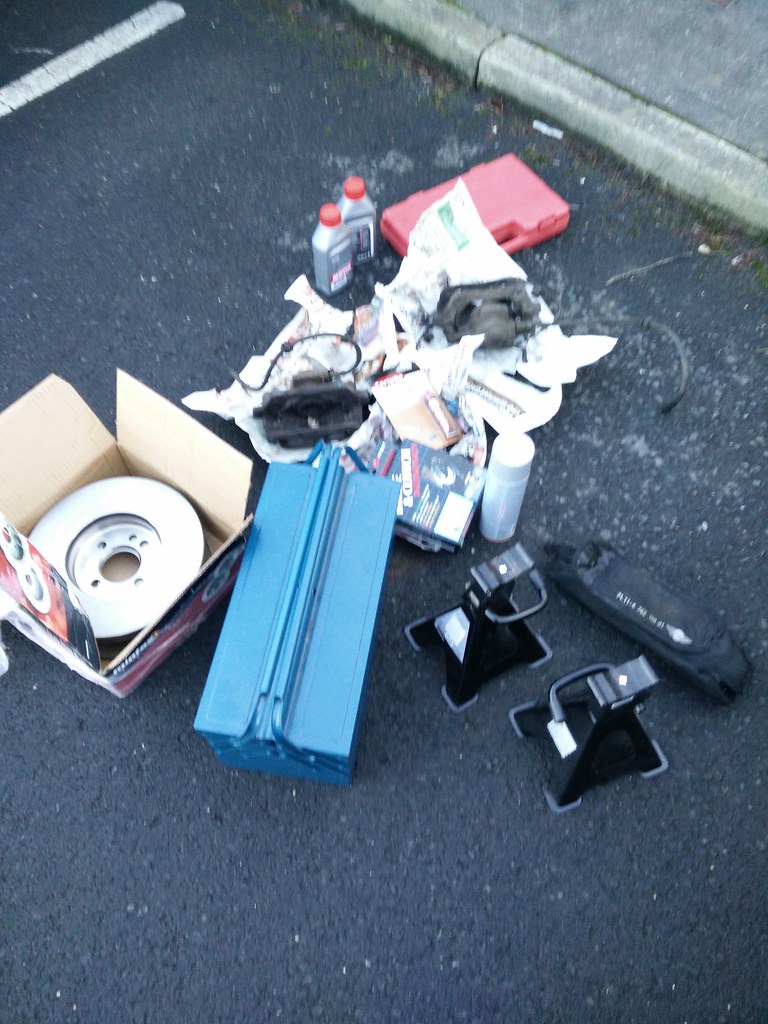
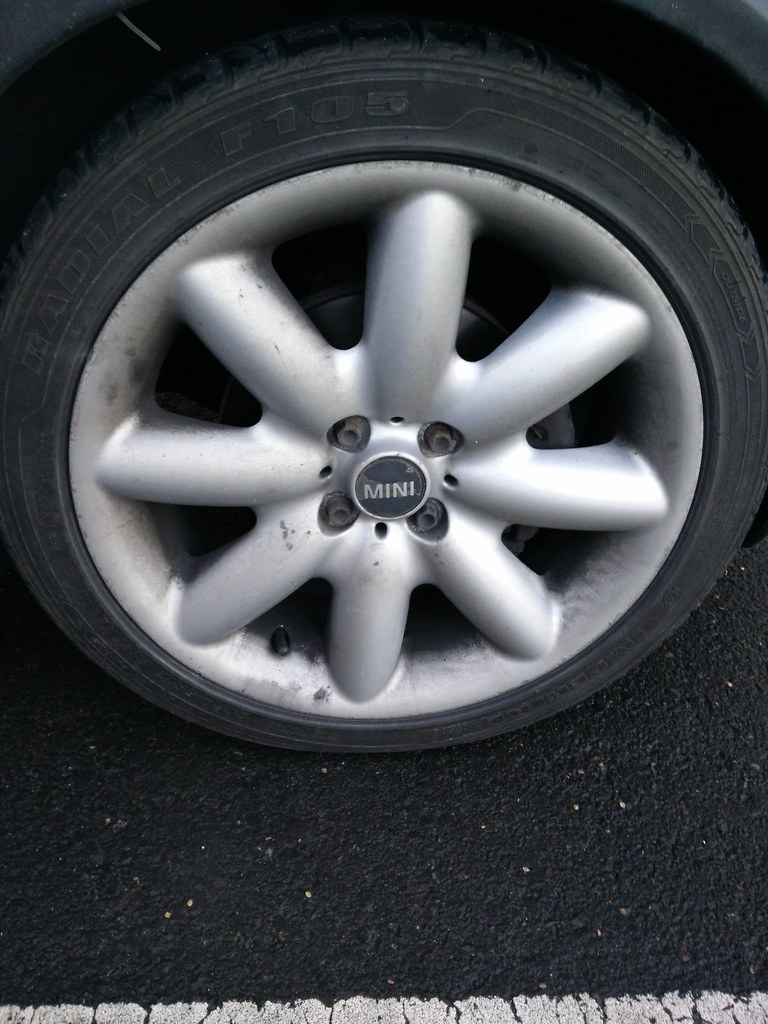
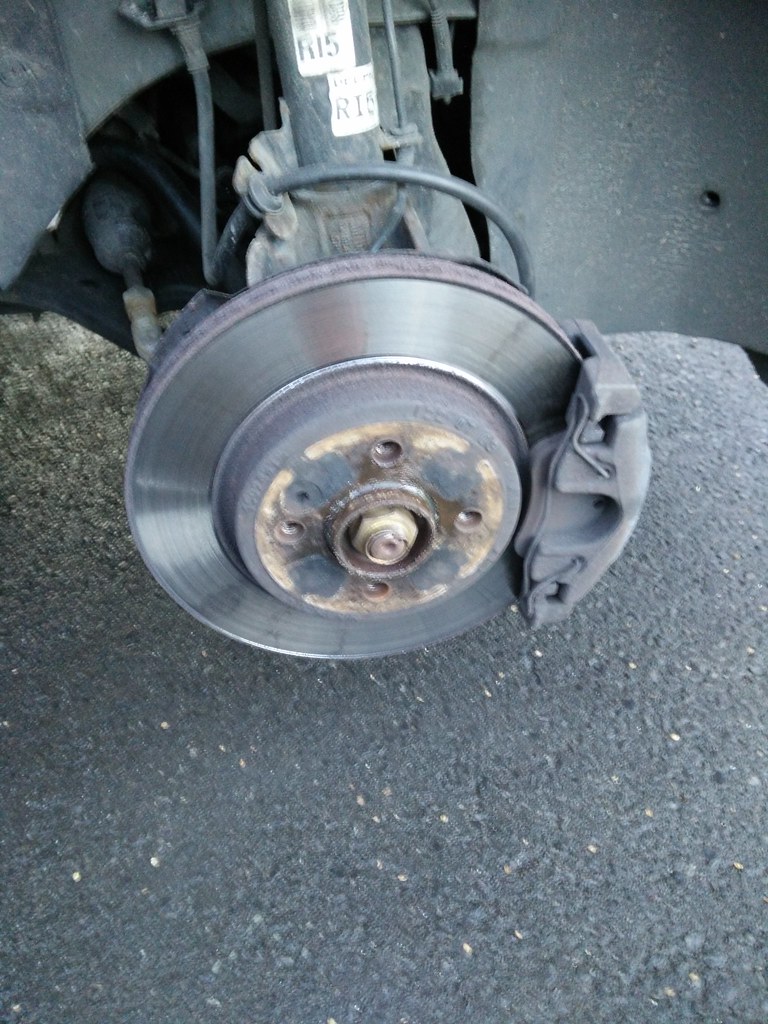
    Been planning on installing R56 Cooper S brakes on my R53 Cooper S for a while now. Got a great deal, £32 for new Mintex discs posted and £75 for the used brakes. Free Motul brake fluid from my local garage too!

    276mm to 294mm disc upgrade.

    Picked up some copper grease, brake cleaner and a one-man-bleeding bottle from Halfords for €20.

    32392737730_fa132b291a_b.jpg

    The brakes are far too small.

    32392738260_125f4f8a0f_b.jpg

    31958800093_272a8e72e1_b.jpg

    31958800643_7f8943b93b_b.jpg

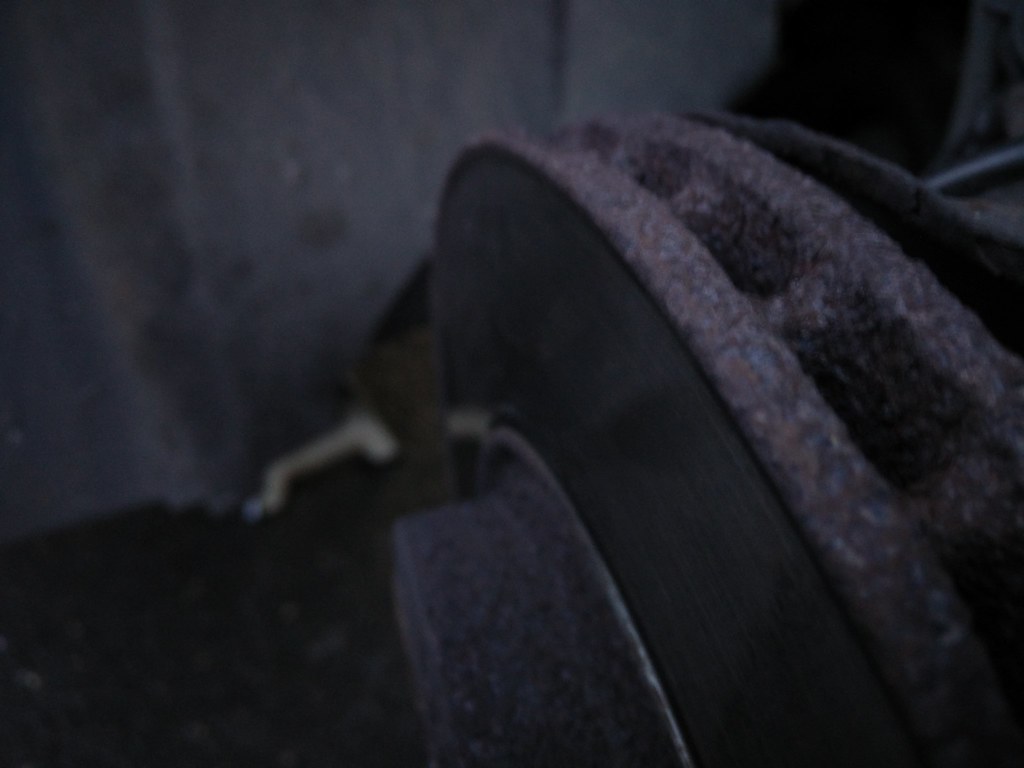
    Pretty bad lip on the disc, fairly sure these are the original discs. Don't think any of these parts have ever been off before other than to change the pads.

    32392739370_468f3094fd_b.jpg

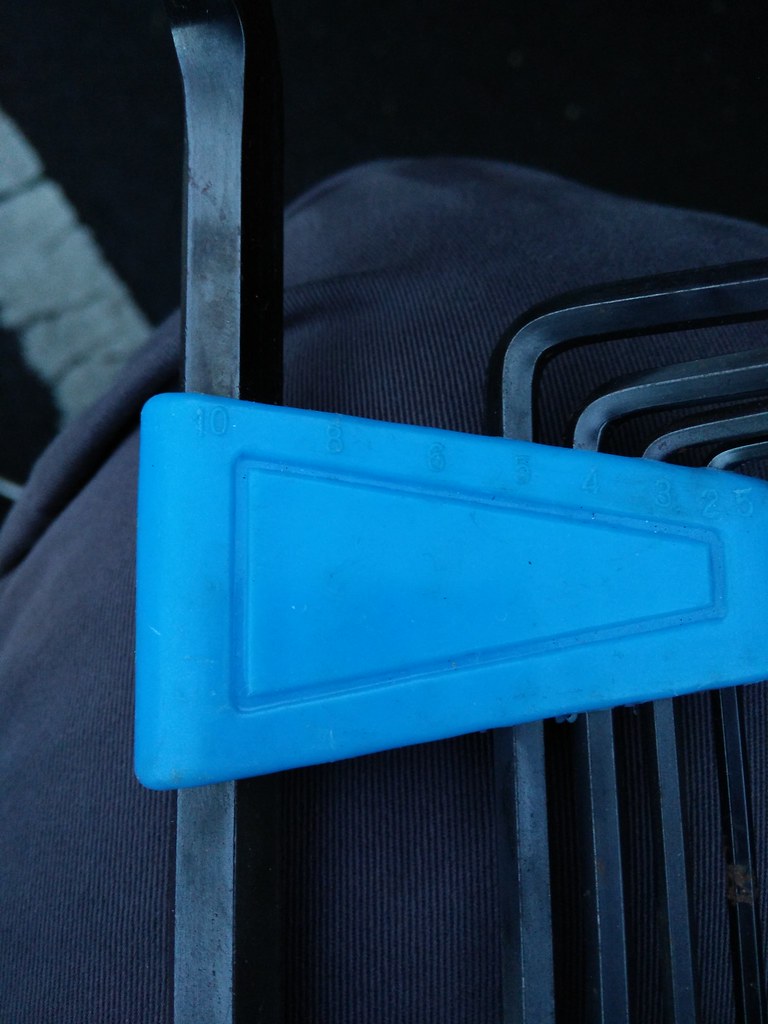
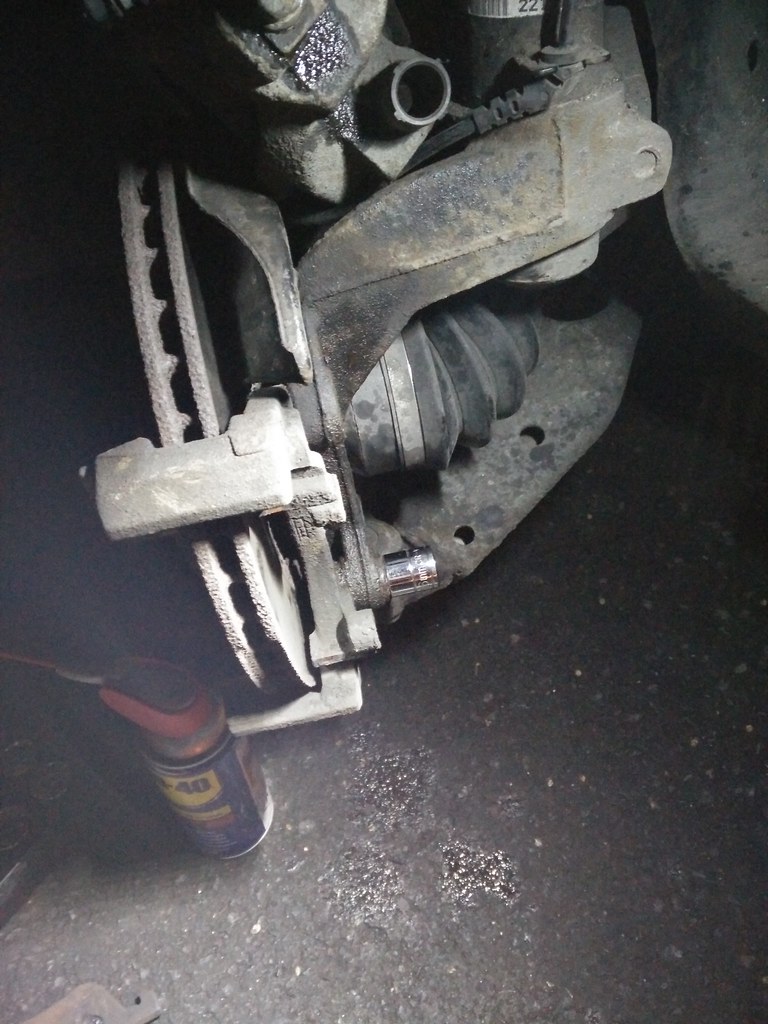
    Tried removing the caliper from the carrier... 7mm hex. I've 8 and 6mm.

    32392739610_6790abef84_b.jpg

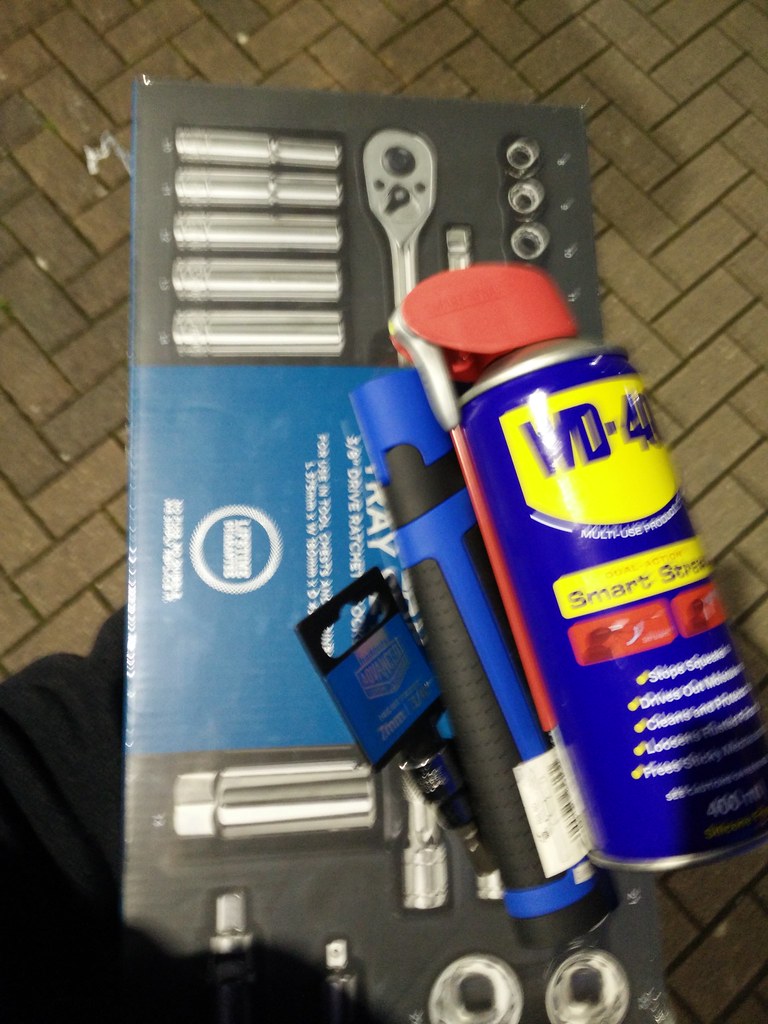
    Second trip to Halfords and I'm sorted. 16mm socket and 7mm hex. Picket up some WD 40 and a new magnetic light too.

    31929692824_7cf3cf9c0c_b.jpg

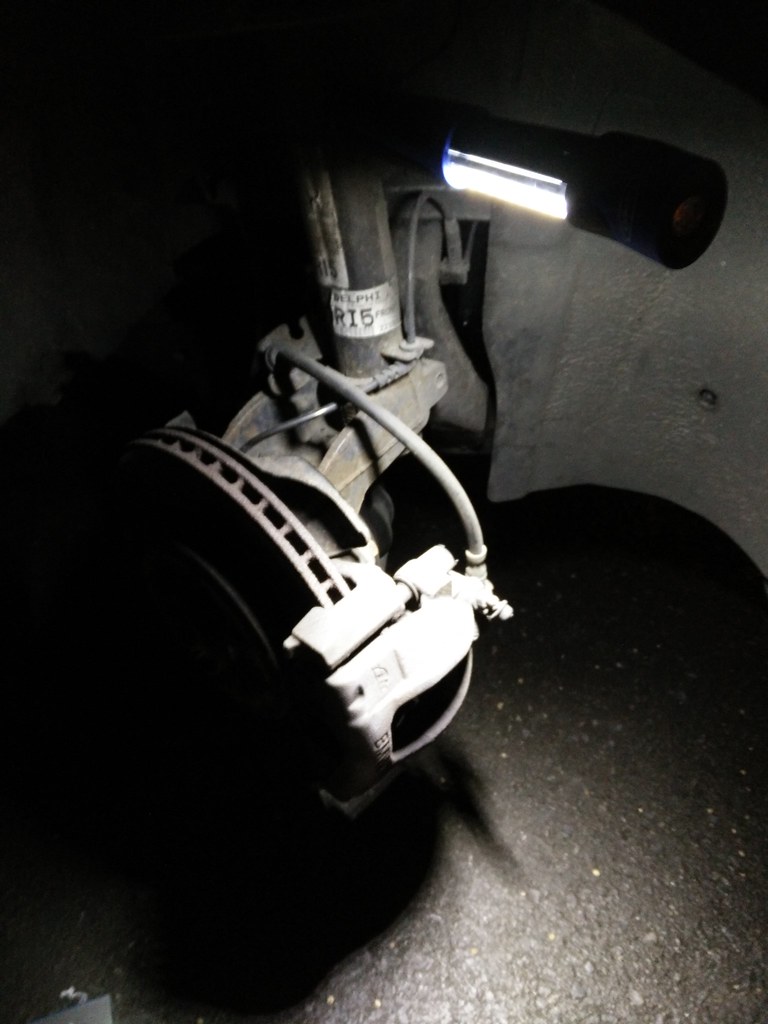
    Now it's dark, starting to feel like a long night.

    32392740260_5ca787a129_b.jpg

    Caliper removed from carrier.

    31958799493_e24cb6ea55_b.jpg

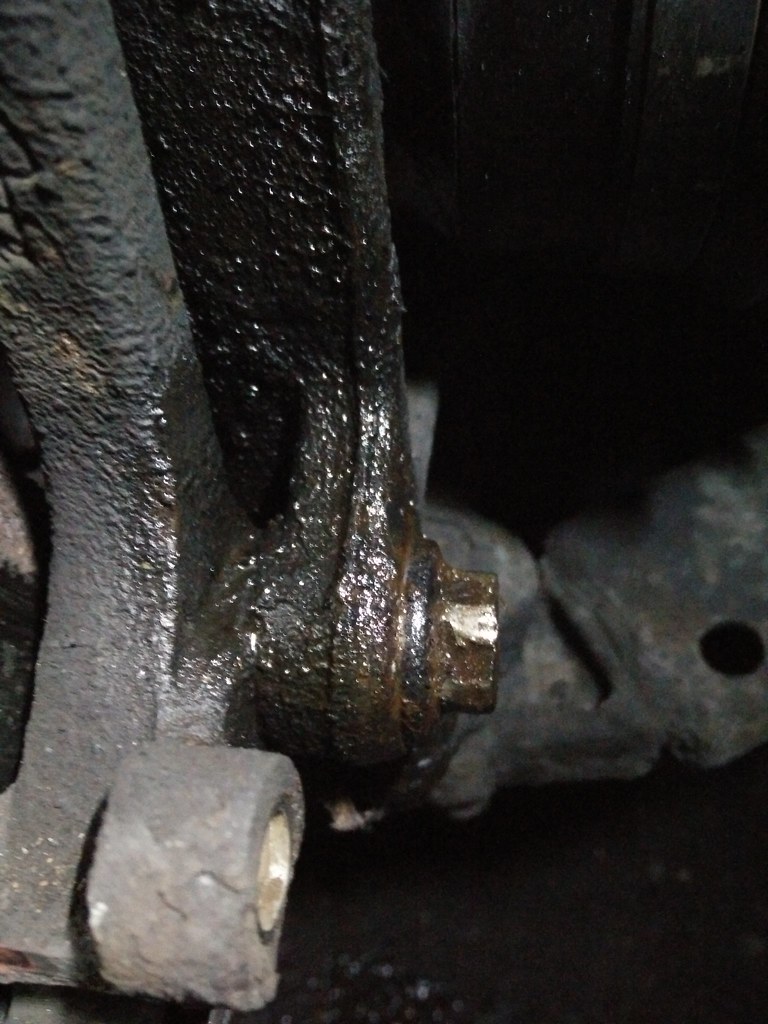
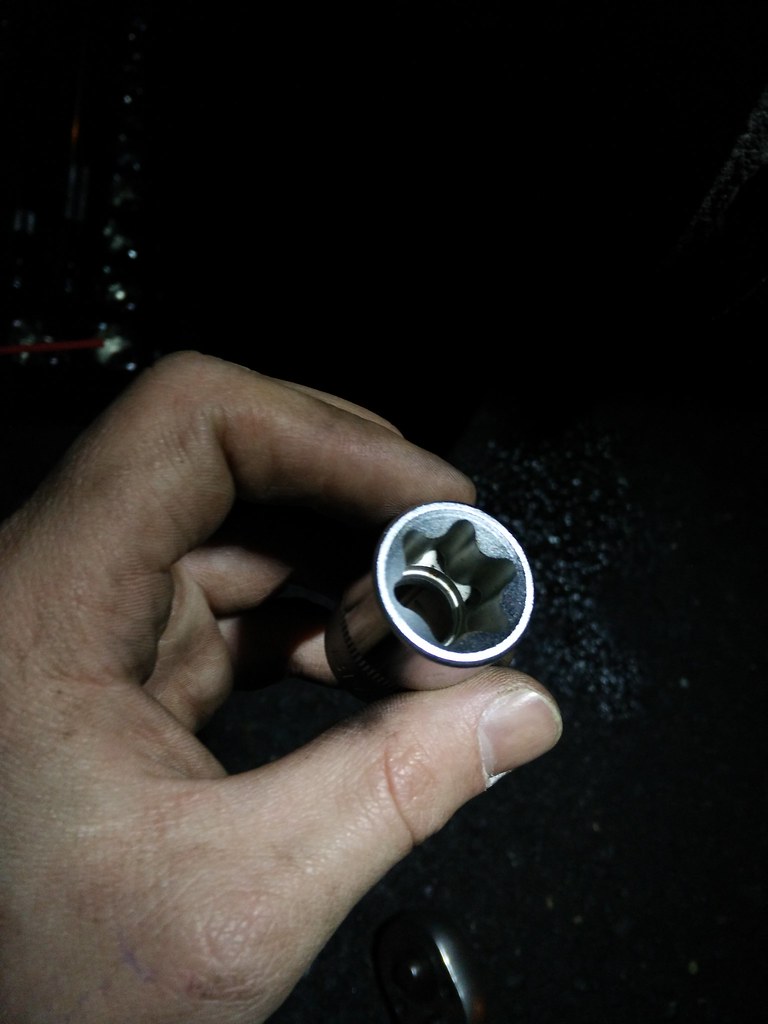
    Bolt is stripped pretty badly. Socket is sliding off. After about an hour of swearing at it, a neighbour of mine came out with a box of tricks.

    32619464512_4b432541a5_b.jpg

    These are amazing!

    32619464822_511abc207a_b.jpg

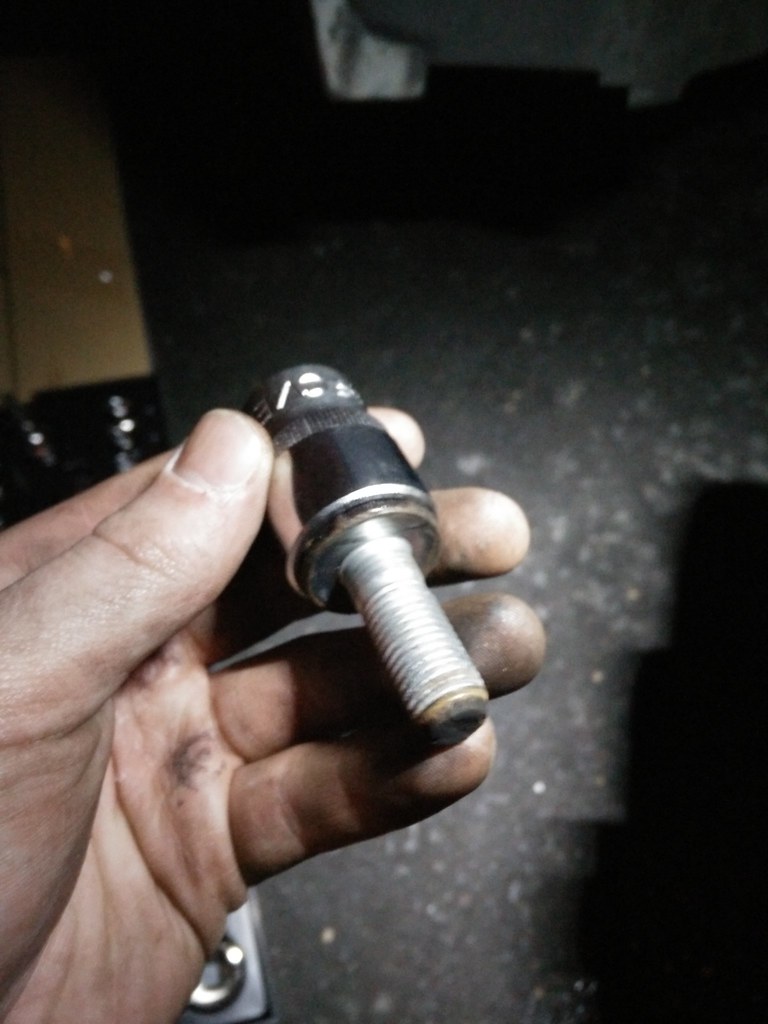
    Bolt out!

    32619465082_dd423188cc_b.jpg

    Spend the next two hours trying to get the disc retaining bolt out. Eventually gave up and moved to the otherside... where I got stuck at the same point. The disc retaining bolt is absolutely seized in there. This is where I gave in, packed everything up and brought it inside. I'll drill out the bolt tomorrow and just leave it.

    32619465552_a2d00c4061_b.jpg

    Getting a lift to work tomorrow....

    32619466072_1881b11367_b.jpg


  • Registered Users Posts: 14,721 ✭✭✭✭CianRyan


    Those disk retainers chew up really easily so don't feel too bad.
    That one's lost but to get it out, throw the carrier back on, stick a screw driver in a vent slot in the disk so it can't spin. Once the disk won't move, get a dot punch, make a small mark on the outer edge of the screw and work it around slowly until it moves.
    When putting a new one back in you shouldn't tighten it past a pinch. It's only to keep everything straight while you're putting your calliper and pads together.

    On the far side remove the screw before stripping anything else. Screw driver in the vent and if you have one, use an impact screw driver to remove the retainer. If not, just be careful and use loads of WD40.

    But ALWAYS take those off first, you're only killing yourself trying to take them off afterwards, at least without stripping them.


  • Registered Users Posts: 19,854 ✭✭✭✭MetzgerMeister


    Those disc retaining screws are the greatest PITA of all time. They are ALWAYS seized in place. I made the same mistake on the 335 whereby I removed everything else before the screw :( It just never came to mind to try it first mainly because you wouldn't be expecting it to be seized!


  • Registered Users Posts: 13,652 ✭✭✭✭joujoujou
    Unregistered Users


    Those disc retaining screws are the greatest PITA of all time. They are ALWAYS seized in place. [...]

    True.

    Thank god some manufacturers got rid of them completely. :)


  • Closed Accounts Posts: 7,569 ✭✭✭Special Circumstances


    Brakes far too small...

    Yeah, a bit odd that the 160hp version came with the same brakes as the 80hp version. Some insurers could load you for uprating the brakes to a sensible stopping power... Lol.


  • Registered Users Posts: 8,720 ✭✭✭Hal1


    In the eyes of the insurance company for loading for a sensible upgrade / mod call it what you will.
    You were going too fast or you were braking too fast. Either way you were going to fast
    :pac:.


  • Advertisement
  • Registered Users Posts: 3,381 ✭✭✭vintagevrs


    Changed the seals on my diff today. Can't get new oil into it the diff as the tool I have does not fit between the drain and filler plugs and the spare wheel well. Gonna be just as handy to bring it to a local mechanic with right tool and a lift tomorrow so I'll do that.
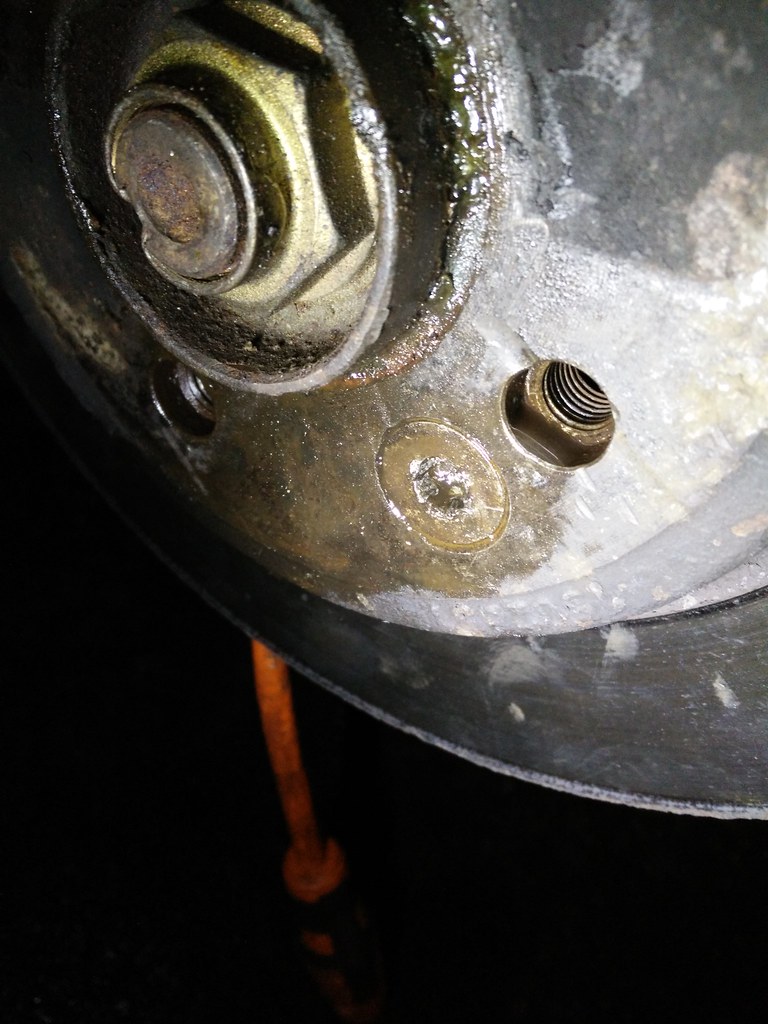
    IMG_20170208_185050.jpg

    IMG_20170208_WA0001.jpg


Advertisement