Advertisement
If you have a new account but are having problems posting or verifying your account, please email us on hello@boards.ie for help. Thanks :)
Hello all! Please ensure that you are posting a new thread or question in the appropriate forum. The Feedback forum is overwhelmed with questions that are having to be moved elsewhere. If you need help to verify your account contact hello@boards.ie
Please note that it is not permitted to have referral links posted in your signature. Keep these links contained in the appropriate forum. Thank you.

https://www.boards.ie/discussion/2055940817/signature-rules

Today I did something to my car (volume 2)

Options
18687899192327

Comments

  • Registered Users Posts: 635 ✭✭✭BillJ


    Nope! Should have checked your location under your username! Saw a black, SE e46 that looked similar.

    The LED rears make the car look so much better than the old ones, have them myself. Best mod I've made to mine!

    Phew! Ya they freshen it up a lot!

    I do have the issue of flickering on start up and the bulb blown warning lights. Have to get some coding done for the lcm to accept them.


  • Registered Users Posts: 26,280 ✭✭✭✭Eric Cartman


    BillJ wrote: »
    Phew! Ya they freshen it up a lot!

    I do have the issue of flickering on start up and the bulb blown warning lights. Have to get some coding done for the lcm to accept them.

    are they OEM or aftermarket, aftermarket just needs a good resistor to stop that.


  • Registered Users Posts: 635 ✭✭✭BillJ


    are they OEM or aftermarket, aftermarket just needs a good resistor to stop that.

    They're OEM, i heard a resistor can work for OEM as well but i'd rather go down the other route


  • Registered Users Posts: 11,465 ✭✭✭✭cantdecide


    302395.JPG

    302396.JPG


  • Registered Users Posts: 8,720 ✭✭✭Hal1


    I ordered some replacement rubber seals for the doors.
    Code Description Quantity Unit Price Discount Total
    ETS58 Sideseal. 15mm diameter bulb. To fit
    panel 1.5mm to 3mm
    4 x Per Metre £4.17 0.0% £16.68
    SRS1905 SCR024 Sponge rubber section 6 x Per Metre £3.23 0.0% £19.38
    Subtotal £36.06
    Carriage/Packaging: £15.65
    VAT £10.34
    TOTAL £62.05

    All from: http://www.sealsdirect.co.uk/

    Ford charge something ridiculous for them.


  • Advertisement
  • Registered Users Posts: 1,363 ✭✭✭bmstuff


    Another F10 suffering from the lack of a cool feature has been upgraded today.
    Even came with an old school German movie in the drive. How cool is that?

    1.JPG
    2.JPG
    3.JPG
    4.JPG
    5.JPG
    6.JPG
    7.JPG
    8.JPG
    9.JPG
    10.JPG
    11.JPG

    All done

    12.JPG


  • Registered Users Posts: 9,238 ✭✭✭Ardennes1944


    Those black plastics on the dash look very cheap or something?

    Nice job though


  • Registered Users Posts: 1,363 ✭✭✭bmstuff


    Those black plastics on the dash look very cheap or something?

    Nice job though

    You mean the new screen's plastic frame?
    Cheers


  • Registered Users Posts: 6,845 ✭✭✭Noccy_Mondy


    Lovely job bmstuff, you're great at what you do. But what really is the idea of entering screens such as that one? I'm guessing it's for when people have spare time or something?


  • Registered Users Posts: 1,363 ✭✭✭bmstuff


    Lovely job bmstuff, you're great at what you do. But what really is the idea of entering screens such as that one? I'm guessing it's for when people have spare time or something?

    The large screen and bigger radio is basically the Professional version of the iDrive.
    It allows you to play DVD movies and navigation (Possible on Business iDrive with the small screen though), comes with a hard drive so you can store a minimum of 12GB of music files, and the big screen simply looks so much more like it with this car. The small screen looks very awkward.


  • Advertisement
  • Registered Users Posts: 4,177 ✭✭✭Stallingrad


    Dare I ask how much that big screen retrofit costs?


  • Closed Accounts Posts: 9,607 ✭✭✭toastedpickles


    Dare I ask how much that big screen retrofit costs?

    A lot :pac:


  • Registered Users Posts: 1,363 ✭✭✭bmstuff


    Dare I ask how much that big screen retrofit costs?

    Owner bought it from eBay for 450 euros
    + Install + Coding +Enabling navigation +Uploading 2014 maps +USB port installation in the glovebox


  • Registered Users Posts: 9,238 ✭✭✭Ardennes1944


    bmstuff wrote: »
    You mean the new screen's plastic frame?
    Cheers

    No the dimpled black plastic on the dash and glovebox etc


  • Registered Users Posts: 4,177 ✭✭✭Stallingrad


    Looks so much better than the smaller screen and the cheapo plastic surround. Nice upgrade.


  • Registered Users Posts: 11,224 ✭✭✭✭Marty McFly


    Cars going in for a full service today, next week four new tyres.

    Makes for an expensive week of motoring.


  • Registered Users Posts: 1,363 ✭✭✭bmstuff


    Small update today on the Aston Martin for those who followed.
    The owner is putting a lot of effort into. Engine being rebuild at the moment.

    Today was wiring day for me

    New RCA plugs and speaker's wires, and secured the positive and negative wires

    37.JPG
    38.JPG
    39.JPG
    40.JPG
    41.JPG
    42.JPG
    43.JPG
    44.JPG
    45.JPG
    46.JPG
    47.JPG
    48.JPG
    49.JPG


  • Registered Users Posts: 9,660 ✭✭✭Voodoomelon


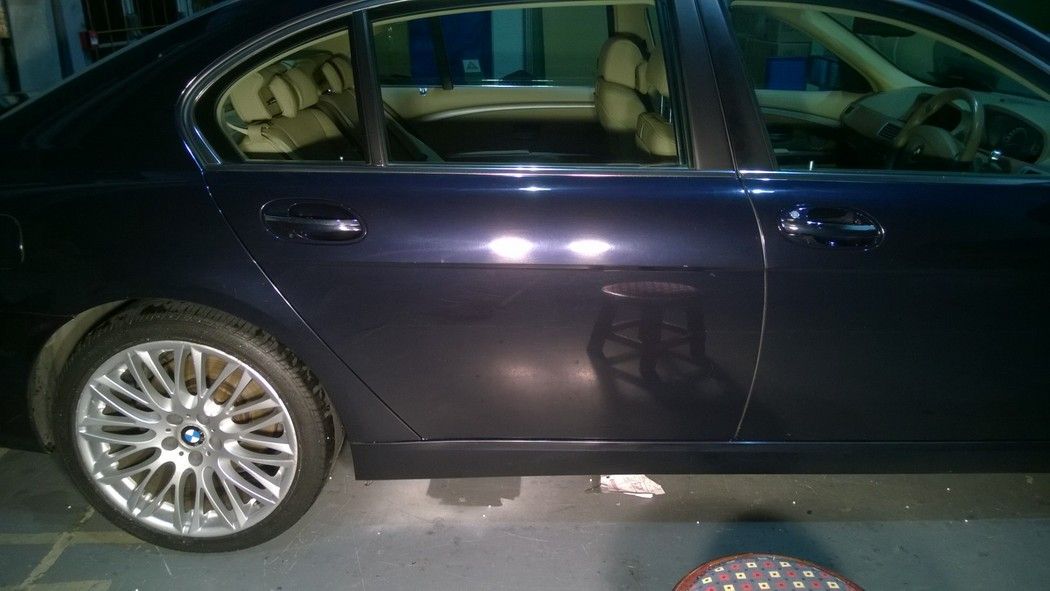
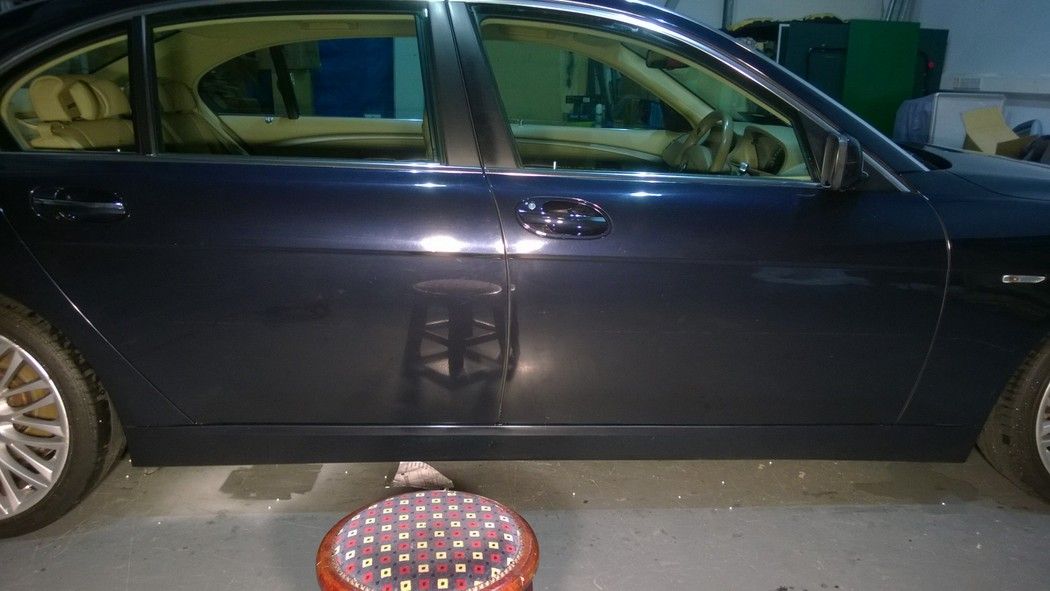
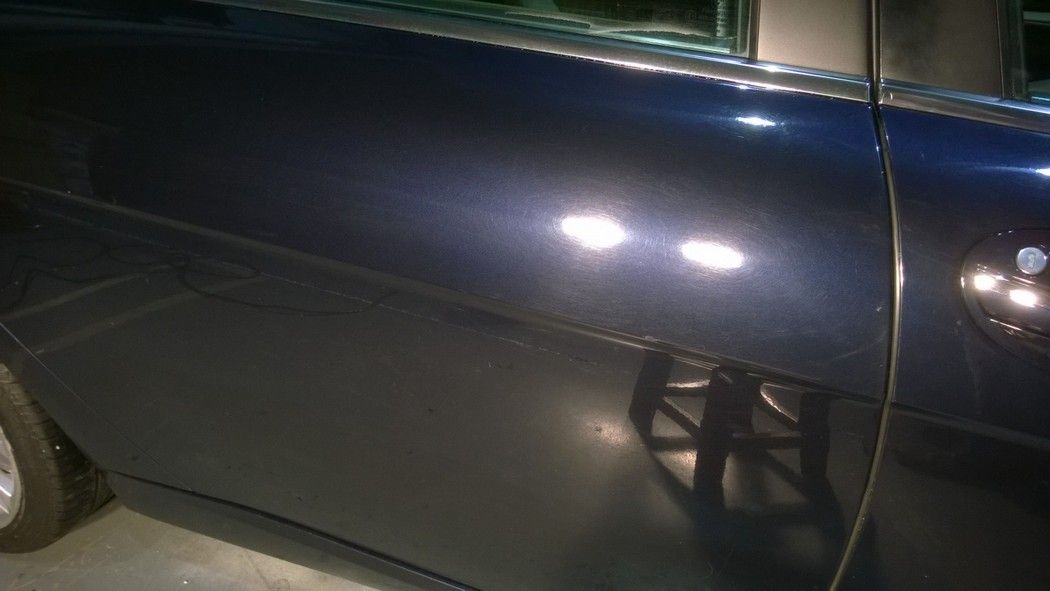
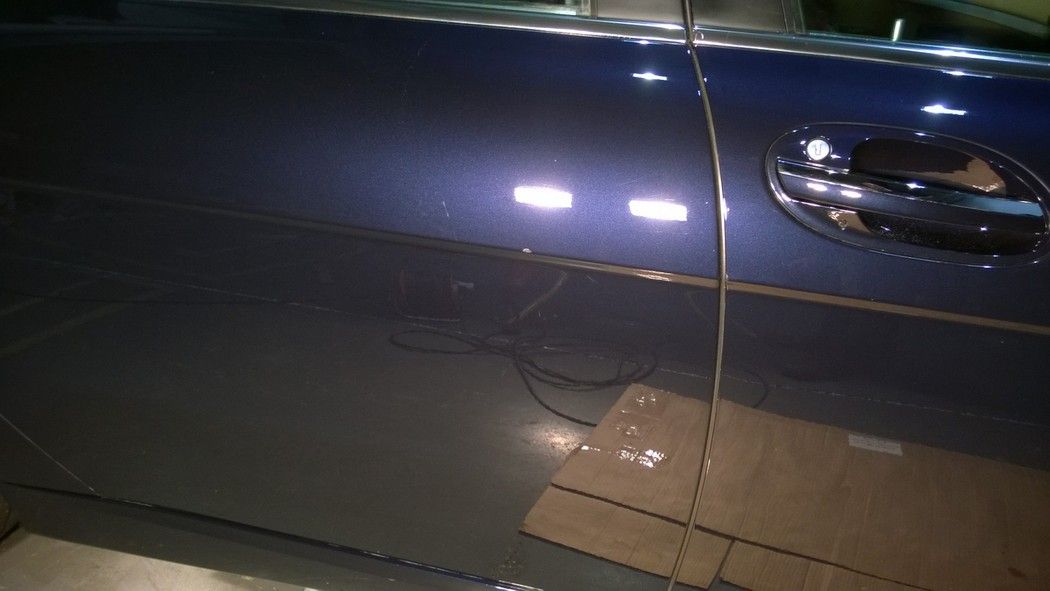
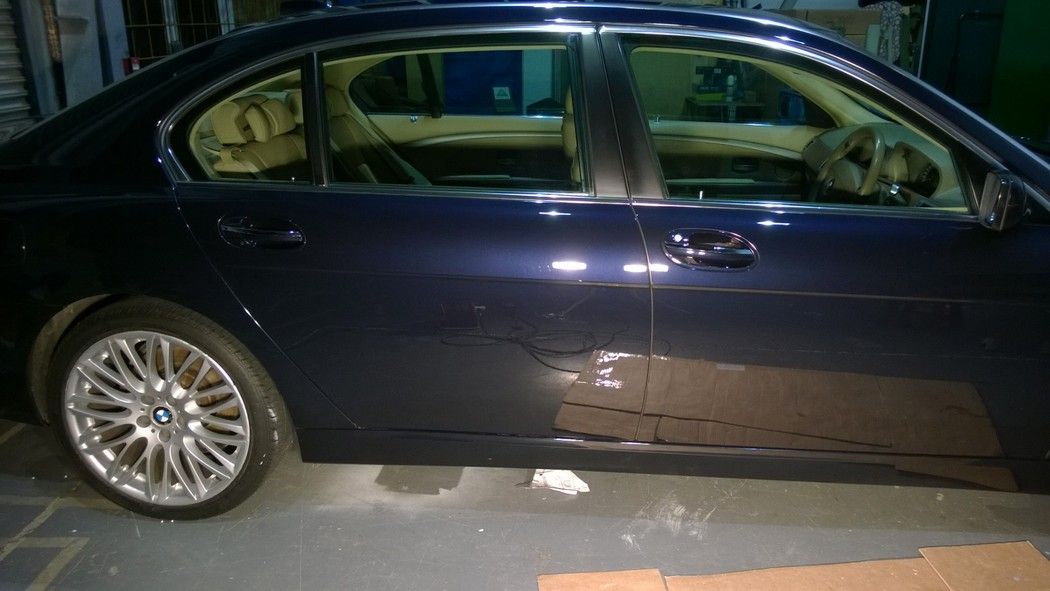
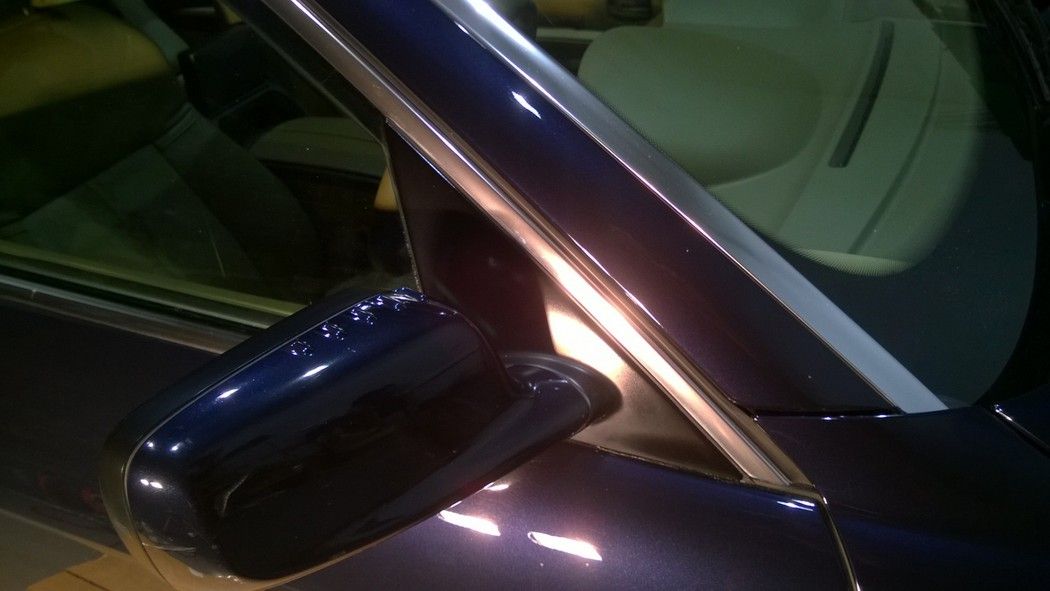
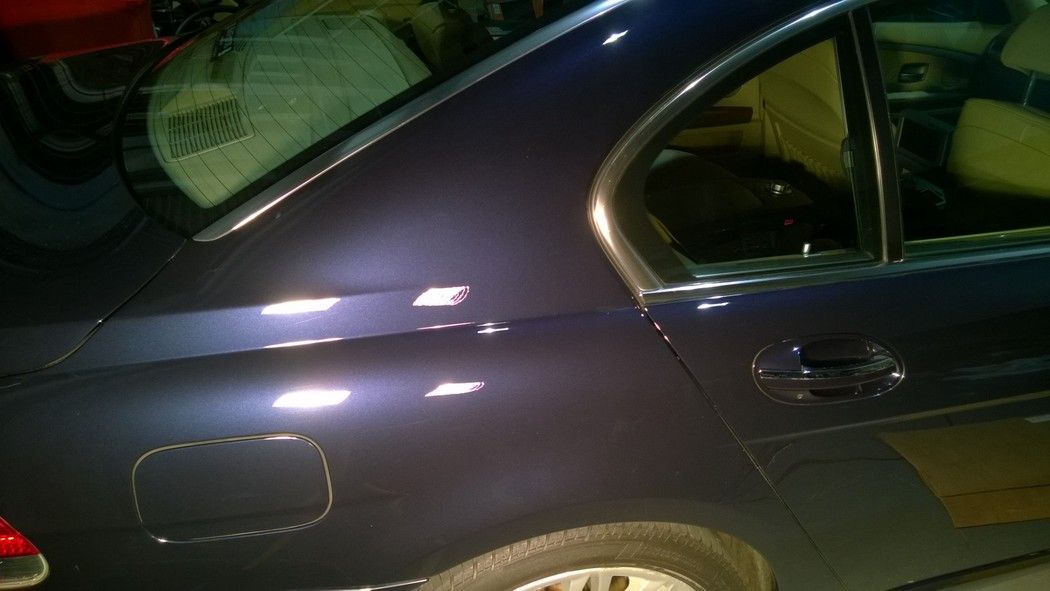
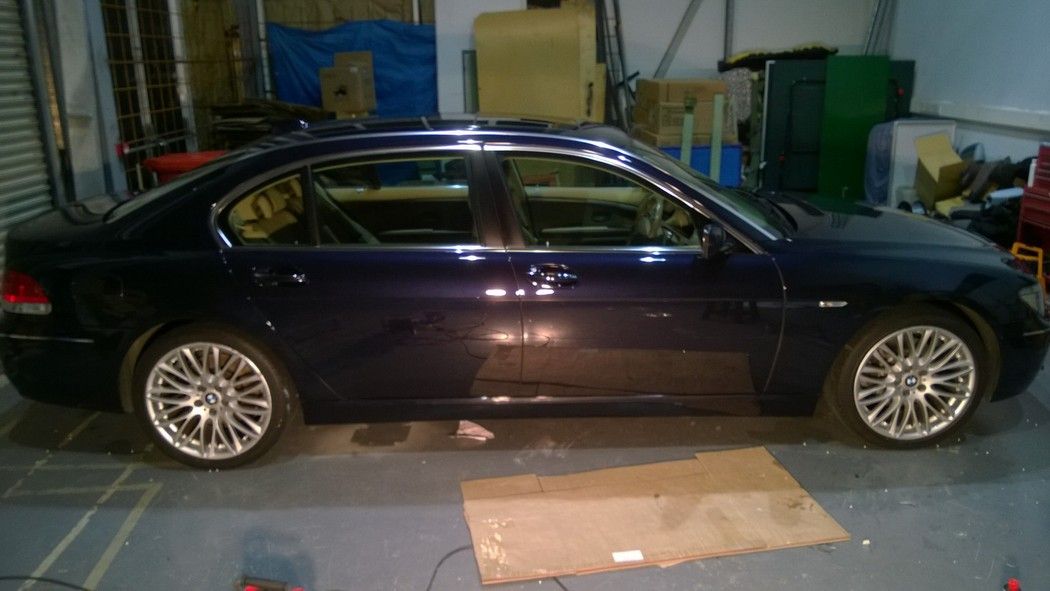
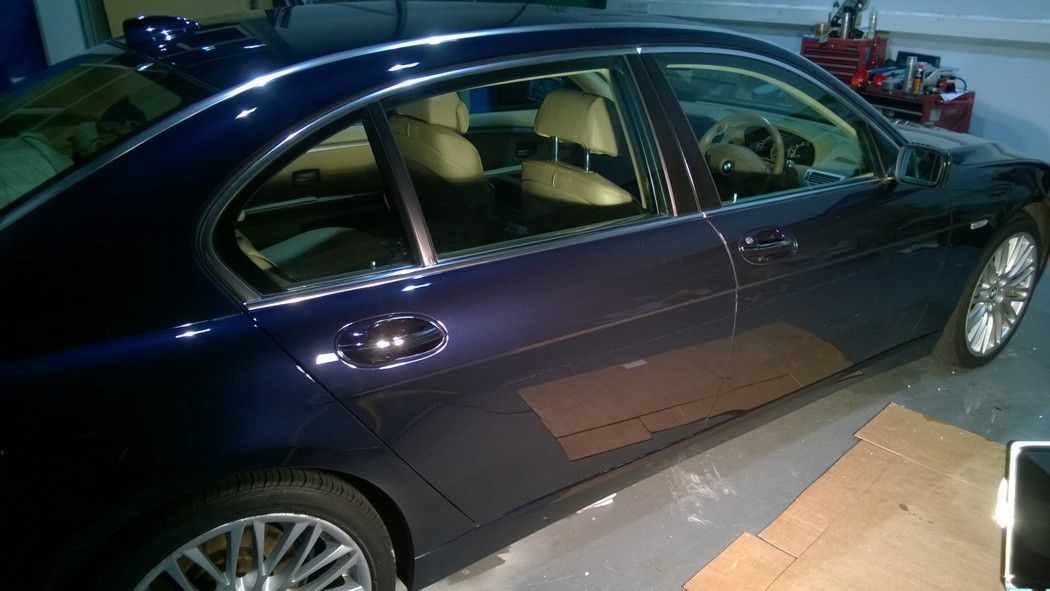
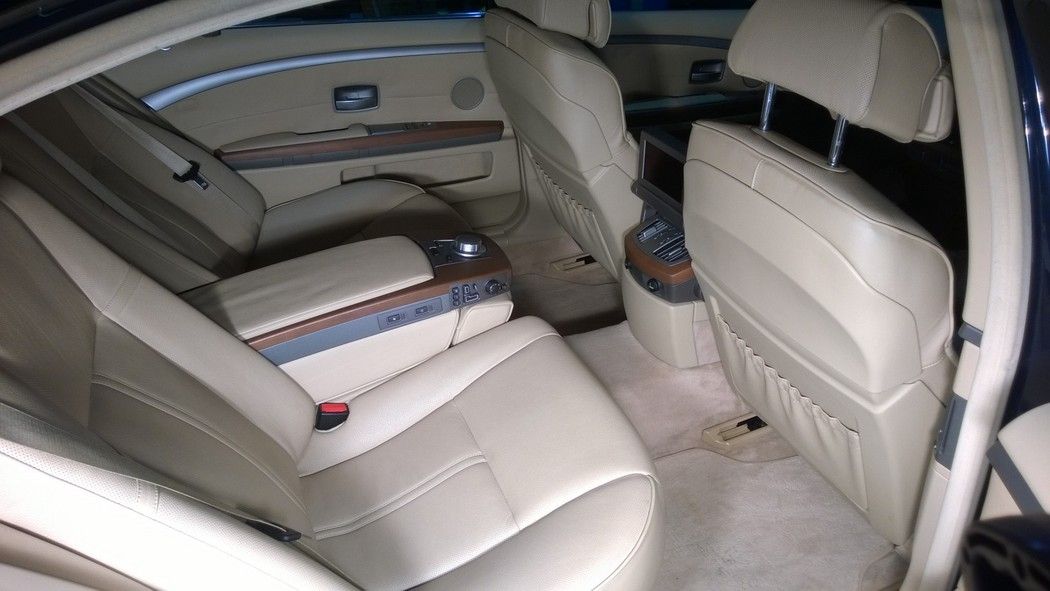
    Further paint correction on the 7 this evening, haven't touched it since December. It's set to be my sisters wedding car in 2 months so need to get cracking on it.

    Did the offside doors, rear wing, roofline and chrome strips. Also had to redo the front wing as it was covered in scratches after the valve stem repair.

    Before:

    WP_20140411_0032_zpsfd52aa0d.jpg

    WP_20140411_0054_zps948893fe.jpg

    WP_20140411_0043_zps7421c2ff.jpg

    After:

    WP_20140412_0026_zps4d760a3f.jpg

    WP_20140412_0015_zps5af1758d.jpg

    Chrome came up extremely well:

    WP_20140412_0037_zps95005fcb.jpg

    WP_20140412_0059_zps58fa10e0.jpg

    WP_20140412_0048_zpsb58698db.jpg

    WP_20140412_00610_zpsb339c7cd.jpg

    WP_20140412_00711_zpse8c06aee.jpg


  • Registered Users Posts: 3,668 ✭✭✭eringobragh


    Got the leaking backbox sorted - joint between cat and backbox cut out and straight piee of pipe welded - Souhans and trim sorted it

    Not sure if placebo but car feels alot more responsive now


    AAF7858245DD461E8860F2A0178C4CEB-0000370971-0003541556-01024L-88613673D51747E694AFC06309F03F1D.jpg

    This was also in for repair while I was there

    2B5E01D4FC7A4BE2A1F479378F3B3C9F-0000370971-0003541557-00816L-1EFB638EA29F496284FDF32166DA7182.jpg


  • Registered Users Posts: 1,331 ✭✭✭toyotaavensis


    Got the four wheels balanced as I hit a pothole hard and some of the weight fell off.
    Then I decided to rotate the tyres.
    I felt like staying going and said I will go and get the tracking done.
    On the way back I said I will check the tyre pressures.
    They were all grand. I have not checked the spare in a while so I did and she was very flat. Since she was an old tyre, I just got a new one put on the spare. It can go under the car the next time I am getting new tyres.
    Got home and noticed that the plastic surrounding the interior light was broken (not sure how that happened). Rang a scrap yard and I ll have a replacement tomorrow.


  • Advertisement
  • Registered Users Posts: 3,503 ✭✭✭Killinator


    I decided to try a rear pad change on ze GTI,
    Got myself a new tool special for the job, a caliper piston rewind tool, Halfords wanted 40 quid for one, eBay wanted 15;)

    DSC_3044_zps146fa423.jpg

    Wheel off and there it is:)
    DSC_3035_zps66533234.jpg

    There's 2 bolts at the back of the caliper, one at the top and one at the bottom:DSC_3036_zpsfe3d5c7e.jpg
    DSC_3038_zps441b46dd.jpg

    Use a 13mm wrench and turn clockwise, using a 16mm wrench to counter the bolt spinning:
    DSC_3037_zpscc7dae4f.jpg

    Remove the bolts and then using a flat-head screw driver the caliper can be eased off:
    DSC_3039_zps87fe14ad.jpg

    And again do the same to ease off the pads, try to slide them out straight so not to damage the clips (assuming you haven't bought replacements aswell):
    DSC_3040_zps6b322560.jpg

    Here's the old pads versus the new:
    DSC_3041_zps32be568d.jpg

    Bit of grease on the BACK of the pads to prevent squeaking, FOR THE LOVE OF GOD, DON'T GET IT ON THE DISCS OR THE ABRASIVE SIDE OF THE PADS:eek::pac:
    DSC_3042_zps6c70dc57.jpg

    Just slide the pads back in using the metal clips for guidance.

    More to follow.........................


  • Registered Users Posts: 3,503 ✭✭✭Killinator


    ..........
    Next, the caliper piston.
    This should never be just pushed back as it needs to rotate as it goes back, if you push it straight back it may damage the piston, which would be all kinds of bad:(
    Line up the to notches on the piston with the rewind tool:
    DSC_3043_zps91a2516a.jpg
    DSC_3045_zps996fedcf.jpg

    MAKE SURE YOU OPEN THE CAP ON THE BRAKE FLUID RESERVOIR FIRST, MAKE SURE IT'S NOT OVERFILLED OR IT'LL SPILL OUT WHEN YOU PUSH THE PISTON BACK.
    Twist clockwise until the piston is flush with the rubber seal (it should stop twisting).
    Its a pain as the caliper moves about as you try to twist and quit a bit of force is needed, if optional grow a 3rd hand:D

    When done, just slip the caliper back on and use the new bolts you got with the pads to tighten it up.

    Press the brakes a few times to get the brakes set for the new pas and then Bob's your fathers brother.
    DSC_3046_zpsa510877a.jpg

    Next up, clean the calipers and repaint them:)


  • Registered Users Posts: 1,331 ✭✭✭toyotaavensis


    on your 4th pic it looks wet. Are you leaking brake fluid?


  • Registered Users Posts: 9,660 ✭✭✭Voodoomelon


    Penetrating fluid on the bolts i'd imagine.


  • Registered Users Posts: 1,331 ✭✭✭toyotaavensis


    If it was earlier in the day i would have figured it out.


  • Registered Users Posts: 3,503 ✭✭✭Killinator


    Ya it was just to loosen the bolts, thankfully no leaks:)


  • Registered Users Posts: 9,590 ✭✭✭tossy


    Picked up a can of that 'plastidip' type stuff last week from cardipuk.com and decided to do the lower grille on the front as the are a kind of grey colour and don't really match the wrapped door blades and rear insert.

    the Stuff...
    IMG_3099.jpg

    A before (of sorts) pic...

    30254200.jpg

    the result (6/7 light coats)

    IMG_3093.jpg

    IMG_3095.jpg

    IMG_3098.jpg


  • Registered Users Posts: 6,047 ✭✭✭Truckermal


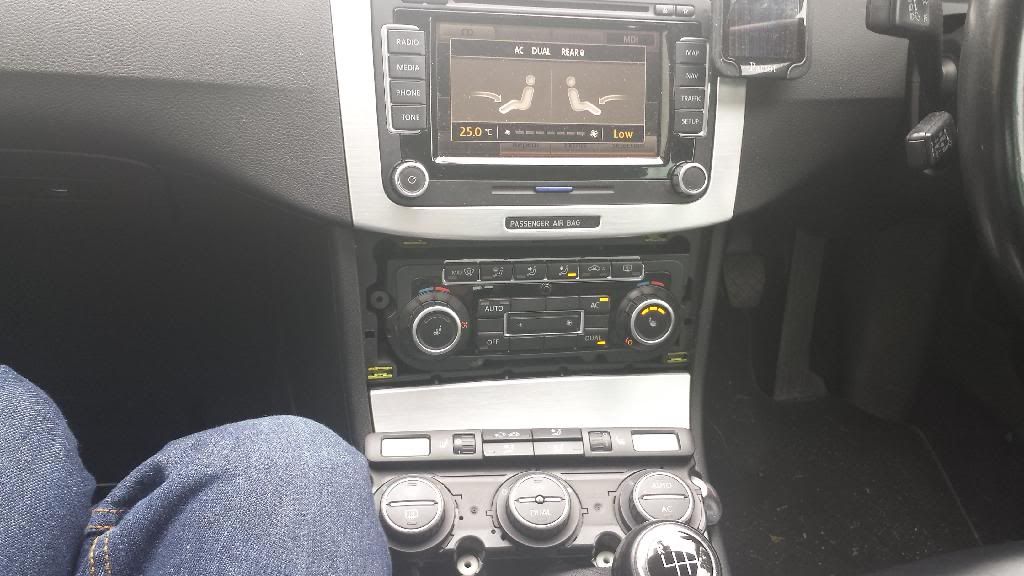
    20140413_135217.jpg

    I purchased a new climatronic panel from the new Passat and installed it now all the info comes up on the RNS 510. Its a fairly straightforward job in fairness.


  • Registered Users Posts: 26,280 ✭✭✭✭Eric Cartman


    Last week : Got the valve covers back from powdercoat, they look well.
    before :
    1379780_10152676154728776_575868253_n.jpg

    after :
    10177876_10152720276093776_1932218109_n.jpg

    Today :

    The e38 was leaking coolant from the valley pan , gasket was gone , so removed the old one

    10264975_10152734547183776_3359092826846015300_n.jpg

    in with the new one

    10012610_10152734547273776_1956654182725350403_n.jpg

    an all too common sight these days
    1921993_10152734547033776_8661703005099965560_n.jpg

    changed the seal on the oil level sensor, changed the oil and filter while I was at it too
    10177992_10152734546493776_2996973279656787553_n.jpg

    back together running perfectly now.
    971352_10152734545923776_6050419479859402377_n.jpg


  • Advertisement
  • Registered Users Posts: 1,363 ✭✭✭bmstuff


    Loving the gold finish on those covers. I went black on mine.


Advertisement