Advertisement
If you have a new account but are having problems posting or verifying your account, please email us on hello@boards.ie for help. Thanks :)
Hello all! Please ensure that you are posting a new thread or question in the appropriate forum. The Feedback forum is overwhelmed with questions that are having to be moved elsewhere. If you need help to verify your account contact hello@boards.ie

toastedpickles Saab 900 lpt build

Options
1456810

Comments

  • Closed Accounts Posts: 9,607 ✭✭✭toastedpickles


    So today i reverse bled the slave cylinder! Got this handy tip off an ex saab mechanic so hats off (literally) to him

    How to go about it, you need a clear piece of tube about 2.4 metres long attach this to the slave bleeder and the left caliper bleeder, open the left hand bleeder on the caliper, and the slave and pump slowly until theres no air bubbles in the brake reservoir

    2vbmmif.jpg

    mic3yw.jpg


    There was two holes in the boot that were bothering me, so I got a fiberglass kit and patched them up

    2ldun1t.jpg

    Then the car decided to not work, so Im going to address that tomorrow, at least its not the headgasket :)


  • Closed Accounts Posts: 9,607 ✭✭✭toastedpickles


    It appears we have a fuel related problem! While helping another boardsie earlier on, we attempted to start the car with some easy start, and low and behold it did start, for about 5 seconds, and died again

    So i turned the key a few times, and usually you hear the fuel pump priming up, but all was quiet, suddenly it became very similar to what happened with the 9-5, so more investigation is happening tomorrow


  • Closed Accounts Posts: 9,607 ✭✭✭toastedpickles


    Carrying on from the diagnosis that the fuel pump is kaput today confirmed it, we bridged the terminals with a bit of copper wire, and nothing

    So out with the fuel pump, and a new one ordered!

    Its located in the boot oddly enough, so here we have it

    34hevdg.jpg

    So undo the little screw - t15 i think and take off the cover to the fuel lines

    23to4ud.jpg

    And label your lines ;) disconnect the sensor and pull out the fuel lines, be careful of fuel spraying out though, i was lucky in this case

    w8onz6.jpg

    Then take out the retaining ring, saab have a special tool for this, but a screwdriver and mallet gets it out just as good, made sure not to turn the pump as well as it could be damaged

    ru60x3.jpg

    After this out with the pump, which can be a bit of a job, after it was out i put it aside and called it a day!


  • Posts: 0 [Deleted User]


    That ring was locked on solid in my car. I had to get a mechanic to do it and it broke his heart


  • Closed Accounts Posts: 9,607 ✭✭✭toastedpickles


    That ring was locked on solid in my car. I had to get a mechanic to do it and it broke his heart

    I'd say, i had a similar issue on the 9-5 which is funny i think, this is the tool you can buy off them

    $(KGrHqZ,!lQE65TwmP+GBPRlgQMzGw~~60_12.JPG


  • Advertisement
  • Closed Accounts Posts: 9,607 ✭✭✭toastedpickles


    Arise thread!

    I'm just gona put this up for a what needs to be done and general status on the car

    It's leaking :o through the sunroof tray onto the seats, the roof has a fair bit of condensation on it too :o due to this, which to say the least is bloody annoying because the car is covered but its still getting wet somehow

    So! Having had a chat with a lovely mechanic who knows saabs better than most people it's getting a slight overhaul which will include

    The rotting driveshaft tunnel repaired
    A new sunroof
    Dashboard removed, new dash lights
    Any little holes patched up
    Exhaust manifold gasket
    Window regulators
    2 new tyres
    Tracking

    The maybe list consists of
    New seats
    Headlining
    Alloys


    So that's pretty much where we are with it! When i get my fuel pump which should be soon, I'm gona get it insured so i can get it around without much hassle :)


  • Closed Accounts Posts: 9,607 ✭✭✭toastedpickles


    Oh hiya new parts :D

    2eyht1t.jpg

    So had a whack at the fuel pump tonight so here we go!

    The pump

    2mwgdxe.jpg

    So we need to get to the gooey innards :pac: so I started by disconnecting this fella, turn it 45 degrees to the right and wiggle it out

    ruwp05.jpg

    Why turn it 45 degrees? Because of these

    wk1umr.jpg

    After this disconnect the two electrical connections

    4togon.jpg

    Then i pryed the bottom from the top half and turned it a few times left and right, annnnd viola! This took a bit of firm gentle effort

    124ah75.jpg

    wkscqf.jpg

    And the gooey insides :pac:

    14ax83r.jpg

    So I'm at a loss as to what to do next :pac: I'll figure it out :)


  • Closed Accounts Posts: 9,607 ✭✭✭toastedpickles


    This also makes me sad

    287np0g.jpg

    Took out the passenger seat also

    2cn6uzp.jpg


  • Registered Users Posts: 1,331 ✭✭✭toyotaavensis


    **** it lad you cant have any luck can you.


  • Closed Accounts Posts: 9,607 ✭✭✭toastedpickles


    Nope! It never rains but it pours


  • Advertisement
  • Registered Users Posts: 1,331 ✭✭✭toyotaavensis


    Did you find where the leak is?


  • Closed Accounts Posts: 9,607 ✭✭✭toastedpickles


    Did you find where the leak is?

    It's the sunroof, a drain port has rusted away, so i just need a new sunroof, they bolt in and out so it's fairly ok to do


  • Registered Users Posts: 1,331 ✭✭✭toyotaavensis


    Thats not too bad but sounds like you needed that like a hole in the head.


  • Registered Users Posts: 14,309 ✭✭✭✭wotzgoingon


    I thought you had a cover over the car? Does the rain still get through?


  • Closed Accounts Posts: 9,607 ✭✭✭toastedpickles


    Arise again!

    We all remember this? Probably not but anyways! rusted drain port

    s4udqg.jpg

    This fecker has caused me misery the last while so i went and bought this

    2rhv0up.jpg

    Now we can sort this leaky roof out, hopefully so heres how you start

    Clear out your boot :pac:

    skut55.jpg

    this was a two birds one stone move, i also got this lad back :D

    b3nakz.jpg

    So once the boot was emptied i done the sunroof motor, and undone the retracting lines i suppose you call them! these run along the inside of the car to the sunroof

    This chap is the motor

    30xabgn.jpg

    So i undone this and pulled it out and undone the two retaining nuts

    1zdx2z6.jpg

    Then cut a few cable ties and undo a few clips and began the fun task of getting these feckers up through the car

    Then i went inside and dried up the droplets on the roof and got the whole assembly unbolted and hoses un clipped, then pull it out by the boot!

    2h5qufd.jpg

    But the fun doesnt stop there! How do we get the lid off? Simple actually, push back the roof opening and this will show 4 screws, undo these and off comes the lid! Mine has seen better days

    2my22h1.jpg

    May get that sorted out, then its just a case of getting the drain ports stuck back on, and bolting it back in!

    Hopefully this is the start on getting this thing back on track now, I may go to town on the boot when i have more time as it was fairly rusty, also need to take a look at the power steering as it seems to be leaking, I'll need to take the engine apart again fairly soon too to replace the exhaust manifold gasket!


    It starts now ;)


  • Closed Accounts Posts: 9,607 ✭✭✭toastedpickles


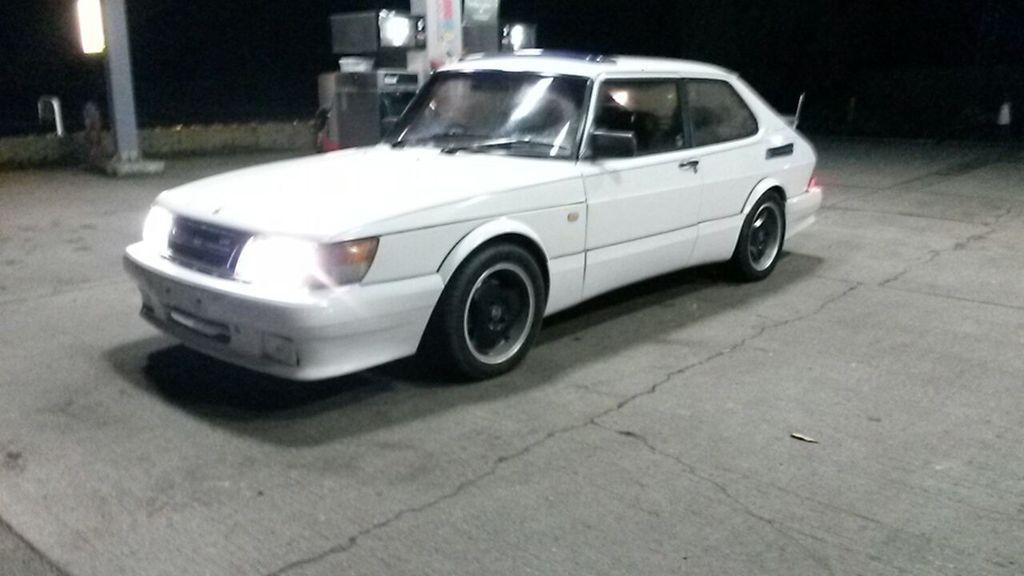
    Proud owner moment :pac:

    After all that ive done with it, and brought it back to a moderately usable condition, it finally took its first steps into the outside world today :)

    2psq0sg.jpg


  • Closed Accounts Posts: 9,607 ✭✭✭toastedpickles


    Some listening pleasure for you all


  • Closed Accounts Posts: 9,607 ✭✭✭toastedpickles


    Time for an oul update i think!

    In the coming while the car is getting the dash removed, new lights and jiggery pokery being done, and a suspension issue that just will not fcuk off sorted out too, but this is where all you lovely people come in, the door cards are a bit tatty so i was going to retrim them, bitta fabric glue and the like, but in this color tartan

    Yay? Nay?

    ramsay-blue-polyviscose-tartan-swatch_lg.jpg


  • Registered Users Posts: 8,720 ✭✭✭Hal1


    For a kilt...maybe.


  • Closed Accounts Posts: 9,607 ✭✭✭toastedpickles


    Hal1 wrote: »
    For a kilt...maybe.

    I wana do the inside in something different, I can't get a decent leather interior so, i'm re doing the cloth, just trying to think outside the box, like heres the panels i'll be doing, the upper piece that's been removed

    29enj34.jpg


  • Advertisement
  • Registered Users Posts: 8,720 ✭✭✭Hal1


    I'm sure it will look alright once they've been fitted.


  • Registered Users Posts: 73,459 ✭✭✭✭colm_mcm


    I'd use corduroy instead


  • Closed Accounts Posts: 9,607 ✭✭✭toastedpickles


    So today after work i done a few bits around the boot of the car and generally tidied it up, I'd a bit of paint left over so i put it to use too

    Stared by rigging up the sunroof again, although I prefer the manual option I added :pac:

    2utkvsw.jpg

    Fired in these long cables, which were easy enough to do with the carpets out of the way

    Next on the list was rust, and lots of it, only in patches though so when i get paid I'll get some of that deox gel that croppyboy used, and give it a good going over, for now, i cleaned it up, got rid of what needed to go and a bit of waxoil for the time being

    2yx0io9.jpg

    2qkjv49.jpg

    Painted this guy too, had some heat resistant paint left so i made use of it

    1j3kf9.jpg

    Looks well!

    el9mqo.jpg

    Also for your listening pleasure (again) :D


  • Registered Users Posts: 8,720 ✭✭✭Hal1


    Just a suggestion to use some zinc based primer after treating the rusty bits. Or it will reappear in a few weeks.


  • Closed Accounts Posts: 9,607 ✭✭✭toastedpickles


    Hal1 wrote: »
    Just a suggestion to use some zinc based primer after treating the rusty bits. Or it will reappear in a few weeks.

    I would only i ran out! but im making a list of bits i need to get soon :)


  • Registered Users Posts: 314 ✭✭Darraghmh91.


    Any pictures of the whole car .. Side , rear and front man

    Cool car they are ha


  • Closed Accounts Posts: 9,607 ✭✭✭toastedpickles


    Any pictures of the whole car .. Side , rear and front man

    Cool car they are ha

    Yeah its all on the first page so it is!

    yeah they're something you don't see everyday that's for sure


  • Registered Users Posts: 143 ✭✭Trollhättan


    ...
    yeah they're something you don't see everyday that's for sure

    Well I do....(now anyway) :-D

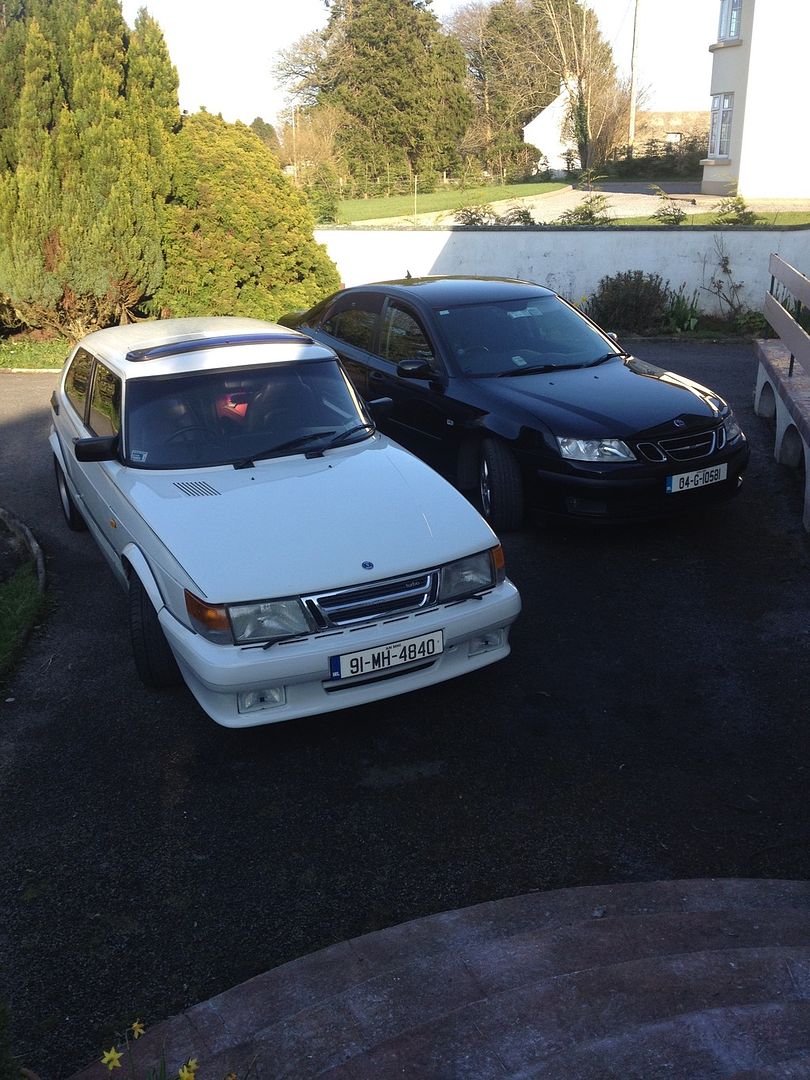
    Mine is back on the road again as of last week. Here's a pic of it almost completed...and in its natural habitat!

    15DEF903-9634-42FF-88DC-51FC04A26512.jpg

    And back with the brotherfromanothermother

    F296A94B-455E-4688-AE83-53893830D5A3_1.jpg


  • Closed Accounts Posts: 9,607 ✭✭✭toastedpickles


    Yes!

    borat_great_success.jpg

    Having seen the state it was in and seeing it being fixed up in the time i was up around it, I'm glad its back going again, you may come visit and get the two old timers together :P

    Today I'm gona crack on with derusting the rear of the car, axles, breaks, arches, the lot


  • Advertisement
  • Registered Users Posts: 143 ✭✭Trollhättan


    Yes!


    Having seen the state it was in and seeing it being fixed up in the time i was up around it, I'm glad its back going again, you may come visit and get the two old timers together :P

    Today I'm gona crack on with derusting the rear of the car, axles, breaks, arches, the lot

    nYess!...I am very excite! High five!

    It took a while but it's great to get it back on the road. Thanks! It's in Galway at the minute but might pay a visit next time I'm out your neck of the woods. Good to see you are getting stuck into the rust...they can hide some scary rot...was lucky that mine has managed to avoid too much decay! Good luck with the work and looking forward to the updates!


Advertisement