Advertisement
If you have a new account but are having problems posting or verifying your account, please email us on hello@boards.ie for help. Thanks :)
Hello all! Please ensure that you are posting a new thread or question in the appropriate forum. The Feedback forum is overwhelmed with questions that are having to be moved elsewhere. If you need help to verify your account contact hello@boards.ie

New floor Fletcher Arrow

  • 09-04-2015 4:24pm
    #1
    Registered Users, Registered Users 2 Posts: 1,046 ✭✭✭


    Hello All

    I while back I posted for advice on fitting a new floor for my speedboat. Advice was gratefully received.

    So this is how the job turned out.....

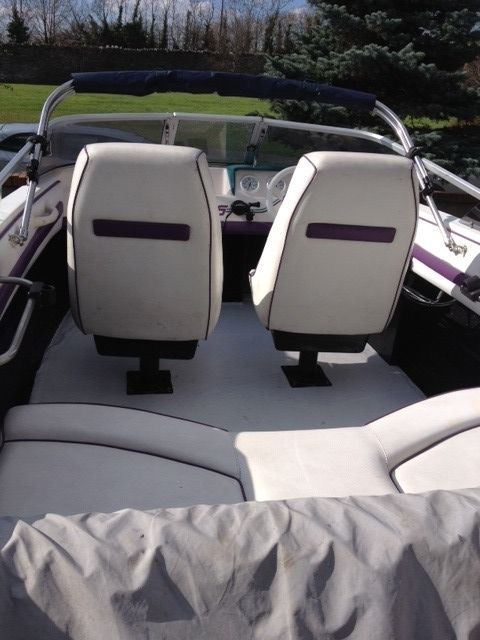
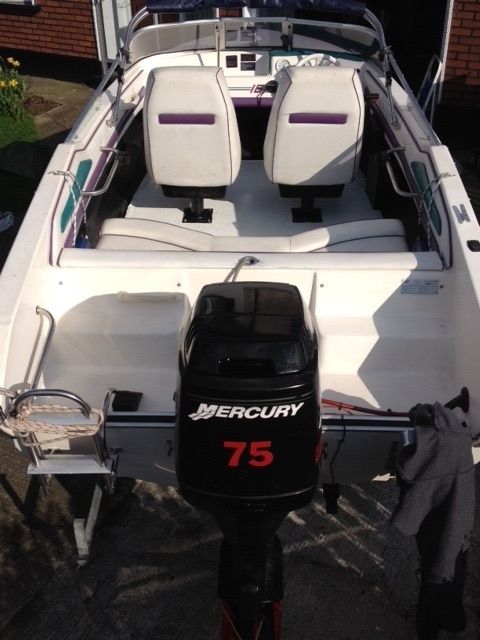
    The boat is a Fletcher Bravo Arrowsport 16. Boat is 1996 with a 2001 Merc 75hp added in 2002. I believe the original engine was a Force though older Mercs were also fitted.

    I bought it in 2010 and have been very neglectful of it in the last couple of years due to a baby being on the scene. So last summer a noticed a couple of soft spots and knew the floor needed to be done. There were a few other jobs I wanted to do at the same time such as fitting new mud guards, raising the seats (I would rather have the wind in my face and don't like being flat to the floor and only able to see out rather than over the screen) and giving the hull a good clean.

    Some of the rot was no doubt brought on by the presence of carpet which is just a moisture trap so that was all going to go and I planned to paint the floor with Polyurethane grip paint as on our fishing boat. I had panned to use epoxy and woven cloth but when I went to get the cloth the gent at MID fibre glass supplies strongly recommended 2 oz chop strand as he insisted it would be much stronger and more suitable for a floor in this type of boat due to the random orientation of the strands. Eventually he convinced me to use the CSM though I know it was going to end up messy. I got the SP106 resin kit and we planned to use 12mm marine ply for the floor.

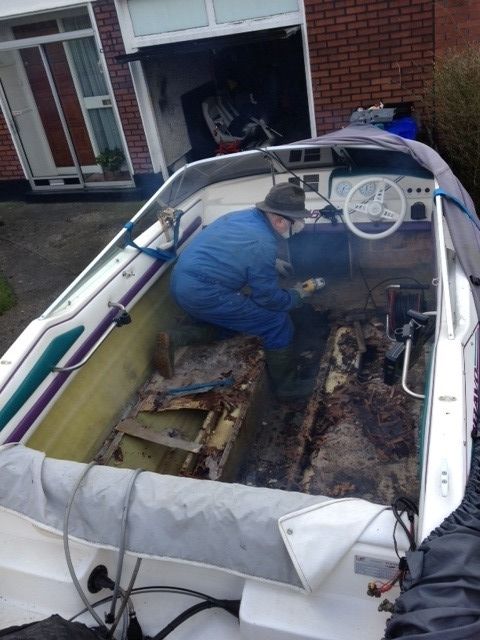
    This is the floor with the seats removed. The wood had gone quite soft so I didn't stand on ceremony and just ripped them up.

    38253ac9-06e3-4fb4-bf5e-bc6511defb56_zpsrnuuybrg.jpg


    Bit of rot there alright :)

    ee623f7e-1e90-449f-baa4-67639ea4bd81_zps58oas3bx.jpg

    Some of the floor proved easy to just cut or pry out but some of the less rotten areas up the front were more of a challenge especially as the sides had been glassed in but some of the rot had moved laterally and got in under the glassing which was only on the topside. So some cutting was required:

    a3d7e99a-d376-4a02-bc24-a0d097b49ac7_zpszweh7vka.jpg

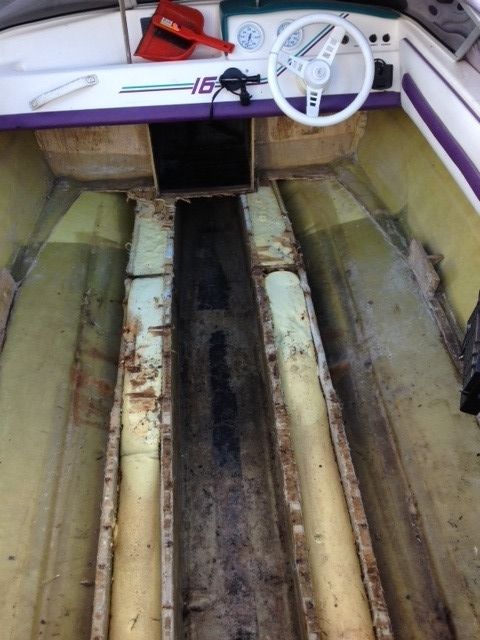
    After quite a bit of effort we had it back to the hull and stringers. Luckily the main stringers running along the length were well glassed in and were solid.

    97a152ab-65ed-42c1-831d-be416a1f7fc5_zpsfotxwv7k.jpg

    I had also fully intended to cut out the foam as I expected it to be saturated but I took small cores all along the length and it was dry as a bone all along so in the end I left it be though I don't like the stuff.

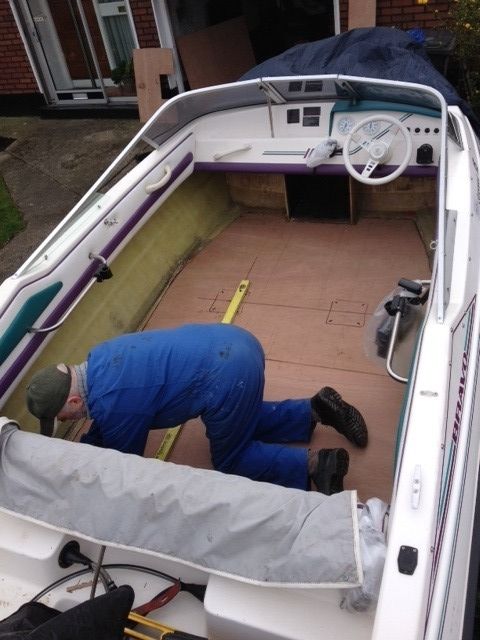
    The new floor sections we measured and roughly cut to size and then finished up in situ in the boat with a jigsaw or planer (as the removal job ended up slightly asymmetrical). But after some fine tuning it all fitted easily enough. Any small gaps we filled with thickened resin (thickened with talc to form a viscous paste) and the floor was to be screwed into the stringers with all marine stainless screws.

    b769080f-3719-4eda-aae5-82e6bd8c3d7f_zpsrkkia19i.jpg

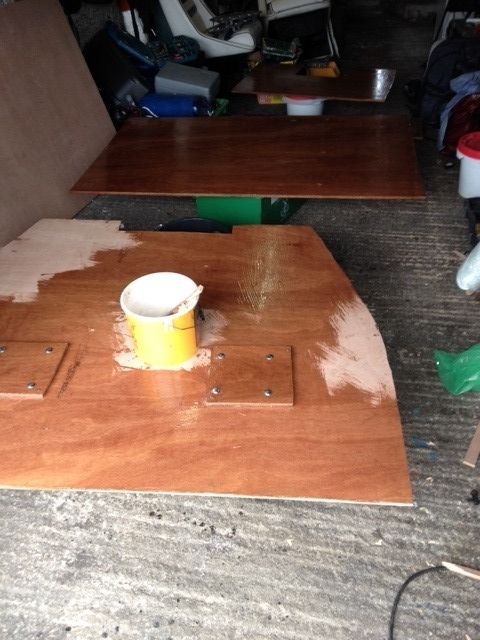
    We decided we only wanted to do this job once in our lifetimes so we epoxied the undersides of everything with 3 coats to seal the lot. The area to mount the seats was fitted with double thick ply with a layer of cloth and a further heavy coat of resin over it to seal in the bolts.

    photo202_zps5dwzolpp.jpg

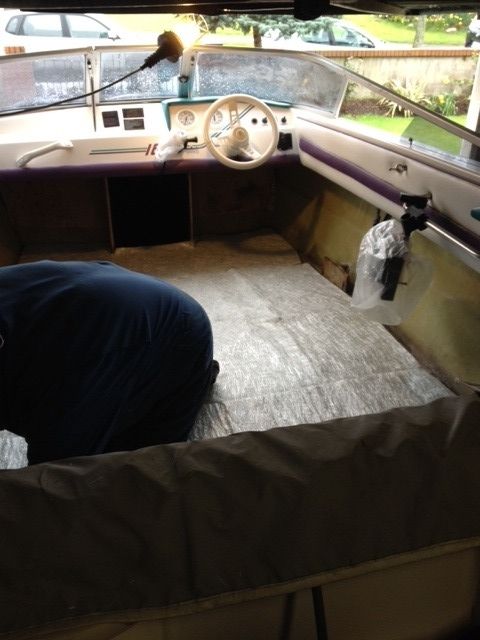
    After that the floor was re-fitted and wet resin added to the screw holes and the screws were screwed down into that to keep everything sealed. Then we wetted the wood and laid the CSM over it and wetted that out with 4 coats in total over a day. We did that under cover of the garage to keep humidity and temperature relatively constant.

    photo203_zpsz7lk7hnz.jpg

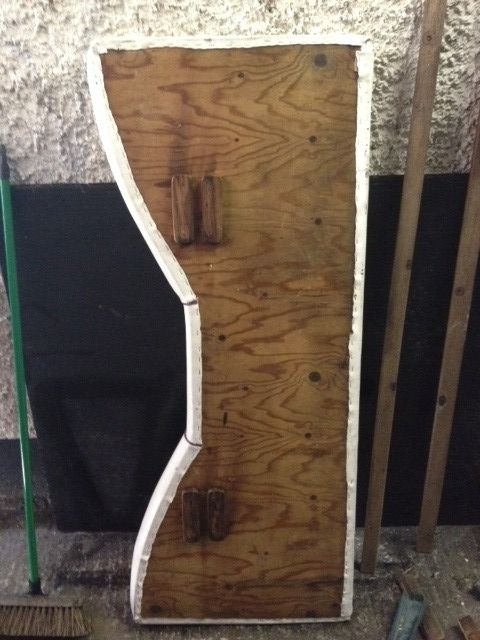
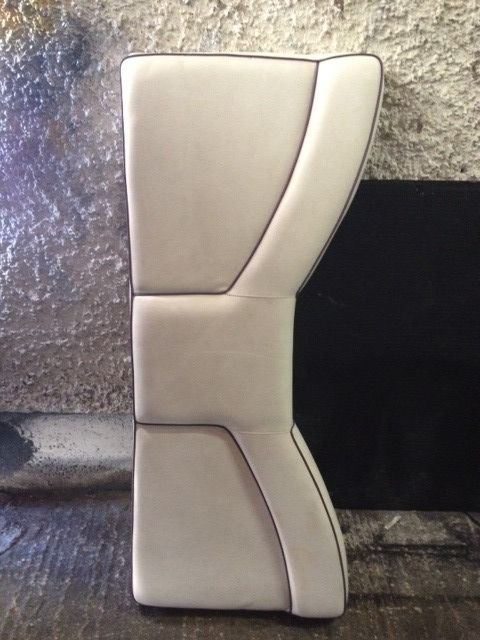
    The back bench seat also had to be recovered as the wood had warped and the cushions had gone musty. We removed the cushions and the leatherette and treated them in a boiling water bath of weak bleach solution followed by a several week long drying period. We cut out a new base using the old one as a template and re used the old hardwood positioning blocks. The wood was all treated with epoxy too and a local upholsterer redid the seat for €30. It turned out pretty well. The forward seats didn't need to be treated. Oh the transom was well glassed in too and was solid so that cut down on the work.

    photo204_zpsglvzynsp.jpg

    photo205_zpswxmd7sy6.jpg

    We also built a new mount for the rear seat to allow storage under it and that got the resin treatment too. The white is just PVA glue which was allowed to dry before being resined over.

    seat_zpsuj1hhl2m.jpg

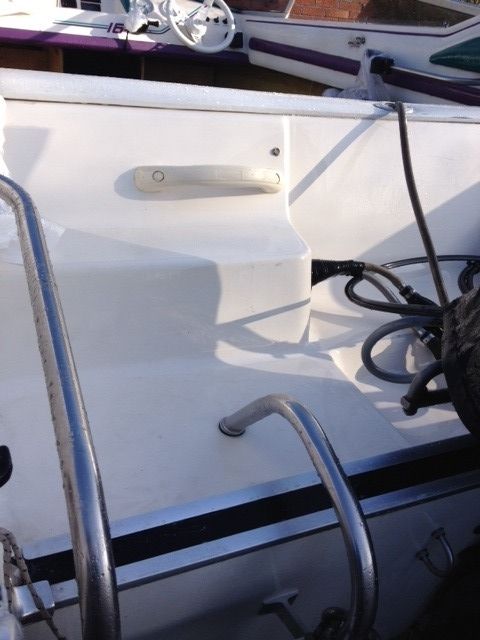
    Once the floor was dry it was sanded down and painted with International interdeck white and the sidewalls and footwells were painted gloss black.

    The forward seats were fitted with new swivel pedestals.

    new_zpszqctbwoc.jpg

    I was happy enough with the finish.

    362d8509-5659-4544-8903-81054b800bd1_zps72iebddt.jpg

    While I was at it I gave the hull, gunnels and transom well etc a good clean and powerwash. I used the boat buddy stage 2 surface cleaner and must say I was impressed. I am not sure whats in it, guessing a lot of surfactant and an organic peroxide of some kind, but its very reactive with any organic or inorganic staining and will remove rust staining from the gelcoat.

    clean%203_zpsrpsft1hp.jpg

    34edab28-a6bb-41e2-a721-92624a285b17_zpsnxdpfwwn.jpg

    So that was that. I reckon it cost about €500 Euro all in all including new mudguards, pedestals, wood, cloth, resin, paints, cleaner, screws, bolts the lot.


Comments

  • Moderators, Motoring & Transport Moderators, Sports Moderators Posts: 6,337 Mod ✭✭✭✭fergal.b


    Great job she looks the business, just in time to start enjoying her :)


    .


  • Registered Users, Registered Users 2 Posts: 1,046 ✭✭✭Bio Mech


    fergal.b wrote: »
    Great job she looks the business, just in time to start enjoying her :)

    .

    Yeah its holding up well enough, apart from the floor, for a 20 year old. Its a pity they didn't glass in the floor or it would have all been solid but at least they did a good job on the transom. Thanks for your advice originally you advised epoxy, marine ply and woven so 2 out of 3 aint bad. I still am not convinced about the CSM but the guy was adamant it was the best choice for a floor of this size. Too late now to worry!

    Indeed I tried to time it to get the new season. I might head out to wineport and see how your first boat is doing.


  • Moderators, Motoring & Transport Moderators, Sports Moderators Posts: 6,337 Mod ✭✭✭✭fergal.b


    If the floor had some odd shapes like a seat box or different contours to it the CSM would be better at taking to them but for a flat floor I find the cloth easier to work with :) When you are doing your last few coats of resin you can add a tint to match the paint you are going to use that way if it gets scratched it wont show up as much, in some cases you can mix a bit of the paint into the epoxy just do a small tester first to make sure they are comparable.


    .


  • Registered Users, Registered Users 2 Posts: 1,363 ✭✭✭ezra_


    I have a similar job coming up, have to replace the ply and glass in a cockpit floor.

    The new floor will need to seal to the sides of the boat (as otherwise I won't have self draining cockpit but rather an overfull bilge :eek:)

    However, the ideal solution I think is to have something along the lines of;

    -Marine ply flooring with a large rectangle cut out of the middle
    -This flooring is then glassed over and into the cockpit
    -The rectangular hole is covered in perspex? which is sealed on top and screwed down

    This way, I can see my bilge, prop shaft and exhaust and if I ever want access, I just unscrew and break the seal on the perspex.

    The floor isn't load bearing, as I have a small wooden slatted deck that sits on top and takes the strain.

    Not sure if I am explaing this correctly, but would like some advice / feedback!

    E


  • Registered Users, Registered Users 2 Posts: 1,046 ✭✭✭Bio Mech


    ezra_ wrote: »
    I have a similar job coming up, have to replace the ply and glass in a cockpit floor.

    The new floor will need to seal to the sides of the boat (as otherwise I won't have self draining cockpit but rather an overfull bilge :eek:)

    However, the ideal solution I think is to have something along the lines of;

    -Marine ply flooring with a large rectangle cut out of the middle
    -This flooring is then glassed over and into the cockpit
    -The rectangular hole is covered in perspex? which is sealed on top and screwed down

    This way, I can see my bilge, prop shaft and exhaust and if I ever want access, I just unscrew and break the seal on the perspex.

    The floor isn't load bearing, as I have a small wooden slatted deck that sits on top and takes the strain.

    Not sure if I am explaing this correctly, but would like some advice / feedback!

    E

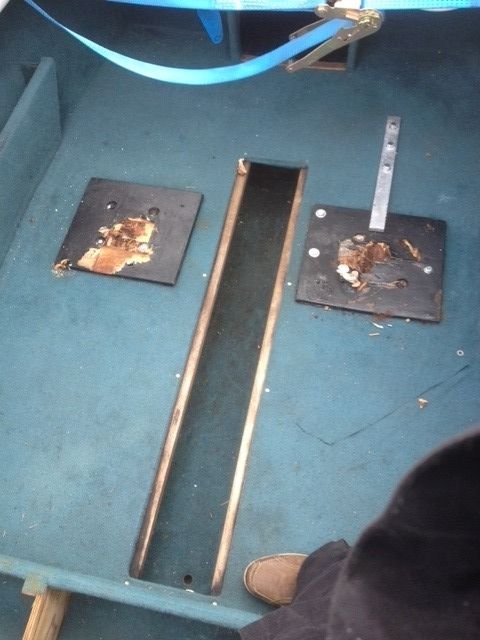
    Do you have to seal the floor. Could you put in something like a ski locker setup as in the first picture above? A cut out that you can lift off when you need to access the shaft etc. if the floor drains around the cut out you shouldn't need to have it fully sealed.


  • Advertisement
  • Closed Accounts Posts: 334 ✭✭snowwolf


    And you had done such a great job on it . it did look very well all that hard work for F*** All . I wood be kicking myself with anger and rage .


Advertisement