Advertisement
If you have a new account but are having problems posting or verifying your account, please email us on hello@boards.ie for help. Thanks :)
Hello all! Please ensure that you are posting a new thread or question in the appropriate forum. The Feedback forum is overwhelmed with questions that are having to be moved elsewhere. If you need help to verify your account contact hello@boards.ie

Painting a 1:16 King Tiger

Options
  • 29-10-2015 2:04pm
    #1
    Registered Users Posts: 3,148 ✭✭✭


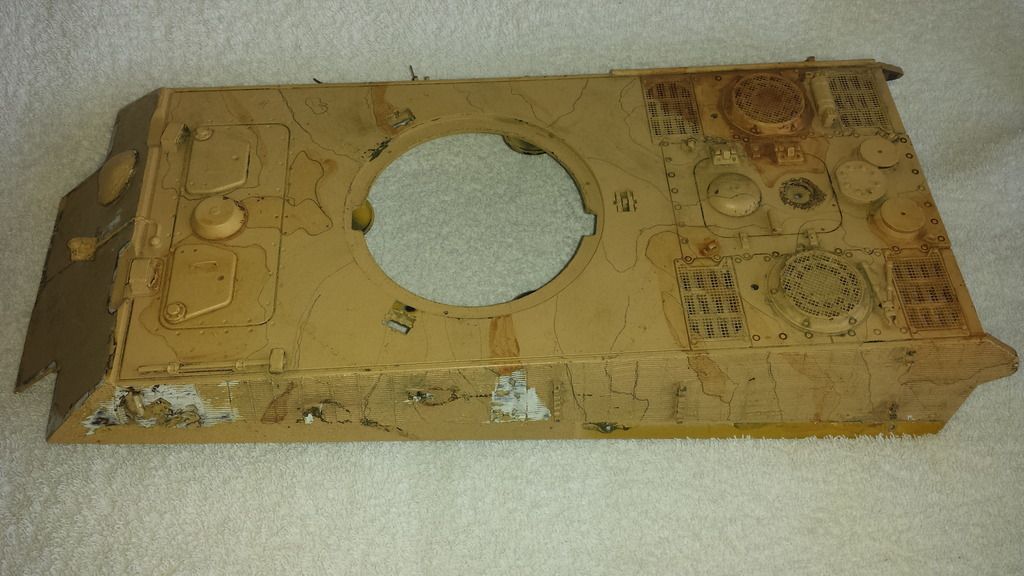
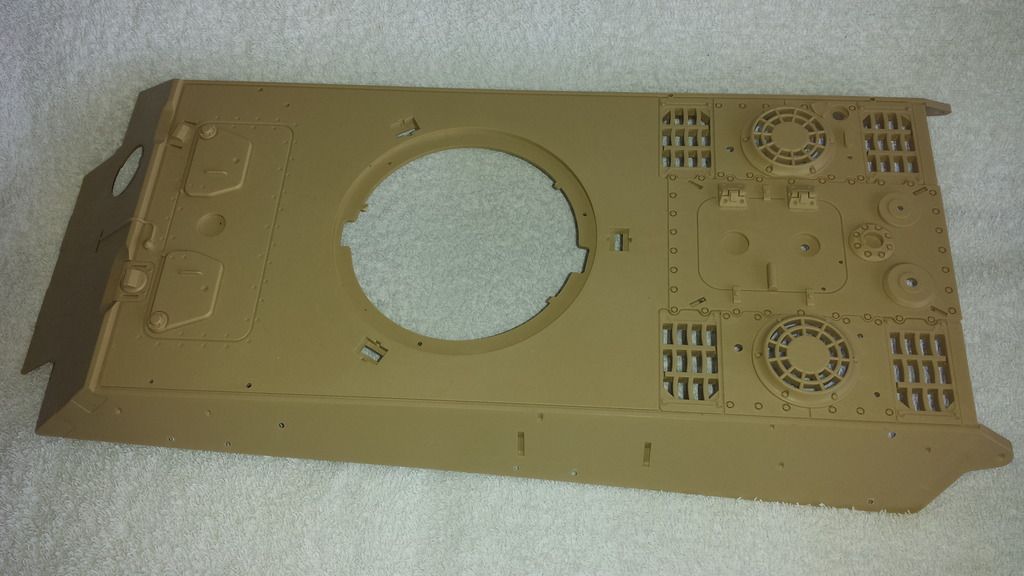
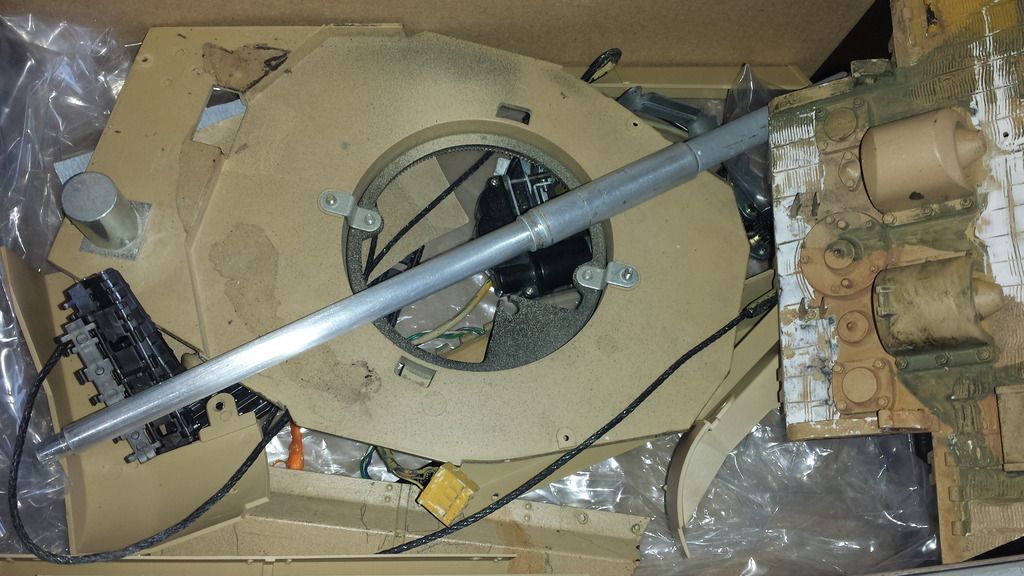
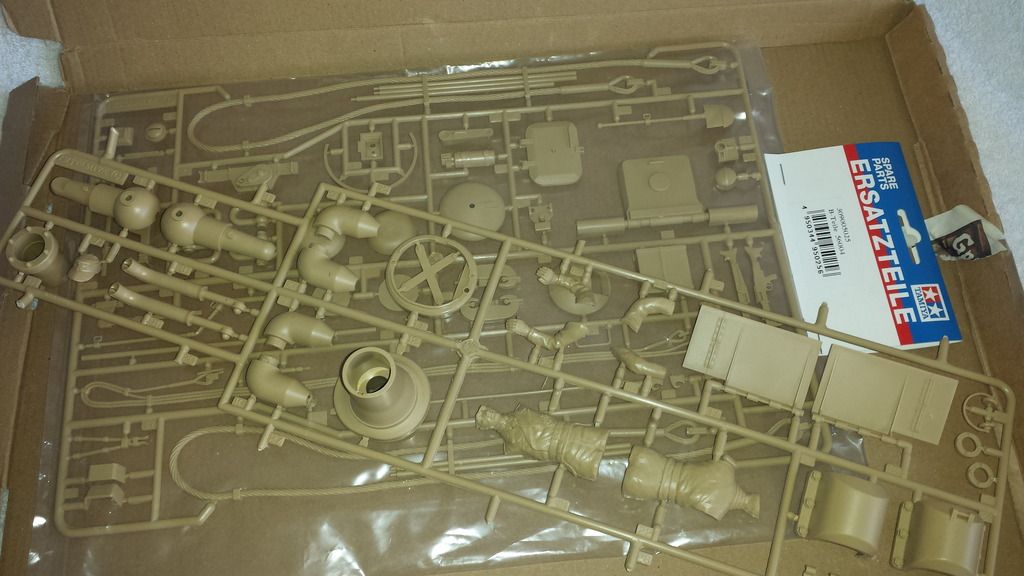
    I'm in the process of restoring a 1:16 scale Tamiya full option King Tiger tank. My model painting experience is however very limited (to the extents of airbrushing one or two colors onto a lexan body shell) with no weathering experience whatsoever. There is a lot of information available online, but as a novice in this field it's quite overwhelming to be honest. The other issue is that none of my lexan paints will suffice (due to the color - I suspect the paint itself may work?) and that starting from scratch it's going to cost me a small fortune acquiring a decent variety of paints, washes, pigments etc. that I'll probably end up only use once?

    Would anybody here be interested in doing this, or maybe have a selection of materials available at a bargain price?


Comments

  • Registered Users Posts: 1,208 ✭✭✭The Doktor


    one thing to remember when painting german ww2 tanks is you can get away with anything.
    A lot of the time paint was delivered in powder form and mixed with all kinds of things, waste oil, diesel, petrol etc and just lashed on. So you can always explain away what youve done with "well thats the look i was trying to achive".

    Really you could achive a great job with just a few tamiya acrylics and one oil:
    Dark Yellow (base)
    Red Brown or Dark Brown (camo, wood things, rust)
    Dark Green (camo)
    Matt black (weathering)
    Chrome silver (pioneer tools, tow rope)
    Burnt umber oil paint for a wash.

    Shoulnt be much more than 20 quid...

    Being an RC model, its nice to have it weathered, but no point in over doing it, as things like pigments just rub off.

    Heres my tiger 1
    rc20Tiger_zps320d0ec9.jpg


  • Registered Users Posts: 3,148 ✭✭✭T-Maxx


    How much paint (ml) would you say is required to do a three color camo? I have a few Humbrol enamel paints which I could use for the detailing, so I'll probably start off with just the 3 main camo colors, a wash and a pigment/pigment fixer. I still need to order the machine gun led for the tank so I might order the paint online as well while I'm at it.


  • Registered Users Posts: 1,208 ✭✭✭The Doktor


    T-Maxx wrote: »
    How much paint (ml) would you say is required to do a three color camo? I have a few Humbrol enamel paints which I could use for the detailing, so I'll probably start off with just the 3 main camo colors, a wash and a pigment/pigment fixer. I still need to order the machine gun led for the tank so I might order the paint online as well while I'm at it.

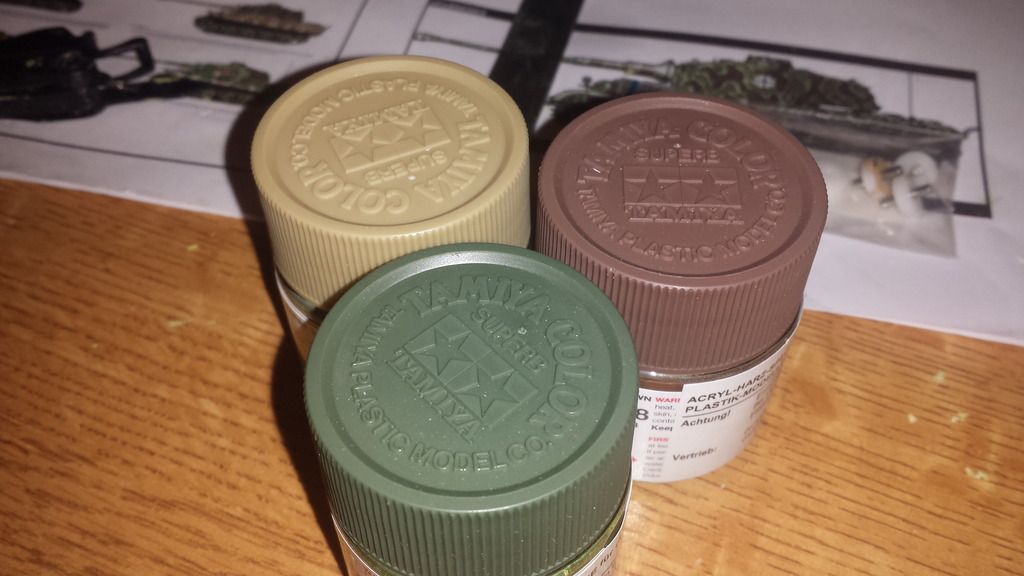
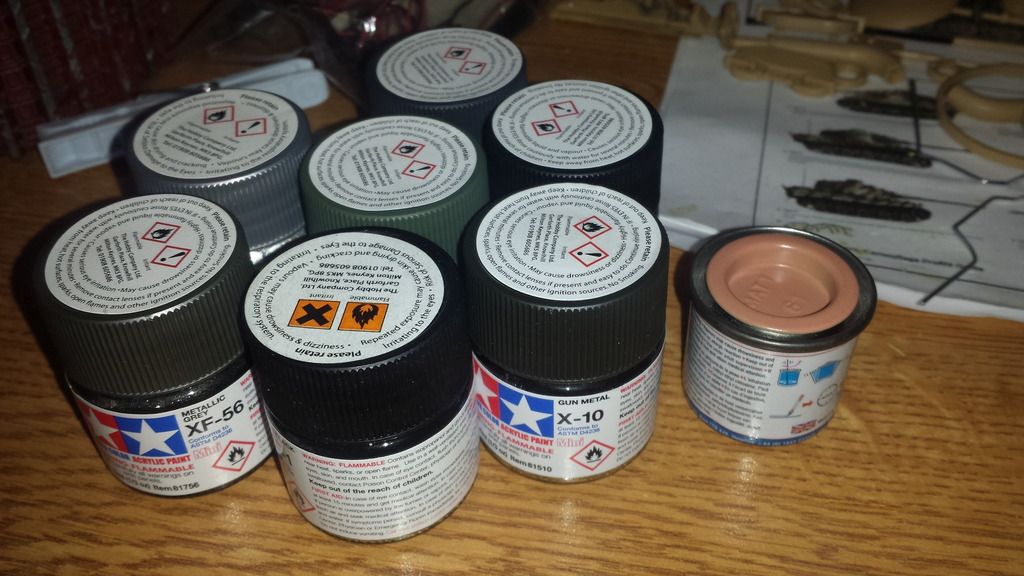
    Tamiya paints come in 10ml jars, id get 2x Dark Yellow (xf-60) as this will be the base colour and the entire thing is done in it. 1 of dark green (xf61) and 1 red brown (xf64), 1 matt black xf1 and one silver x-11
    Dont forget youll thin the paint 30-70 paint-thinner so the paint goes a long way.

    Dont waste your time with pigments if you havent used them before as they can be difficult to make look right. And some of them look ****e :)

    Use matt black and a drop of the red brown in the airbrush to dirty bits up like the exhaust etc.

    Get the smallest tube of burnt umber you can, and mix a dab of it with white spirit for the wash. Do the entire tank with it. And redo parts that get dirty/worn with it till its darker. eg. hinges on mud guards, weld seams etc

    For metal bits like shovel, spare tracks etc air brush them matt black and drybrush with silver. Dont forget the oil wash.

    Id advise against humbrol for washes, as if you mess it up (and you will)... that it. No going back. With oils you can throw on a bit more white spirit and dab it off with a kitchen towel.


  • Registered Users Posts: 3,148 ✭✭✭T-Maxx


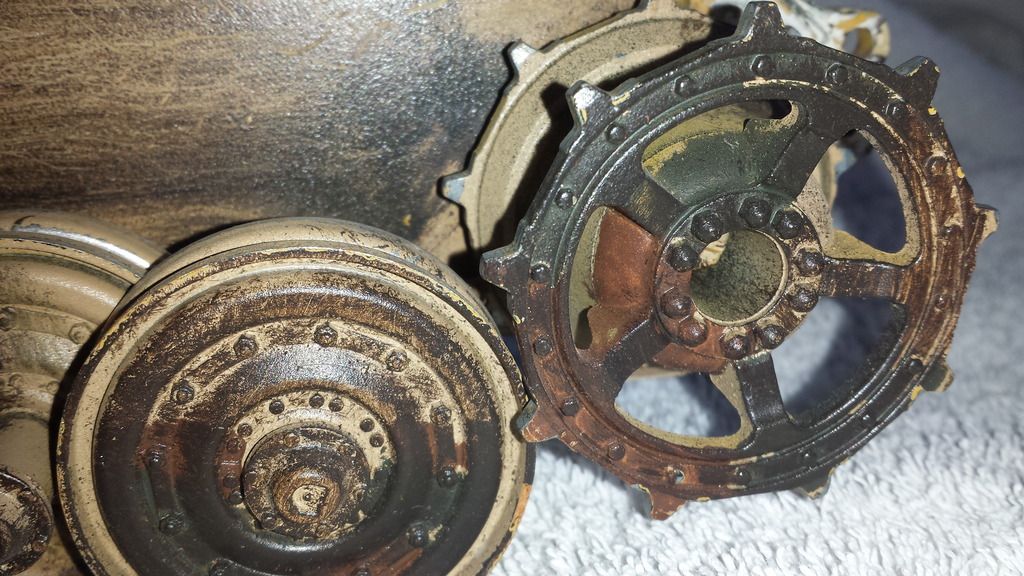
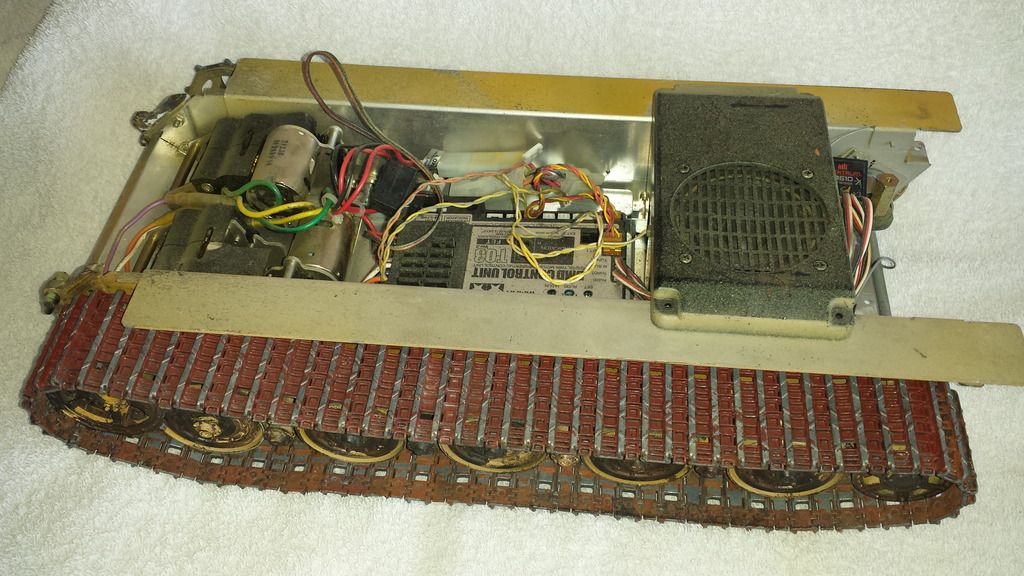
    20151101_133308_zps6m6crx4o.jpg

    20151101_133217_zpsumarb7dw.jpg

    20151101_133124_zpsdwoxpx16.jpg

    20151101_133102_zpsgvh5dozq.jpg

    20151101_132931_zpsmoampz6f.jpg

    20151101_133042_zpsmkwxi5b6.jpg

    20151101_133518_zps8w7zjtgg.jpg

    20151101_133550_zps1xdxmler.jpg


  • Registered Users Posts: 3,148 ✭✭✭T-Maxx


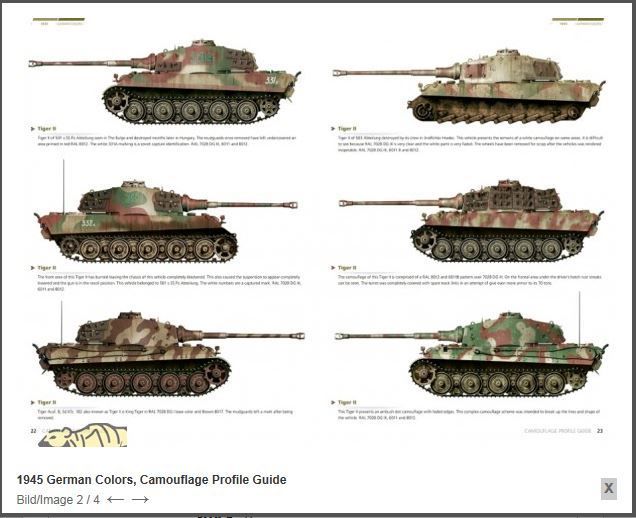
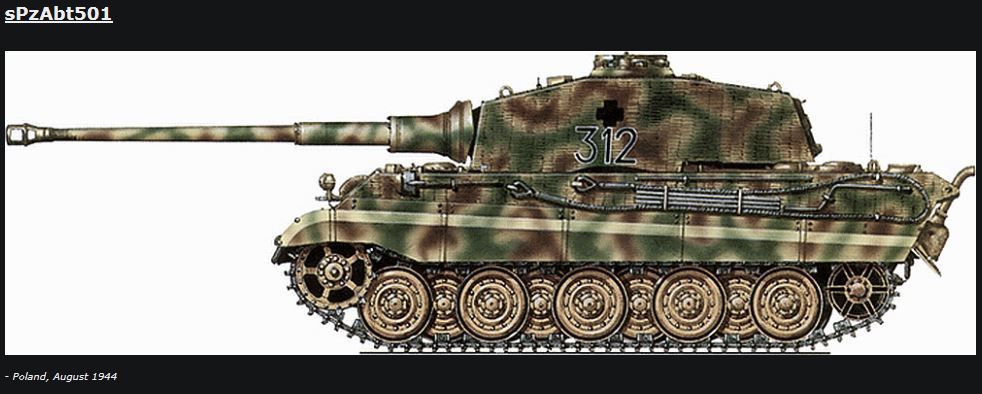
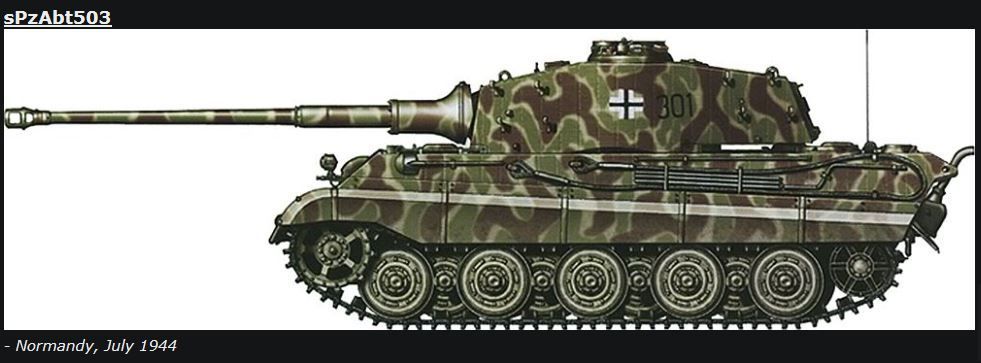
    I was thinking of modeling one of these:

    Capture_zpskskc8rqr.jpg

    sPzAbt501%20Normandy%201944_zpsuyh1gdze.jpg

    sPzAbt503%20Normandy%201944_zps62vnpguh.jpg

    Any idea what these colors are Doc?


  • Advertisement
  • Registered Users Posts: 1,208 ✭✭✭The Doktor


    in all the pictures you posted they are the same colours (apart from one).
    Dark yellow xf60 for the base colour, dark green (xf61) and red brown (xf64).

    in the abt503 one, id use xf60 for the base, and the nato brown and green (xf67/68).
    But all the ones you have there are covered in zimmerit, so you need to find a tank without zimmerit to model.
    zimmerit is the anti magnetic mine coating and is a pain in the hole to apply... though looks kinda cool.
    https://upload.wikimedia.org/wikipedia/commons/8/8a/Zimmerit_Tiger_II_1_Bovington.jpg


  • Registered Users Posts: 3,148 ✭✭✭T-Maxx


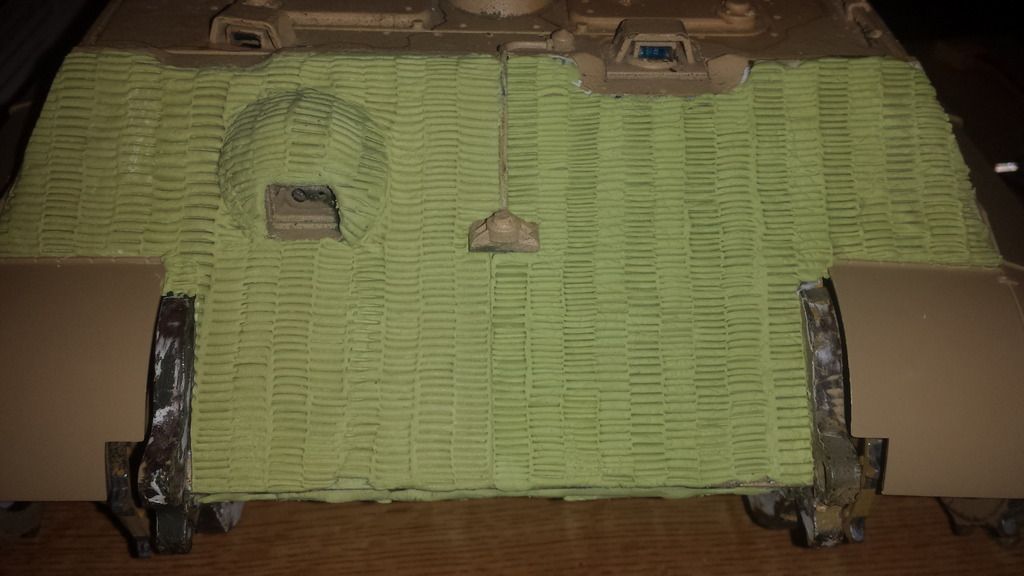
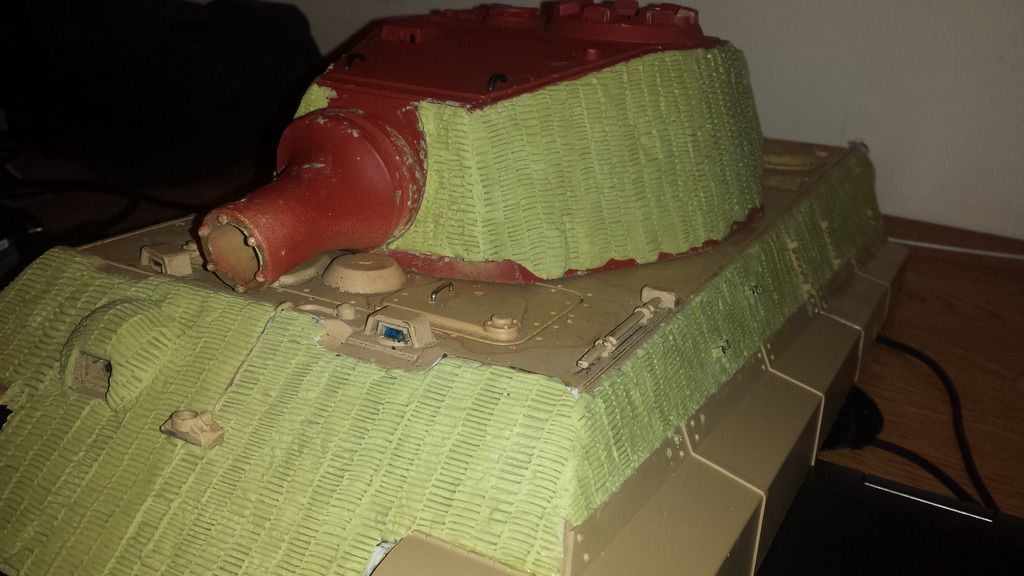
    The used hull that I have has zimmerit on the sides and the rear. The previous owner had stripped it off the turret and front hull. I have a packet of Milliput in my shopping basket and thought of having a go at applying it back onto the front hull first (see how it goes) and then the turret. If doing the hull turns out to be a disaster I'll revert to the new hull and leave the turret as is.

    Of the pics I posted I thought the 503 looked especially good. Are you sure about the xf60 dark yellow base coat though as it looks more green/grey to me than yellow?


  • Registered Users Posts: 3,148 ✭✭✭T-Maxx


    I had another good look and think you're right - I was looking at the wrong color as the base coat - it definitely looks like the xf60 dark yellow alright. The different greens and browns look pretty much the same to me so I'll take your word on it and go with the nato colors.


  • Registered Users Posts: 1,208 ✭✭✭The Doktor


    T-Maxx wrote: »
    Are you sure about the xf60 dark yellow base coat though as it looks more green/grey to me than yellow?

    im 100% sure

    all king tigers were painted in dark yellow when they left the factory


  • Registered Users Posts: 3,148 ✭✭✭T-Maxx


    20151120_215457_zpstqibxckq.jpg

    20151120_215226_zpsb8kpahxe.jpg


  • Advertisement
  • Registered Users Posts: 3,148 ✭✭✭T-Maxx


    Got some more paint in the meantime:

    20151217_153439_zpsmjfr96ad.jpg


  • Registered Users Posts: 3,148 ✭✭✭T-Maxx


    And finished the Zimmerit and also fitted some lifting hooks and grab handles:

    20151217_153646_zpsbsxmywat.jpg


  • Registered Users Posts: 3,148 ✭✭✭T-Maxx


    Progress pics:

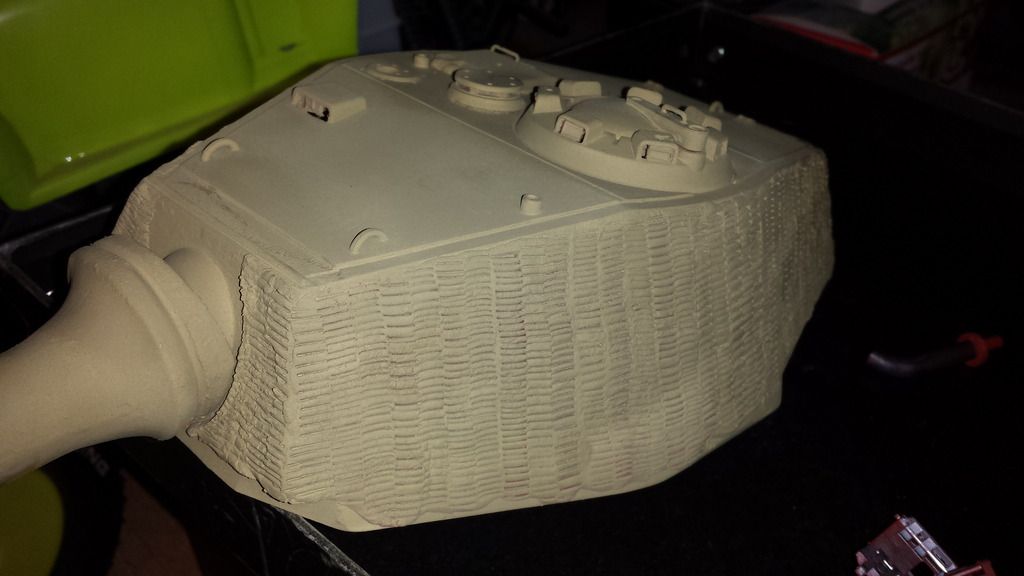
    20151221_200115_zpshvfqwfwg.jpg

    20151221_200134_zpsuixke2vs.jpg


  • Registered Users Posts: 3,148 ✭✭✭T-Maxx


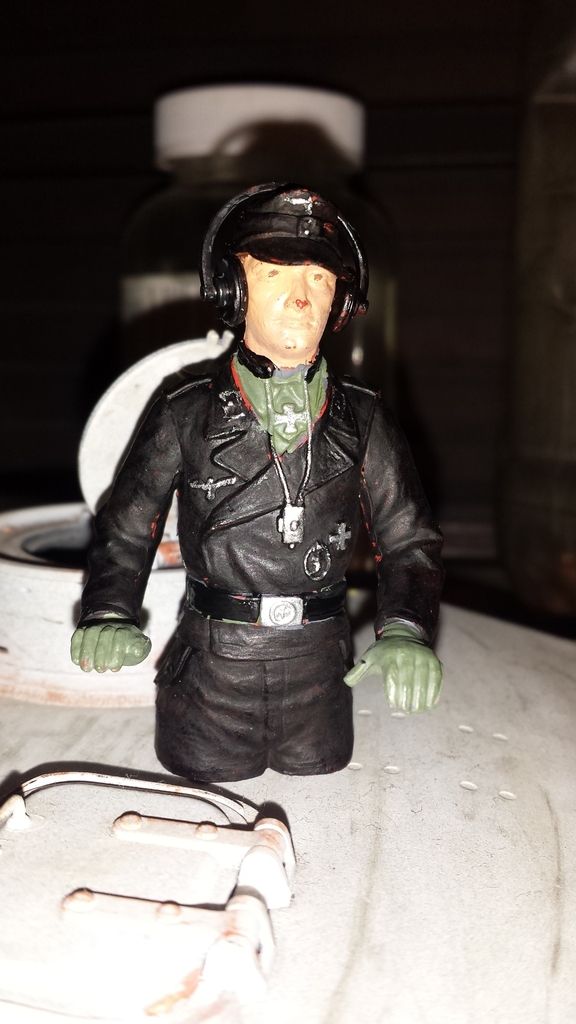
    And the commander, although I think the photo doesn't really do it justice as it looks better (to me in any case!) in reality.:P

    2160644e-509c-495e-8a93-04182d23968b_zpsuksdoh49.jpg


  • Registered Users Posts: 3,148 ✭✭✭T-Maxx


    I started on the camo by trying a soft edge pattern (on a test piece) first. I didn't quite like the way it turned out so I opted instead for a hard edge style by using Humbrol Maskol liquid mask and the XF-68 Nato brown. The pattern turned out very leaf like, which doesn't look too bad in my opinion but wouldn't be factually correct given the application. I'll probably merge and smoothen the brown patterns by hand before doing the green. The Maskol is pretty tricky to get right, and is very difficult and time consuming to get off the Zimmerit areas. It also discoloured the dark yellow base coat, maybe I should have applied a sealer coat first?

    20160110_143938_zpsnhpkafgj.jpg

    20160110_144008_zpstsop6zcc.jpg


  • Registered Users Posts: 1,208 ✭✭✭The Doktor


    If you are having difficulty using the airbrush to do the camo, try using "worms" of blutak to mask with. I never liked maskol for tank camo.
    Dont get stressed if theres a bit of over spray here and there, as i think thats more authentic than perfect lines.
    What you have there feels a little too modern to me... but i think that may be personal.


  • Registered Users Posts: 3,148 ✭✭✭T-Maxx


    I've read about the Blu Tack method alright but thought the Maskol would be easier, and sharper especially on the Zimmerit areas.

    The way I see it is that mainly tank crews applied the camo with spray guns on the front, so the spray widths would be fairly wide and the patterns flowing, I would think the minimum width scaled down should not be less than 1cm, maybe even 2cm. This compares better to the photographs I have studied than what mine looks like at the moment. Airbushed just looks so much better than hand painted areas too, so I'm planning to give the Blu Tack method a go.


  • Registered Users Posts: 3,148 ✭✭✭T-Maxx


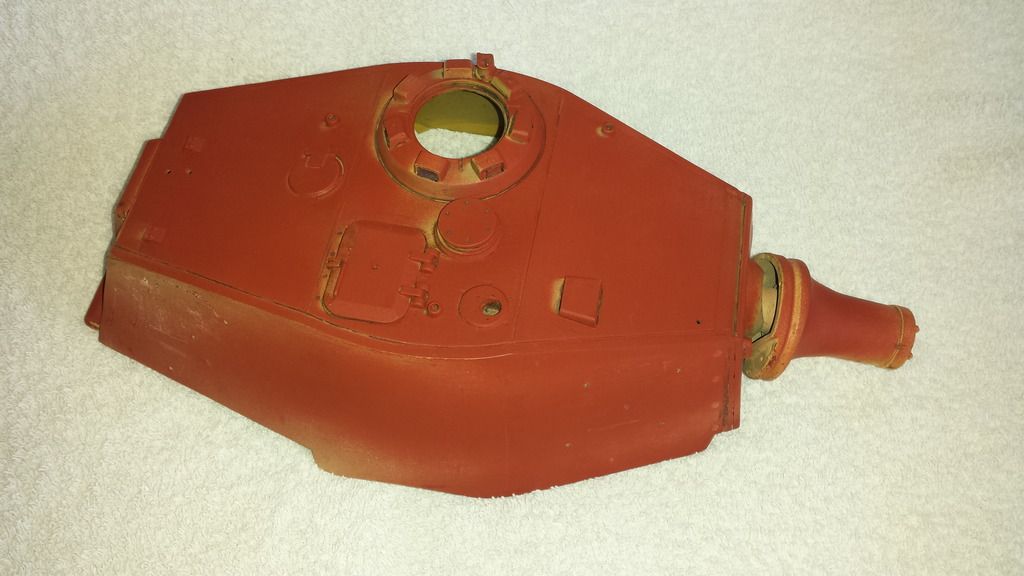
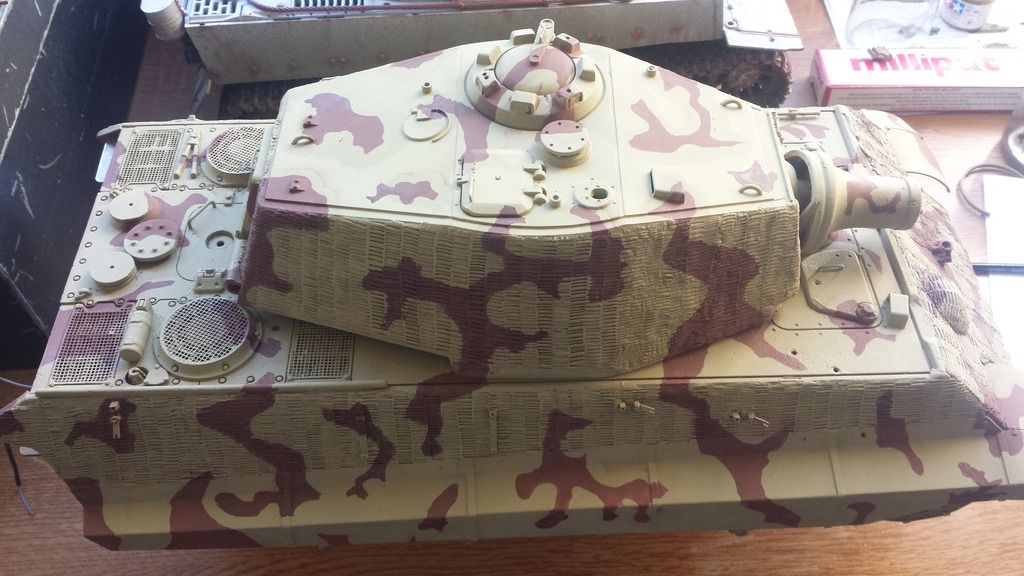
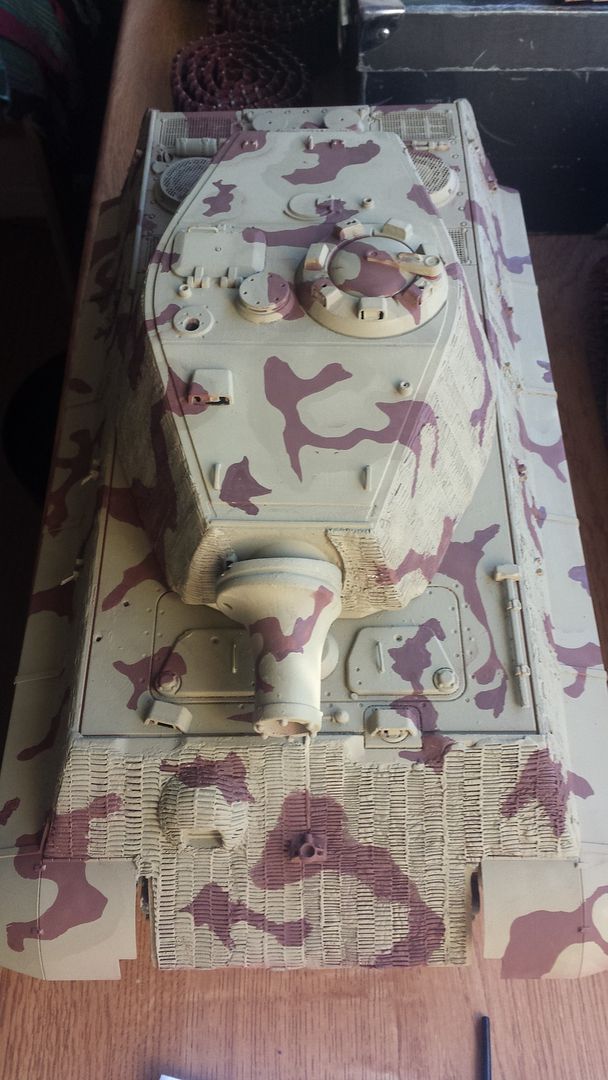
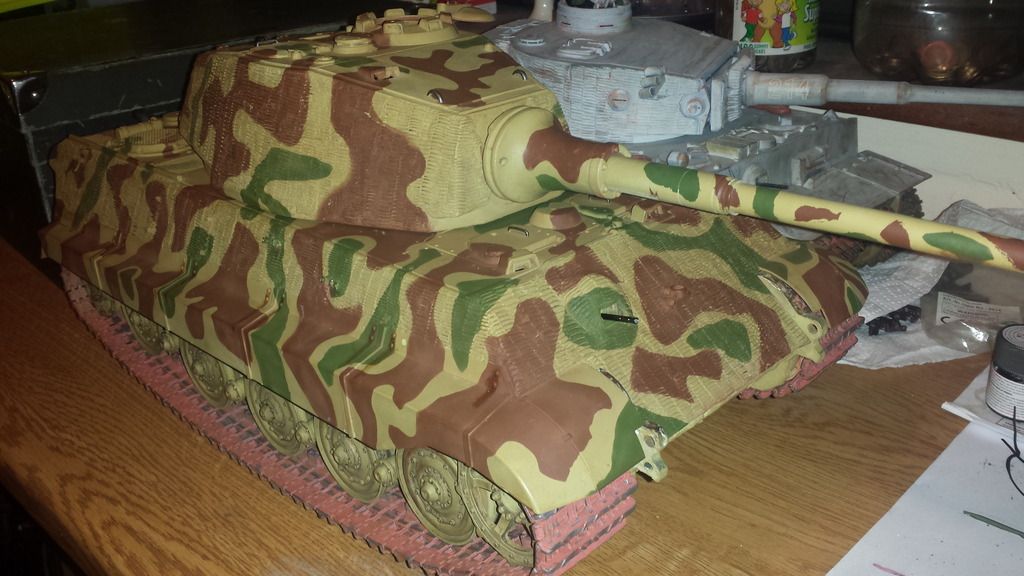
    Right so I've redone the camo and while I'm not 100% happy with the result it'll have to do. For what are essentially just random blobs of paint I was surprised at how difficult and time consuming it turned out to be! The Maskol just didn't work well for me on the irregular surface (especially the Zimmerit) as it tended to flow into all the crevices and (a) made the paint effect look crap, and (b) took forever to get out again. Where it did work well though was on the smooth rounded surface of the main gun barrel. I've tried free hand airbrush, free hand brush, and even tried soft edge airbrush with paper camo patterns but in the end I used Blu-Tack (well, actually some unbranded stuff which is white). First coat was a red plastic primer, followed by the yellow base coat, then the brown and finally the green.

    After the camo I airbrushed the whole lot with a filter of white spirits and burnt umber oil colour.

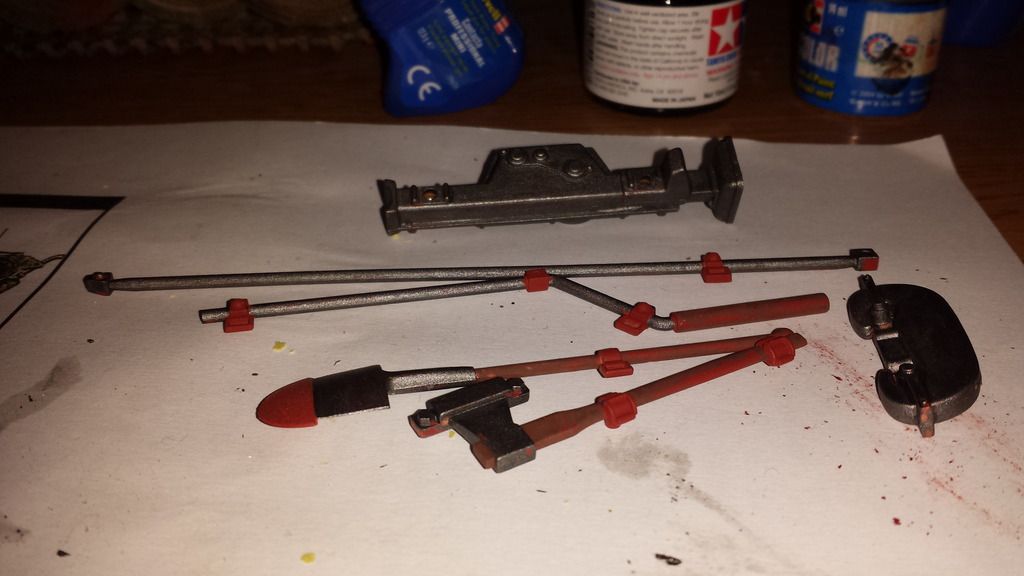
    Next step will be the detailed painting of the tools, jack, accessories, tow ropes etc and fixing thereof.

    And then some washes and maybe I’ll try my hand at pigments and dry brushing.

    I looked at decals but they seem ridiculously overpriced so I’ll see if I can come up with something myself.

    I’ve bought a set of spare track hangers but I just can’t seem to get the spare tracks to look decent so I’m still undecided as whether to fit it or not. I’ve primed the spare tracks with plastic primer, when that didn’t stick I tried metal primer and when that came off as well I thought I’d hit it on the head with an etch primer – however nothing seems to be able to stick to the plastic. (vinyl?) In its raw untreated state the tracks look really tacky and cheap so unless I can figure out how to get it painted properly it’ll have to stay off.

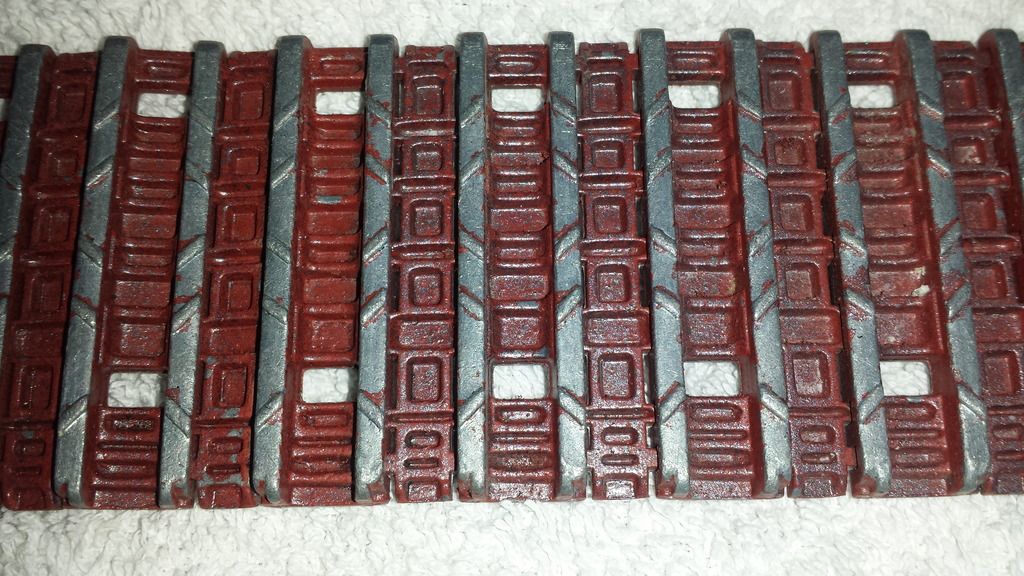
    Regarding the metal main tracks, I’ve tried a few techniques but in the end I took everything (most of it in any case!) off again with brake fluid and decided to just run it as is. I might possibly go with a gun blueing technique but I’ll see how it weathers naturally from usage before deciding.

    My previous mod efforts on the infamously poorly designed idler tensioning device didn’t work so I’ve followed the advice I found online and just filled in the drums with Milliput epoxy putty. They are solid now and should hold up to the heavy wide metal tracks.


  • Registered Users Posts: 1,208 ✭✭✭The Doktor


    T-Maxx wrote: »

    After the camo I airbrushed the whole lot with a filter of white spirits and burnt umber oil colour.

    before ye do that, dont forget scratches and scrapes. You and just create them with black and a tiny brush, and it really adds to the look. Takes a bit of practice though. What you can do is get somthing pointy, and actually scratch through the paint and fill in these marks with gloss black. They are on the models in the pic below, but you cant really see as i took the pick years ago with a crappy camera.
    And somthing that really brings things to life is where water would run down things like the skirts, and parts of the turret. Its really easy. Just take some burnt umber (no white spirit) on a small brush. Do a thin line of paint where the dribble would be. Then when you have them all added in, clean your brush. Then dip it in white spirit, dry it off a little and use it to feather the paint, just draw the brush down over the oil paint (kind of cleaning it off). If you mess up, just wipe it off with a cotton bud.
    You can do this before or after your washes. Just if you do it before, make sure its dry before you do the wash.
    You can see it on on this one below, where water would run down from the bolts holding the thin side skirts on...

    two20tigers202.jpg


    And then some washes and maybe I’ll try my hand at pigments and dry brushing.
    Careful with the drybrushing. Its easy to over do it and make your model to look total ****e. Think about where you are doing it. Would that area have wear? Would it be bleached by the sun?
    I looked at decals but they seem ridiculously overpriced so I’ll see if I can come up with something myself.
    Decals schmecals. Do it by hand. Did the panzer divisions have deacals with dead sharp lines? no.
    Also when you try to put decals over zimerite its hard to make them look right and get them to adhere.
    Look at the "222" number on this one. This was based on a real photo, where the numbers were all different sizes. There loads of real life examples of this.

    two20tigers201.jpg
    I’ve bought a set of spare track hangers but I just can’t seem to get the spare tracks to look decent so I’m still undecided as whether to fit it or not. I’ve primed the spare tracks with plastic primer, when that didn’t stick I tried metal primer and when that came off as well I thought I’d hit it on the head with an etch primer – however nothing seems to be able to stick to the plastic. (vinyl?) In its raw untreated state the tracks look really tacky and cheap so unless I can figure out how to get it painted properly it’ll have to stay off.
    Are these the tamiya tracks or some after market ones?
    Regarding the metal main tracks, I’ve tried a few techniques but in the end I took everything (most of it in any case!) off again with brake fluid and decided to just run it as is. I might possibly go with a gun blueing technique but I’ll see how it weathers naturally from usage before deciding.

    Id agree, just leave em. What ever you paint on em will wear off quick as its a working model. I spent ages getting the tracks right like i would with a scale model, and after a few battery packs there was no paint left on em.


  • Advertisement
  • Registered Users Posts: 3,148 ✭✭✭T-Maxx


    Progress to date:

    20160202_185252_zpsmnv7kipo.jpg


  • Registered Users Posts: 200 ✭✭grudgebringer


    Like the zimmerit work, looks very authentic.


  • Registered Users Posts: 14,907 ✭✭✭✭CJhaughey


    I used to build a lot of 1/35 Military stuff, I remember a great way of getting realistic rust was to mix brown shoe polish with methylated spirits and using a fine brush.
    The last shoe polish I bought was waterbased so I don't know how its changed over the years but it used to work well for me.


Advertisement