Advertisement
If you have a new account but are having problems posting or verifying your account, please email us on hello@boards.ie for help. Thanks :)
Hello all! Please ensure that you are posting a new thread or question in the appropriate forum. The Feedback forum is overwhelmed with questions that are having to be moved elsewhere. If you need help to verify your account contact hello@boards.ie

Your art/craftwork - show it here!

Options
1101113151654

Comments

  • Closed Accounts Posts: 23 HelloNHOJ


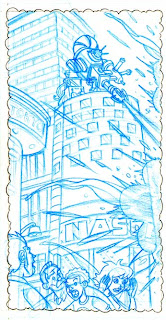
    Just a quick update to give you all a sneak peek of the pencils for page 5 of the comic I'm working on right now by the title of 'Rodney Tentakle!' It tells the tale of a seemingly ordinary boy who (thanks to his parents'...er...'interesting' background) experiences adventures that take him from a small, sleepy British town to the mountains of Nepal and into the realms of Infinity itself!

    Pg5P1.jpg
    (Click on image for larger version)


  • Registered Users Posts: 154 ✭✭tanyabond


    John, I don't know why, but I still couldn't find the bucket tool... Maybe I'm blind... or else it somehow miraculouly disappeared out of the left-hand menu... The problem i have with the shaping of each area is that (to my understanding) it can't be edited (I hope I'm wrong...) Like in Corel if you are drawing something, you can then move the nodes around and change the curves, whilst in photoshop the wayI tried, it seems like all the lines are final... That's why I end up doing the colouring straight away and changing the shape with the eraser tool, then locking all transparencies and shading other colours into the shape.
    I guess your current illustrations look more "grown up" and "tidy", yet I don't see anything wrong with your beginner's work...

    Here's what I came up with next


  • Registered Users Posts: 154 ✭✭tanyabond


    I've tried alt+backspace and it worked, but I'm still confused as of where the bucket is gone...
    I'm also trying now to colour a pencil illustration, and I think this one looks ok without using different shades for each area thanks to actual pencil shading (i'm always looking for lazy ways:)) But I've encountered a big problem trying to do hair, the tips of it are NOT GOOD...

    You've mentioned you are drawing comics, is it a day job, or just for fun (or both:))?


  • Closed Accounts Posts: 23 HelloNHOJ


    Howdy, Tanya.

    My comic work is paid, though I could hardly call it a career juuuust yet. Get back to me in about two years or so and the situation might be different!

    It's great to see that you're still taking this seriously! Most people would just give up within the first few tries, that determination will definitely serve you well.

    As for your problem finding the bucket tool, here's a quick look at the task bar:

    photoshop-tools.gif
    Ok, if you go 6 boxes down, do you see that rectangle on the right with a gradient inside it? You simply click on that and hold the mouse button down -- if you do this correctly, then a small list of further tools will pop up, amongst which you'll find the bucket tool.

    You bring up a good point about the selection process in PS. Yeah, you're right, the nodes, once in place, can't be edited. Basically, that's something you'll just have to get used to and pretty much make sure that when you're placing a node, it's in the correct position. If you're doing it right, then there shouldn't be any reason at all to want to edit the placement of said nodes.

    The way to think about it is this: When I'm colouring, I set up multiple layers. The top layer is always the lineart (with a few, minor exceptions) while the very bottom layer will always be the background colour. Now, sandwiched between these two layers, I have everything else. If, say, I'm colouring a person, I split them up into different parts -- so, one layer will be the head, another layer will be the torso, next layer will be the legs...and so on. The more layers you use, the easier it'll be to have complete control over all elements of the picture.

    Actually, it'll be easier if I just show you. Below is a screen grab showing my latest coloured pic and the typical process I use. The little circles you see in the top left-hand corner are all the base colours I've used in the piece. It's a good idea to have them placed on a separate layer so that you can keep track of what colours you've used, just in case anything goes wrong or you need to use them again., To the right of the pic, you'll see the layers tab, showing how I split up many different elements into different layers.

    th_Layers.jpg
    (Click on image for full view)

    Just looking at your pics, Tanya, I quite like the way you're experiementing with different styles -- that pencil/colour piece looks quite nice, actually. One problem I see, though, is that since you haven't shaded the face, it sticks out like a sore thumb from the rest of the piece. This lack of shading also makes it look very flat.

    The one thing about shading is that every stroke with the pencil (this applies to colour as well) has to serve a purpose. Shading for the sake of shading isn't shading at all, it's basically just filling in gaps in your drawing for the sake of doing so. I know because I still have a very, very bad habit of filling in spaces in my drawing with shading that simply doesn't need to be there. It's a problem I'm still trying to combat.

    Each time you sit down to do a picture, you have to keep thinking to yourself "is what I'm doing adding to my drawing or is it just there for the sake of being there?" That old adage is true: "Less is more."

    You said there was nothing wrong with the colours in my older pics but if you look at them with a more critical eye, there is loads of stuff I got wrong. If you look at those pieces closely, you'll see that there isn't any kind of a consistent light source going on, meaning that my shading is all over the place. In a lot of cases I added shading to those pieces without really thinking about what direction the light was coming from. Also (and this is really important) the set of colours I selected to use in those pieces are terribly saturated. People think that if you're doing a cartoony picture, then the colours have to be super bright. Wrong. You are far better off going for desaturated shades -- by themselves, they can look too dark but once they meld together and the piece is finished, they will actually end up looking bright and vibrant.

    But going back to the light source thing, that is one of the most important things I can tell you. Always, always, always think of what direction the light is coming from in your pic before you even attempt to do shading. I sometimes give myself a visual indicator of this by drawing a little depiction of the sun or something with an arrow pointing away from it signifying what direction the light is coming from (this can always be hidden/deleted from the final pic in the end). Nothing too complex but it helps immensely as that little indicator will force you to keep your lighting in mind.

    Finally, when shading, you've got to think of your subject as a series of shapes that are stuck together. So, the head could be squished sphere, the torso a rectangular cube and so on. It can often be difficult to decide how to shade a piece but so long as you always think in terms of volume and shapes, it'll make your life a heckuva lot easier, believe me.

    Whew! That was a lot of typing! I hope that's somewhat helpful for you, Tanya. Keep it up!

    EDIT: I'm only noticing your more painterly work now, Tanya and it's plainly obvious that you definitely know your stuff. I'd really love to see what would occur if you mixed that painterly know-how with the brash boldness of cel-shaded colouring -- it would make for some very interesting results, I'm sure!


  • Registered Users Posts: 154 ✭✭tanyabond


    John, thank you again for your post:)
    Now I see why I wasn't able to see the bucket! Thanks!
    The bear and elf drawings that I used were drawn a good few years ago, and since I couldn't do anything with them (not being able to separate the drawing from the background) I left it till now:)
    I'm actually using multiple layers too, and in a way I'm doing a similar thing to outlining shapes - I'm just doing it with paintbrush which allows me to adjust it by erasing anything unwanted. Like in the caterpillar I painted the apple red, then lock the rest of the space and did the shading and lighting. Same was with the elf, only I didn't do any colour changing afterwards.
    I actually like the way my pencil shading worked on the clothes, and the textures it created, but I have to agree about the face, maybe if it wasn't taking up half of the space it could have been fine.... I still want to try the same for the ink, like cross hatching the shaded areas (what you have on the running person)
    Any solutions for the hair? Is there any special way of making the colouring hair-like looking?


  • Advertisement
  • Registered Users Posts: 154 ✭✭tanyabond


    John, thank you:) What do you imply by cell-shaded colouring?


  • Closed Accounts Posts: 23 HelloNHOJ


    It's basically just a catch-all term for the colouring style I tend to use. It's colouring pictures so that they look almost as if they've come from an animated show or movie.


  • Closed Accounts Posts: 23 HelloNHOJ


    Oh, as for colouring hair? I tend to keep it simple (again, "less is more"). In the past, I used to be concerned about trying to render as many strands and follicles as possible but I find that if you have enough detail in the actual lines, then the colouring doesn't need to be too complex.

    EDIT: Oh, I find it interesting by the way that you say I used cross-hatching in the Running pic, because there is no cross-hatching going on there at all! :) In fact, all of the shading was done in the colouring stage.


  • Registered Users Posts: 154 ✭✭tanyabond


    Yep, no cross-hatching here, I don't know why I thought there was:) Maybe just a very good deceptive colouring :) ...
    About the hair, well is there any way to make those curly tips nice and sharp?


  • Registered Users Posts: 154 ✭✭tanyabond


    Actually are you selling your illustrations on PODs? If not, then you should - I can see them selling very well!


  • Advertisement
  • Closed Accounts Posts: 23 HelloNHOJ


    Ha, must be a good sign if my colouring can look hatched even if it isn't!

    How to make the tips nice and sharp...? That's a good question because I don't really know. The only thing I can say is to have a good, flowing movement to your wrist when drawing stuff like that. Instead of gradually sketching in the lines, do them in one, quick and flowing motion -- that tends to do the trick for me!

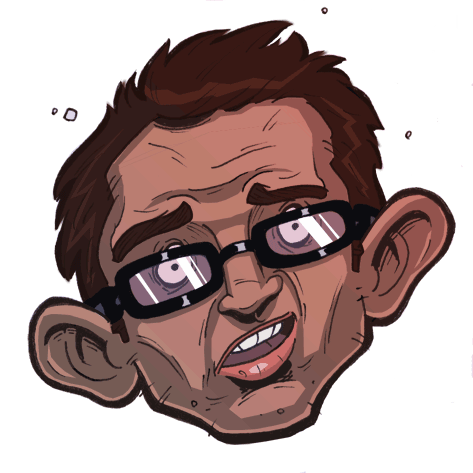
    Actually, here's a good example of how I draw/colour hair. My own ugly mug!

    PennilessProper2.png
    As you can see, I keep things very simple. I tend to place just a few lines here and there in the main body of the hair and then the colour does the rest. One really good tip I can give you is that when you're colouring the shiny/highlighted parts, place them over shaded areas, it really allows the end result to 'pop.'

    Another thing that does wonders is messing about with line weights when doing the inking. Notice how the width of the lines in my pics fluctuates? Line weight is a fantastic way of depicting weight and body with the minimum of effort. Notice how when I'm rendering the strands of hair in the above pic, I start at the base with a nice thick line and then taper it off as I reach the tip? Easy-peasy, lemon sqeazy. Saying that, it still takes quite a bit of practice to get it looking juuuust right. I tend to go for a very bold, thick line whereas other people may use a more tapering, subtle line -- it all depends upon the artist.

    EDIT: What's 'PODs,' by the way? Never heard of it.


  • Registered Users Posts: 154 ✭✭tanyabond


    I'd be the type that goes for the subtle type of hair (for girly characters obviously :)) I guess I'll just have to play with it until I find the way, cos I think I've seen in the past some people can make the hair look nice and messy and long, or it just would have to take much longer...
    PODs are print on demand sites where you post your artwork on various products and you get royalties once someone buys a product. It's kind of a virtual shop and the product only materializes once it's purchased.
    I have a shop on Zazzle - www.zazzle.com/tanyabond*/home
    and another one on Spreadshirt - www.tanyabond.spreadshirt.net
    You might have heard of Cafepress maybe? They used to be good but last year they set the royalties to 10%, so I wouldn't recommend investing your time with them. They all are free to join so it would only cost you your time.


  • Registered Users Posts: 644 ✭✭✭Pauleeeeeeee


    Nice to see people helpin' each other out here :)

    Here's a Bouguereau I attempted last week. The man knew how to paint!

    attachment.php?attachmentid=938079&stc=1&d=1269376744


  • Closed Accounts Posts: 23 HelloNHOJ


    Paul: Lookin' good! I'm not familiar with the original piece but I must say that the rendering on this is marvelous. The eyes are definitely the standout element, they grab the viewer and drag 'em right in. Kudos, sir.

    As for me, I just found out that issue 2 of RíRá is fresh off the printers. RíRá is an Irish language anthology comic I work on that brings together the best of Irish and European talent. I haven't got my hands on a copy juuuust yet but the editor sent me a lil' sneak peek at two of my pages in the book.

    It's always satisfying to see something you slaved over in print form!

    26997_373062922861_109857627861_3695292_7990586_n.jpg

    EDIT: One more picture before I go. Probably won't make much sense considering its, uh...'inspiration' has been deleted in the past while. Oh well -- thanks random-model-who-is-out-of-work for posting in the wrong thread, I wouldn't have drawn this otherwise!

    24584_1415500914665_1446854839_2918752_3626843_n.jpg


  • Closed Accounts Posts: 1,103 ✭✭✭North_West_Art


    One from a while ago, oil sketch on large panel held by the open trunk of my car like an easel 32" x 48"

    BorderLand.jpg


  • Closed Accounts Posts: 1,103 ✭✭✭North_West_Art


    number two, done a week after the first, same area 32" x 44"

    Killeter.jpg


  • Closed Accounts Posts: 23 HelloNHOJ


    NWA (heh): Those are nice looking pieces, it's just a pity you couldn't get better photos of them. Those pics came out awful blurry and aren't doing your pieces a favour as a result.


    Right then. Another quick update for me.

    I've just finished the pencils on the eighth and final page of 'Rodney Tentakle,' the current comic I'm working on. As of now, I've three pages to get inked and then I can move on to digitally colouring/lettering the eight pages.

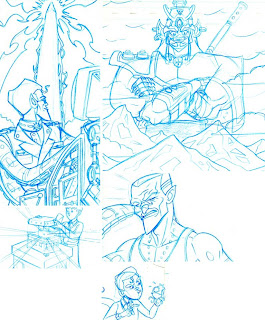
    For now, here's a little montage of bits 'n' pieces of pages 5, 6 and 8.

    SupaPreviewDeluxeGo.jpg
    (Click on image for full view)


  • Closed Accounts Posts: 1,103 ✭✭✭North_West_Art


    cheers... they were bad photos alright, re-took them and re-posted... they look slightly soft focus in reality


  • Registered Users Posts: 6,182 ✭✭✭Tiriel


    cheers... they were bad photos alright, re-took them and re-posted... they look slightly soft focus in reality

    Still looking a bit funny - it's a pity as they look really nice!


  • Closed Accounts Posts: 1,103 ✭✭✭North_West_Art


    hey, thanks... will put up some more sometime


  • Advertisement
  • Closed Accounts Posts: 23 HelloNHOJ


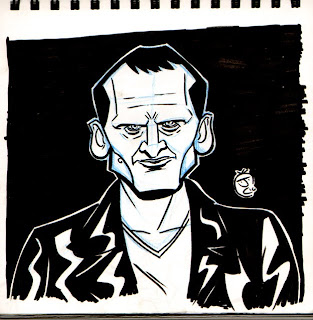
    I don't know if anyone here likes Doctor Who but I decided to draw up the three 'modern' Doctors, seeing as I'm on a bit of a Doctor Who kick lately. Enjoy!

    Who9.jpg
    (Click on image for larger version)

    Who10.jpg
    (Click on image for larger version)

    Who11.jpg
    (Click on image for larger version)


  • Closed Accounts Posts: 23 HelloNHOJ


    'lo again all,

    Today, I bring you a little sneak peek at the final inks for page 5 of 'Rodney Tentakle.' Enjoy!

    FreedomCouncil.jpg
    (click on image for full view)


  • Closed Accounts Posts: 100 ✭✭Jabcity


    Sure check out the aul blog

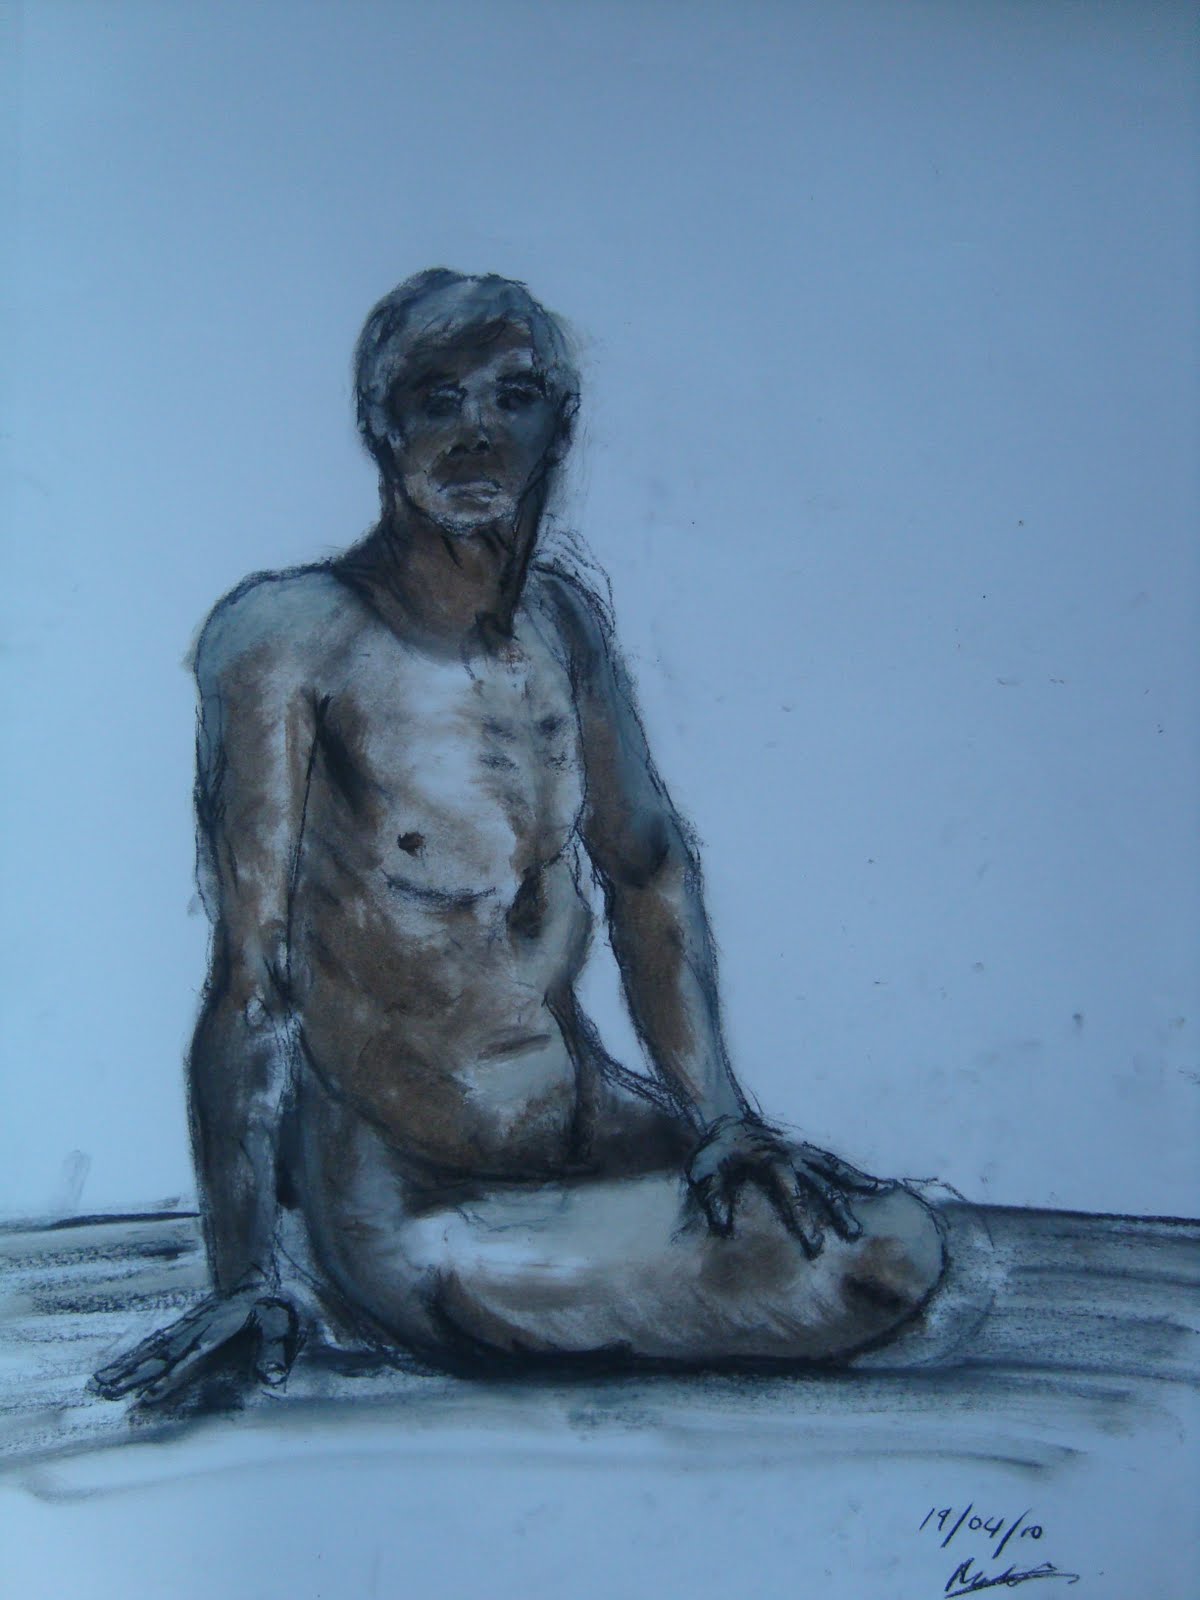
    http://melaniekeane.blogspot.comMartin.jpg


  • Closed Accounts Posts: 23 HelloNHOJ


    Melanie: Just took a look at your blog, that's some fine life drawing from you -- do you do much in the way of drawing from your head? I'd like to see what you can come up with (obviously, the doll is an example of this). Keep it up!


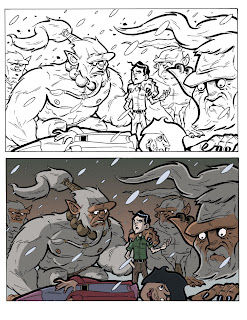
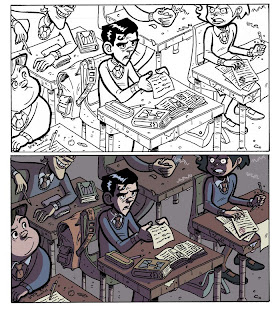
    I've finally finished inking the 8 pages of Rodney Tentakle and have begun the process of colouring each page. I've got page one pretty much done and dusted and - while I can't show you the full page juuuust yet - I've cropped out one of the panels to give you lot an idea of how it looks. Enjoy!

    ColourPreviewWeb.jpg
    (click on image for full version)

    Also, in other news, issue 2 of Rírá, the Irish language comic I work on has been published. So, be a star and buy a copy. Or two. Here's a handy link for you.

    Also, somehow, my name is listed under the Favourite Newcoming Artist section over at the Eagle awards website. How this happened, I haven't a notion but seeing as it's there I'd very much appreciate it if you lot took five minutes of your time to give me a vote.

    Oh, my full name's John Cullen, by the way.

    Cheers!


  • Closed Accounts Posts: 18 whatsham


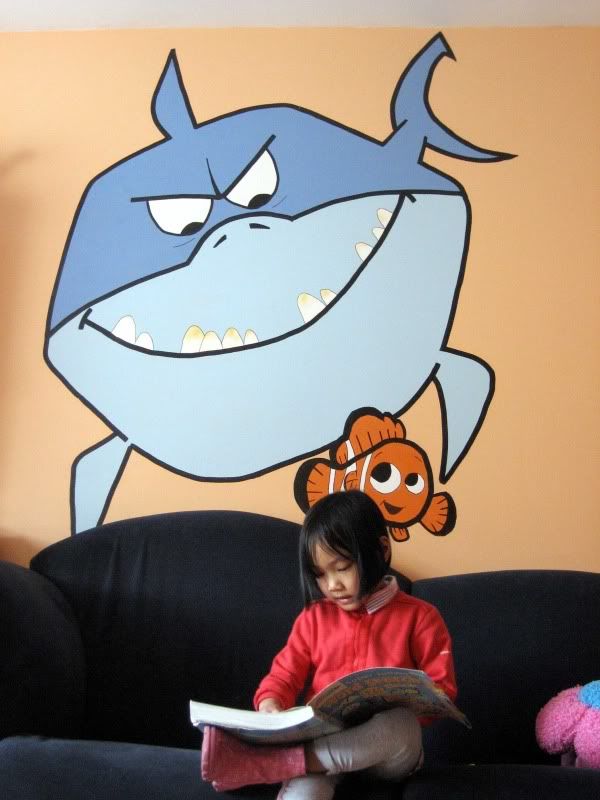
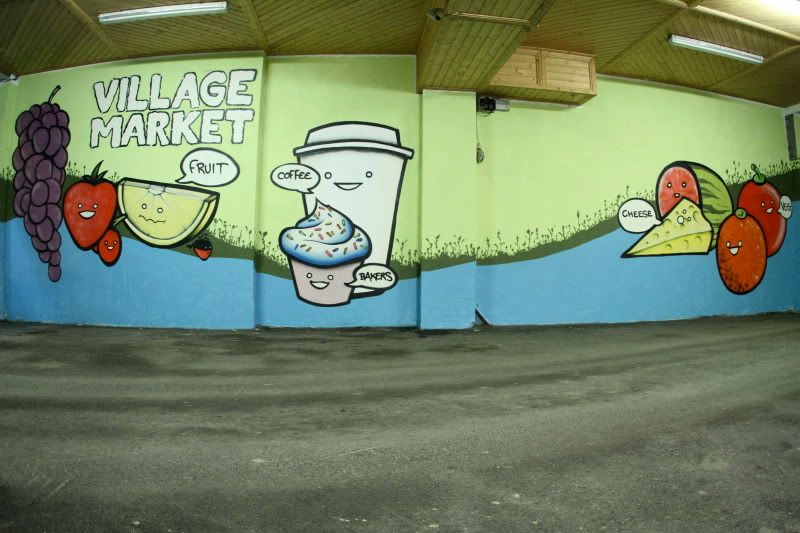
    Here are some more recent shots.

    Nemo1.jpg

    IMG_3698.jpg

    IMG_2417.jpg


  • Registered Users Posts: 208 ✭✭subedei


    Nice work on the expressions and characters there HelloNHOJ, I like the coloring too.

    PS. voted for ya anyways


  • Closed Accounts Posts: 8 Orla99913


  • Closed Accounts Posts: 23 HelloNHOJ


    Thanks very much for your vote and kind words, Subedei, much appreciated!

    Alright then, on to today's update.

    As with yesterday, I'm bringing you a little sneak peek at the colours for 'Rodney Tentakle.' The following panel is from page two which I'm still hard at work on.

    ColourPreviewWeb2.jpg
    (Click on image for large version)


  • Closed Accounts Posts: 100 ✭✭Jabcity


    HelloNHOJ, i do enjoy sketching from my imagination but unfortunately Im swamped with college stuff, and most of whats on the blog is college work that I just thought Id share. Ill try and get some originial doodles up soon :)


  • Advertisement
  • Closed Accounts Posts: 19,183 ✭✭✭✭Will


    "Big blue" bowl, made from sycamore and stained. Looks ok, definitely very different.

    25501_505274421443_259200226_157636_1786070_n.jpg

    25501_505274411463_259200226_157635_4334417_n.jpg


Advertisement